Viewing Reports
Reports are available in most applications in Kahua. Most applications have built-in reports available. Users with the appropriate permissions can create new reports for themselves or to be used by others in the organization. For information on creating reports, refer to Creating ad hoc reports.
Note For information on modifying the logo that appears on reports in your project, refer to Managing report logos.
Important things to know about working with reports include the following:
-
Reports can be viewed in the associated application, or from the Report Manager app. For more information on viewing reports in the Report Manager application, refer to View a report.
-
You can select favorite reports by clicking on the star icon
 . Your favorite reports always appear at the top of the report list.
 -
You can create filters on a report and save them for personal re-use or for use by others in your organization.
-
Saved filters can be applied to scheduled reports, but they must be created and saved on the report in the original app or in Report Manager. For more information on scheduled reports, refer to Scheduling Reports.
How to . . .
To view a report in an application, complete the following steps:
-
Review the header to ensure that you are in the correct project or partition.
-
Navigate to the application for the report you want to run.
-
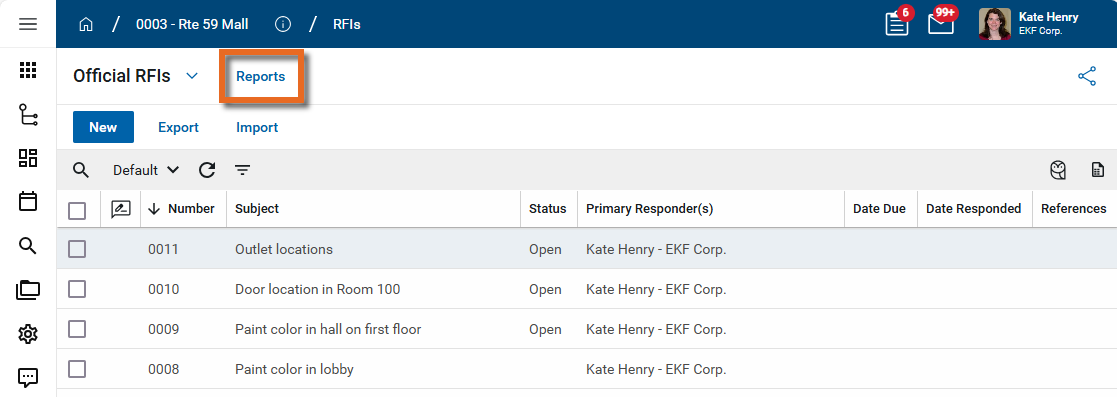
Select Reports in the application title bar.
-
Standard reports and reports that have been created by your organization with the report wizard will appear here. For more information on creating ad hoc reports with the report wizard, refer to Creating ad hoc reports.
-
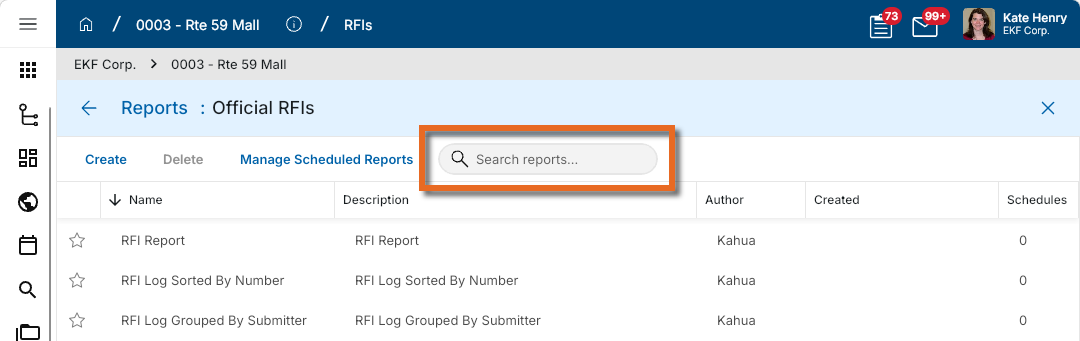
Select a report from the list. Use the search field to search for a report by its name.
Note Click the star icon
next to the report name to indicate that it's a favorite and have it appear at the top of the list. -
Depending on how the report was set up, you may be able to apply a filter to the report or select which projects to include in the report.
-
Reports that were created with the report wizard can be filtered by fields that are included in the report. If the field you want to filter by does not appear in the filter list, it must be added to the report. For more information on adding fields to reports created with the report wizard, refer to Creating ad hoc reports.
-
If the report is set up to do so, you can select one or more projects to report on. Only projects that are available at your current position in the hierarchy will be available for selection.
Example If you have navigated to the Northeast division partition, only the projects in the Northeast division will be available for selection for the report. If you want to include all of your projects in the report, you must navigate to the domain level before running the report.
-
-
To see the report in Kahua, click View. To download a version of the report without a preview, select Download. Different formats will be available in different applications, including PDF, CSV, and TXT.
-
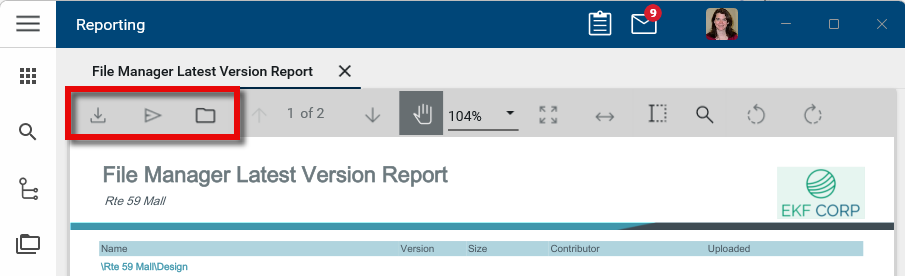
From the report view, you have several options for viewing or saving the report.
-
To open the report in PDF format or to download the report in CSV, XLSX, Data, or Data (no header row) format from this view, click the Download icon
 .
.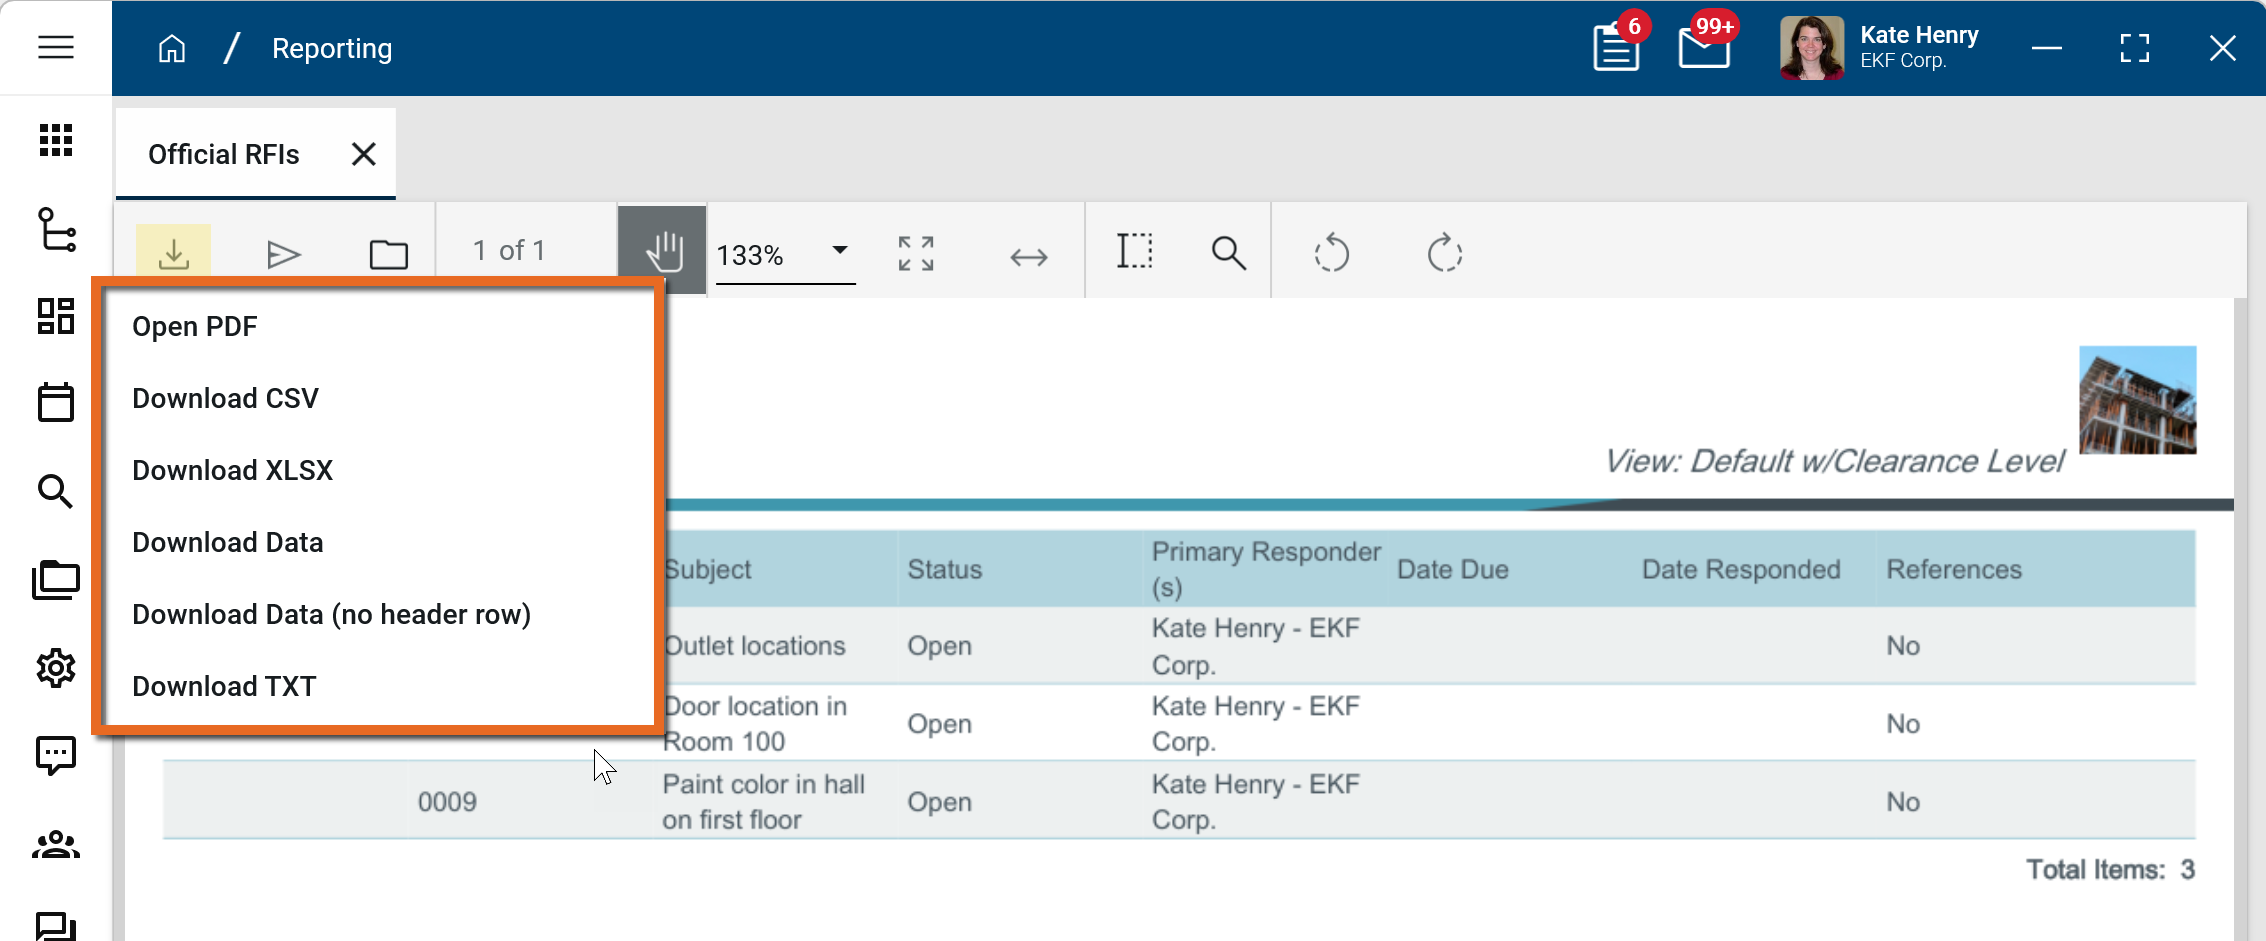
Note The Download Data and Download Data (no header row) options may be preferable if there is a large amount of data in your report, as they bypass the report engine and reduce the chances of a timeout error.
-
To send the report to another Kahua user or group of Kahua users, click the Send icon
 .
. -
To save the report in Kahua, select the Save to Kahua icon
 .
.
-
Note The error message "The report required excessive resources to execute" typically results from too much data being included in one report. If this is a multi-project report, consider reducing the number of projects included in the report.
You can create filters for a report and save them for re-use your reports. Saved filters are report-specific. Filters saved for one report cannot be used on other reports.
Saved filters can be applied to scheduled reports, but they must be created and saved on the report in the original app or in Report Manager. For more information on scheduled reports, refer to Scheduling Reports.
To apply a filter to a report and save it for re-use, complete the following steps:
-
Review the header to ensure that you are in the correct project or partition.
-
From the application or the Report Manager app, select the report you want to apply the filter to.
-
Enter the appropriate filter criteria.
-
For each filter condition, select from the two options:
-
Any of the following - This functions as an OR selection. Any of the criteria can be met for a record to appear on the report.
-
All of the following - This functions as an AND selection. All the criteria must be met for a record to appear on the report.
-
-
Select Add Condition to select a field and set a condition.
Note Reports that were created with the report wizard can be filtered by fields that are included in the report. If the field you want to filter by does not appear in the filter list, it must be added to the report. For more information on adding fields to reports created with the report wizard, refer to Creating ad hoc reports.
-
To apply a group of conditions, select Add Group and add conditions to that group.
-
To remove a condition or group, click on the Delete icon
 .
. -
Once you are satisfied with the filter, click View or Download to open or download the report.
-
To save your filter, click Save > Save As.
-
Enter a name for the filter.
Important Administrators can select who will see the filter, Just Me or Everyone.
-
Click Save to save the filter.
-
The filter is now available for future use. To apply the filter the next time you open the report, click on Filter and select it.
Note Saved filters can be applied to scheduled reports, but they must be created and saved on the report in the original app or in Report Manager. For more information on scheduled reports, refer to Scheduling Reports.