Project Finder
The Project Finder app allows you to view all the projects you have access to and add projects to your My Projects list. Users with the appropriate permissions can also create new partitions and projects from this application. For more information on creating new partitions and projects, refer to Creating a new project.
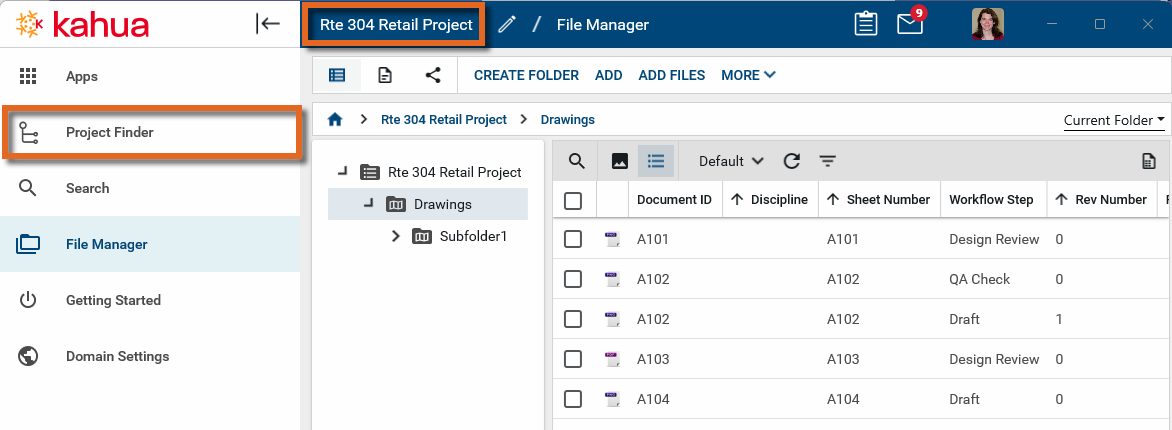
Note To open a recently used project, click on current partition or project name in the header. Select an option from the list of recently accessed partitions or projects, or click on Find a Project to open the Project Finder app. Refer to Project number and name.
The available features in the Project Finder application depend on how many projects you can access and your permission level.
The Project Finder app can be opened in one of the following ways:
-
Navigate to it directly from Apps (Apps > All Apps > Project Finder).
-
Click on the name of the active project in the header and select Find a Project.
-
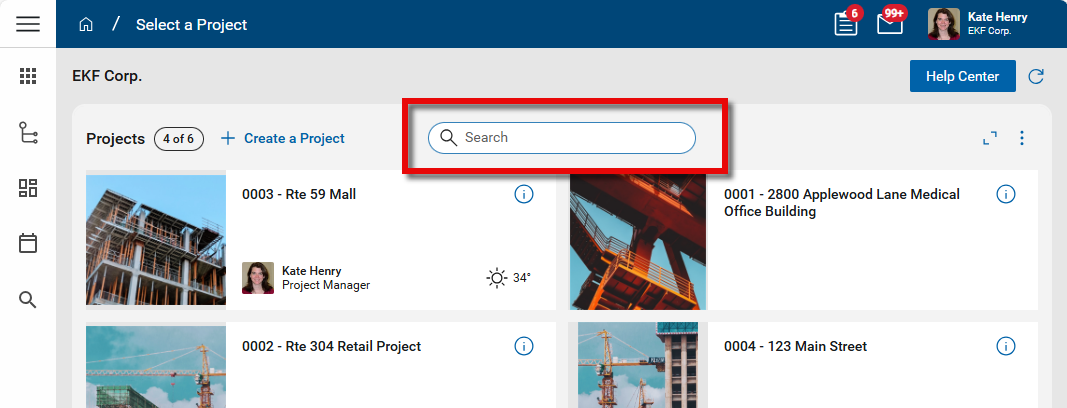
Click on the search bar in the Projects section of the Home page and select Find a Project.
Note You can pin the Project Finder app to the launch bar by right-clicking on the app name and selecting Pin to Launch Bar. Once pinned, you can drag it up or down to the desired location.
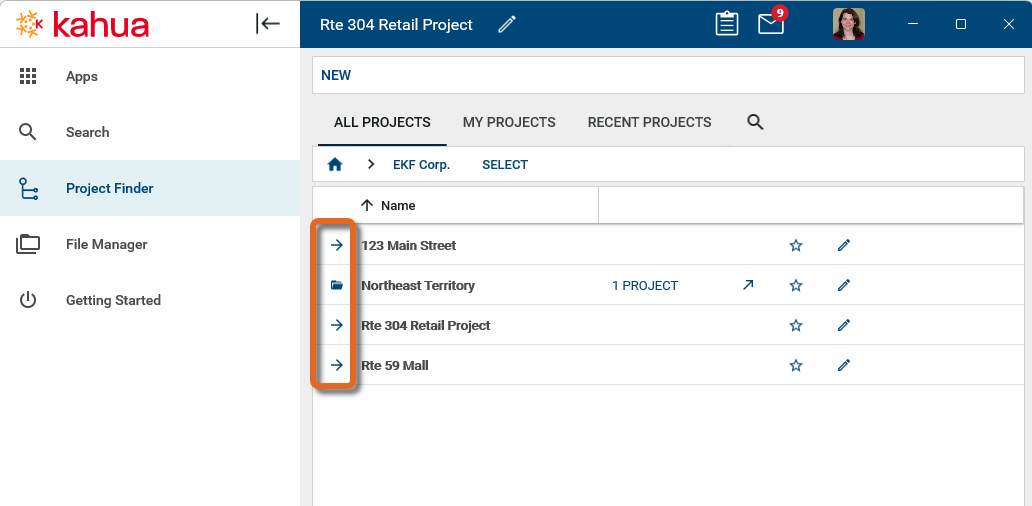
Project Finder contains two types of items:
-
Items with a folder icon
 (also called a partition) contains projects within it.
 -
Items with an arrow icon
 are projects.
How to . . .
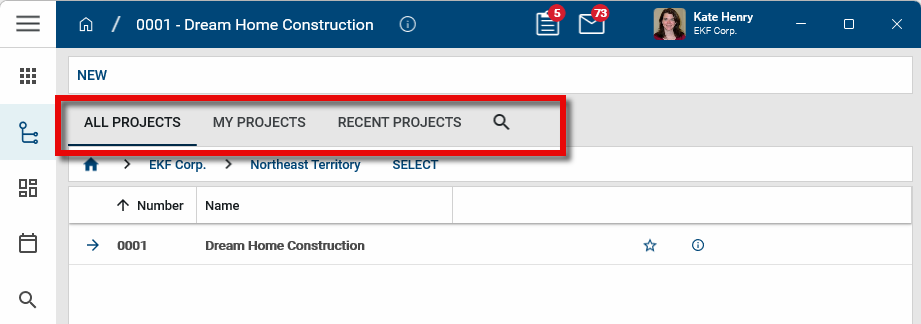
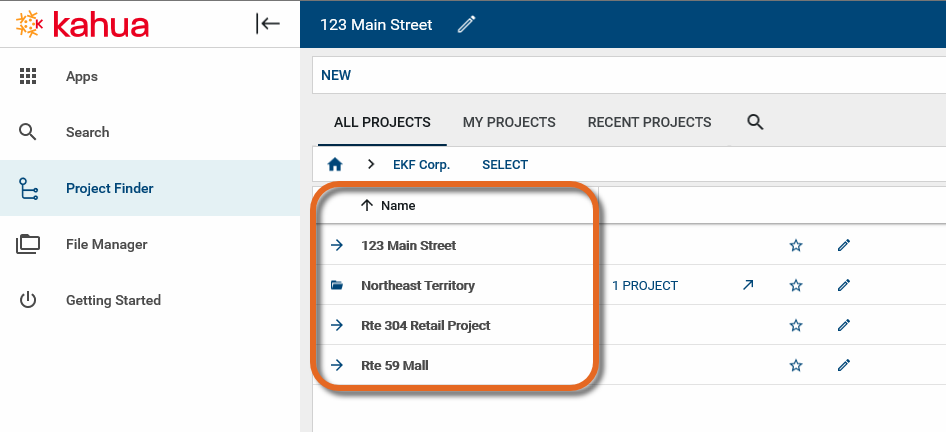
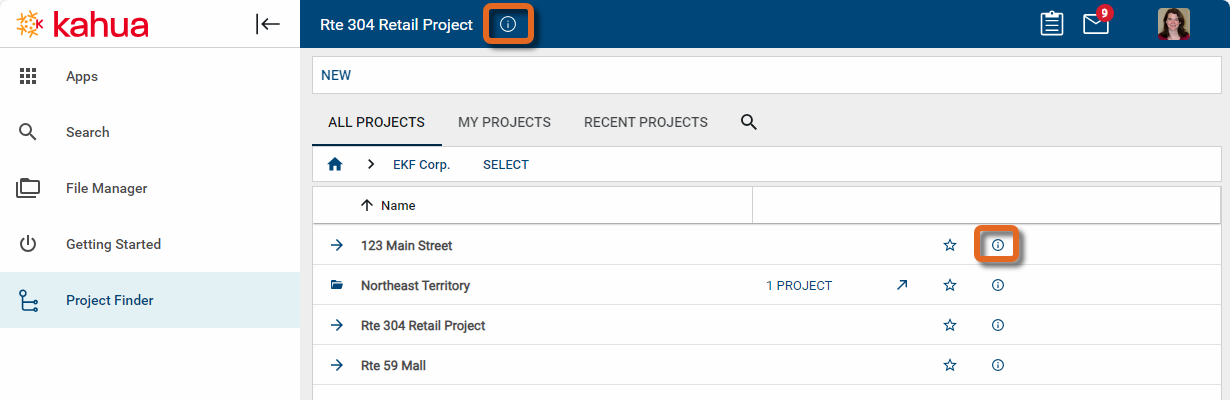
When you open the Project Finder app, you can select to view All Projects, My Projects (projects you've selected as "favorites", refer to Favorite a Project), or Recent Projects, or perform a search by clicking on the Search icon ![]() . You can search by project name or project number.
. You can search by project name or project number.
Note To have the project number display in the Project Finder app, select Show Project Number on the General tab of the My Settings page. Refer to General tab. You can still search by project number when the setting is not enabled, but the results will only show the projects by name.
Select a folder or project by clicking directly on the folder name or project name. Selecting a folder will display folders and projects inside it. Selecting a project will open the project and navigate away from Project Finder.
As you drill down through the partition list, your location in the hierarchy will appear in the "breadcrumb" bar. The home icon appears first, then the name of your domain, then any partition/folder name. You can navigate back through the hierarchy by clicking on the partition or domain name.
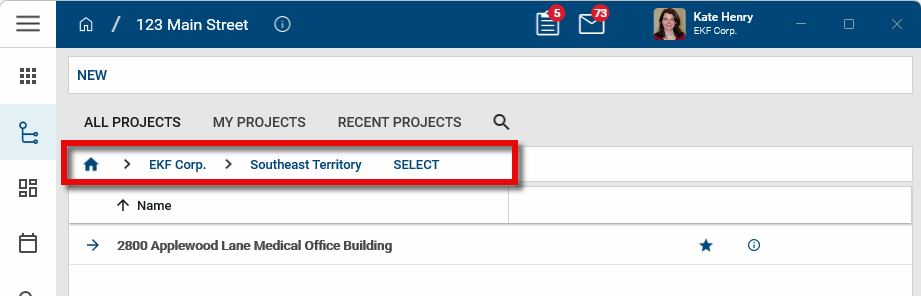
When you select a project or partition, the name of the selected project or partition will appear in the header.

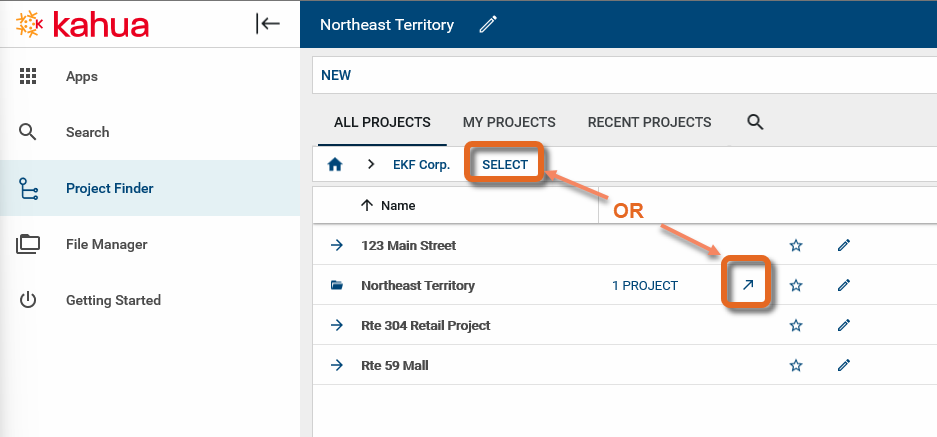
To open a folder (partition) to work directly within it, click Select next to the folder name in the breadcrumb bar or click directly on the arrow icon in the list.
When you select a project or partition, the name of the selected project or partition will appear in the header.
For users that have many projects or commonly access the same folders and projects from different places in the project hierarchy, making those projects and partitions “favorites” makes it easier to find and access them. Projects selected as "favorites" appear on the Kahua home page. Refer to Kahua Home Page.
To favorite a project (or folder/partition) and view favorites, complete the following steps:
-
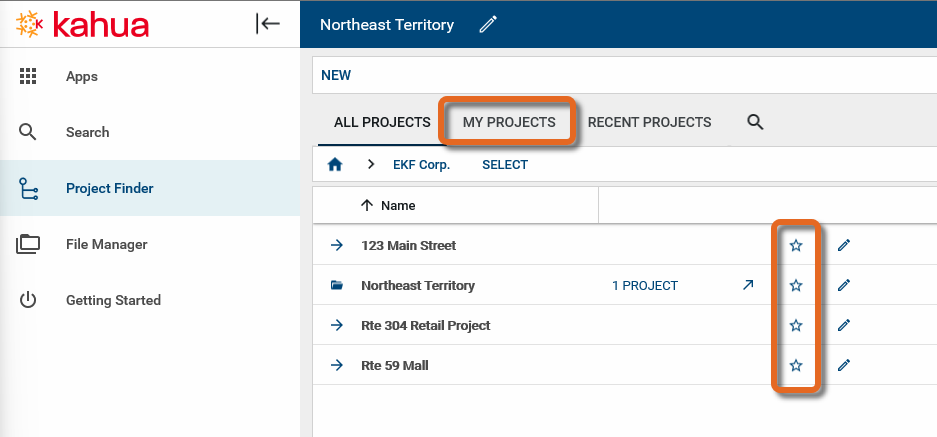
Select the Star icon
 next to the project or folder/partition name. Starred projects will appear in the My Projects section.
 -
Select the My Projects tab to view starred projects.
If you have the appropriate permissions to view the project details, the information icon ![]() will appear next to the project name in the header and in the project list. Click on it to open the project details page.
will appear next to the project name in the header and in the project list. Click on it to open the project details page.
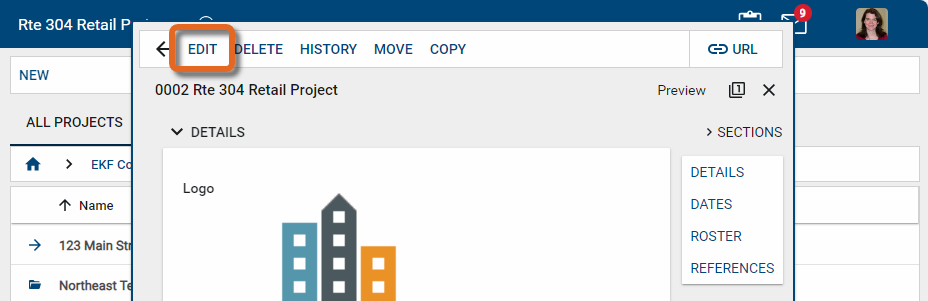
If you have the appropriate permissions, the Edit option will appear on the project details page. Select it to modify the information about the project. Click Save to save your changes. You may need to log out and log back in to see your changes.
The project logo can be set on the Project Details page. This logo image will appear with the project on the home page for users who have selected this project as a favorite. Refer to Kahua Home Page.
The logo can be selected for use in portable views for applications in this project. For more information on selecting the project logo on a portable view, refer to Setting the Portable View logo.
To modify the project logo, complete the following steps:
-
Navigate to the Project Finder application.
-
Select the appropriate project.
-
Select the information icon
 next to the project name in the header or in the project list. Click on it to open the project details page.
-
If you have the appropriate permissions, the Edit option will appear. Select it to modify the information about the project.
-
Under the current logo image, select Change. Select the appropriate logo file.
-
Click Ok on the confirmation message.
-
Click Save to save your changes.
You can modify your account settings to have the project number appear with the project name. You can sort by number or name.
To have project numbers appear in the Project Finder application, complete the following steps:
-
Select your Profile Icon on the right side of the header.
-
Select My Settings.
-
Select the General tab.
-
Under Partition Navigator, toggle on Show project number.
Once enabled, you will be able to view and sort by project number in the Project Finder application.
Note To learn more about modifying your account settings, refer to My Settings.
New projects can created as blank projects or from a template in the Project Finder app.
For information on creating new projects, refer to Creating a new project.