Creating a new project
There are two main ways to create a project. The best way to create a project will depend on the purpose of its creation.
A project can be created
-
Blank (new project, no data copied over from templates)
-
From a template (when a project already exists that has standard data – such as Work Breakdown codes, File Structure and/or Milestones) that need to be copied over as part of the project’s creation.
To create a blank project where no data is carried over from another project, complete the following steps:
-
The Create a Project page can be accessed from the following locations:
-
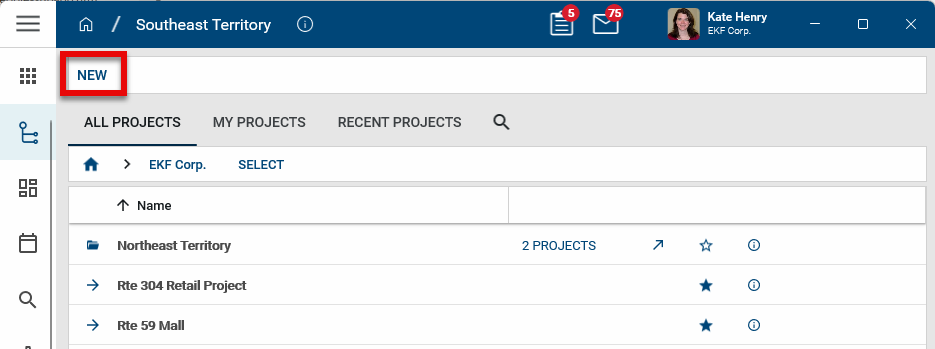
Navigate to the Project Finder app (Apps > All Apps > Project Finder) and click New in the action bar.
-
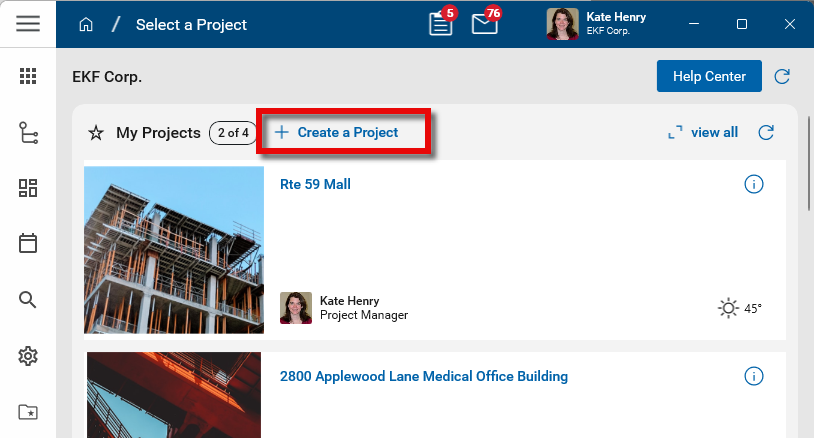
Navigate to the Home page and click Create a Project in the My Projects section. Refer to Kahua Home Page.
-
-
Click New in the action bar.
-
The Create a Project page opens. The Project Location field shows where in the hierarchy the project will be created. Click the back arrow
 next to the current project location to navigate higher in the hierarchy. Click on another location in the Select another location box to navigate lower in the hierarchy. To search for particular partition or project, click the search icon
  and enter the appropriate search term.
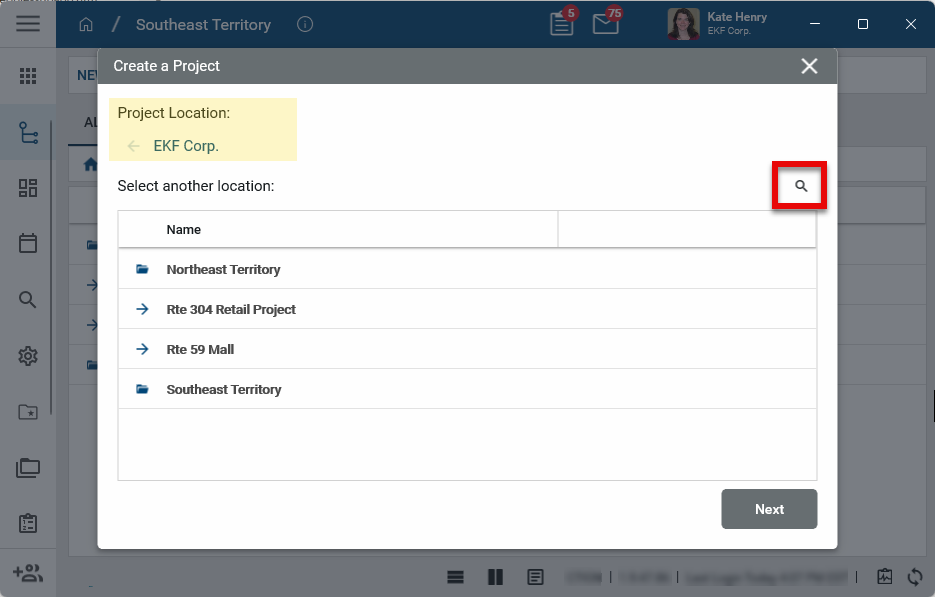
Note For more information on the hierarchical structure of Kahua domains, refer to Understanding the hierarchical structure of Kahua.
-
Click Next once the correct parent location is in the Project Location field. The Project Information page appears. Complete the fields as follows:
Field Description Details Logo Select Change to add or update a logo for the project. You may select a logo file or picture from the project. Select Remove to remove the image file and not associate any image with the project.
The image selected here will appear in the header of reports when the Reporting Logo Source for the project is set to "Project" in the Configuration app. Refer to Managing report logos. It will appear on portable views where "Project" is selected as the logo source. Refer to Setting the Portable View logo.
It will also appear in the project widget on the home page where this project appears for users using the card view. For more information, refer to Kahua Home Page.
Partition Type If present, select the appropriate partition type.
Note Select "Navigation" to indicate this project is for hierarchy navigation only. This option removes all project information fields other than Name and Number.
Number Enter the project number. Name Enter the project name. By default, this field is required. Type Select the type of project.
Note This lookup list is managed in the application configuration of the app used to manage projects in your domain, either the Projects app or the Portfolio Manager app.
Status Select the project status.
Note This lookup list is managed in the application configuration of the app used to manage projects in your domain, either the Projects app or the Portfolio Manager app.
Description Enter a project description. Address Address fields
Enter the project address. Shipping Address Address fields
Enter the shipping address for the project. This address can be used in purchase orders.
Note If these fields do not appear when the page is in edit mode, review the configuration page for the Projects app. Refer to Fields
Dates Start Date/ End Date Enter the start and end dates of the project. Note Projects must have an End Date value for weather data to be saved. For information on configuring and using project weather data, refer to Configuring weather data for a project.
Roster Project Roles For each role, select the appropriate Kahua user from the lookup list. These project roles can be selected as "Actors" when configuring approvals. Refer to Approval configuration.
Note If you have added users to the Project Directory for this project, you will have the option to choose from that list. If not, all users in your domain will appear on the lookup list. For more information, refer to Project Directory.
Project Manager The user selected as the Project Manager here will appear on the home page where this project appears for users. For more information on the home page, refer to Kahua Home Page.
References Reference Files Upload or select any relevant files or documents. You can use drag and drop to add a file to this section. For more information on using this section, refer to References section.
- Click Save.
-
The project is now created, will be visible in the hierarchy within Project Finder, and can be navigated to, edited, or updated as required.
Note If this project is being created with the intention of being a template moving forward, ensure the field Record Type is populated as ‘Template’ in the project’s information.
To create a project from a template, complete the following steps.
-
First ensure that the project you wish to copy has the field Record Type (In the Portfolio Management app / basic project information) populated with the value ‘Template.’
-
Next, navigate into Project Finder and click New.
-
Determine if the Project Location that is listed is accurate. By default, the tool will list the ‘parent’ (where the project will sit under) as the location that you are in within your Navigation bar. If you wish to place your blank project elsewhere, navigate through the hierarchy in this window until the proper ‘parent’ is displayed under ‘Project Location’. In this example, I am placing my project directly under the partition ‘Best Practices Company.’
-
Click Next.
-
Click the button next to ‘Create from Template’. Two fields will dynamically appear – 1) Name (name of the project you wish to create) and 2) Select Template (list of all projects where Record Type = Template, per above note).
-
Type in the name of the project you wish to create, and select the appropriate template you wish to create your project from. If you do not see your template here, ensure that the template is listed as such in the field Record Type in its basic project information.
-
Toggle to include folders and/or files in your copy – this will determine if the File Manager structure is copied alongside the other app data included in Copy.
-
Click Save when complete.
-
The project will now begin to copy.
-
You may work elsewhere in the system until complete. When complete, a notification will pop up on your screen (similar to a task notification) and you will receive a Kahua Message indicating the copy is complete, and ready for your use.
-
You may now navigate to your new project in the Project Finder, or by clicking on the notification you received (screenshot below). Note that if you had defaulted data in the Work Breakdown application (cost codes), Milestones, etc. this will be reflected in your new project as well. No cost data tied to the Work Breakdown codes (Funding, Expenses) should copy to your new project.