Docusign in Kahua
You can use Docusign in conjunction with Kahua to manage the signing of documents. The integration with Docusign is built into Kahua and is part of a standard license.
Key elements of this feature are as follows:
-
Docusign can be selected as part of an approval workflow in many different applications. For information on setting up approvals, refer to Approval configuration.
-
Docusign can also be used to obtain approvals on documents in File Manager by sending files for eSignature. Refer to Send a file for eSignature.
-
At a minimum, the recipient of a signature request through Docusign from Kahua must be a contact in your Kahua domain. They do not have to be a Kahua user and they do not have to have a Docusign account.
-
For the File Manager application, eSignature permissions can be granted through the Groups app for the appropriate folders in a project, or they can be granted for a specific folder through File Manager > Folder Properties. For more information on permissions, refer to Manage permissions for a group.
-
When you first send an item for eSignature with Docusign, you will be prompted to activate an account for the email associated with your Kahua account.
-
When a document is sent for eSignature from File Manager to multiple recipients, all recipients receive the document at the same time. When Docusign is used as part of an approval workflow, signature requests are sent sequentially according to the configured workflow.
-
Your domain can be configured to send a Kahua message to any signers with Kahua accounts, alerting them to check their email when a Docusign request has been sent to them. Refer to Automatically send Kahua messages to Docusign signature request recipients.
-
For information on file size limitations when sending files for signature through Docusign, refer to Docusign file size limits.
-
Docusign tasks assigned to you cannot be delegated to other users. They cannot be manually delegated, and they are not delegated when you have automatic delegation enabled. Refer to Delegating Tasks.
How to . . .
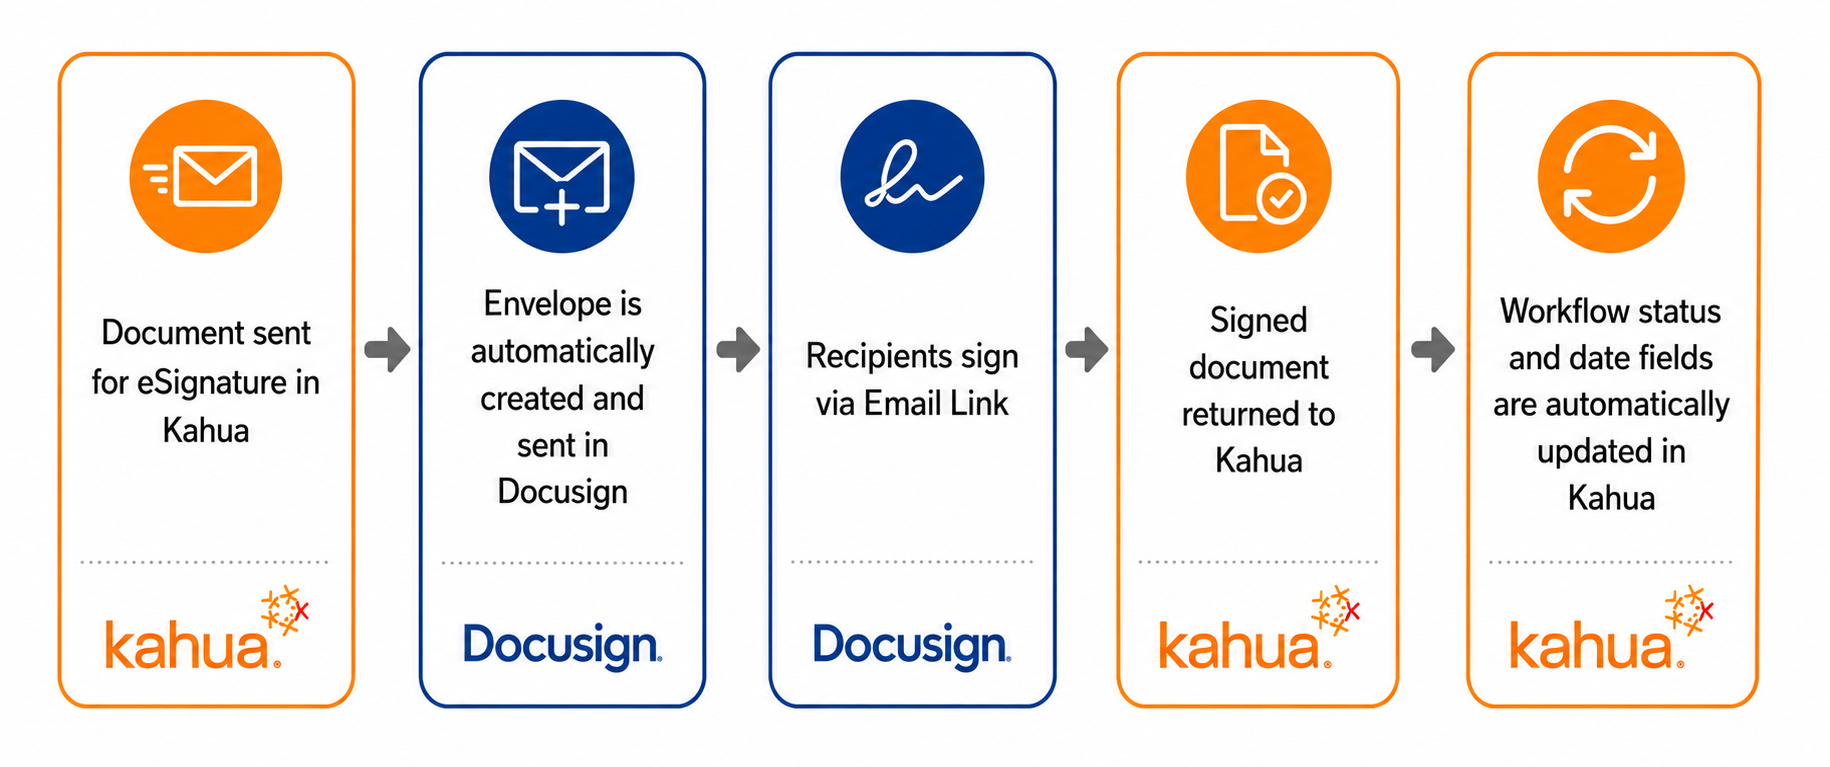
The Docusign workflow in Kahua is as follows:
-
Documents are sent to Docusign as part of a configured approval workflow or as an ad hoc request for eSignature from File Manager.
-
The Docusign envelope is automatically created and sent in Docusign.
-
The recipient of the signature request recieves an email and signs through a link from that email.
-
The signed document is returned to Kahua.
-
The workflow status and date fields in Kahua are automatically updated.
There are two steps to activating your Docusign account with Kahua. When you first attempt to complete an action that uses Docusign in Kahua, you will be asked to activate a Docusign account for the email address associated with your Kahua account.
Once that step is complete, you will be asked to sign in to your Docusign account and grant Kahua permission to send Docusign signature requests on your behalf.
Activating your account and granting permission for Kahua to send requests on your behalf is a one-time event.
To activate your account, complete the following steps:
-
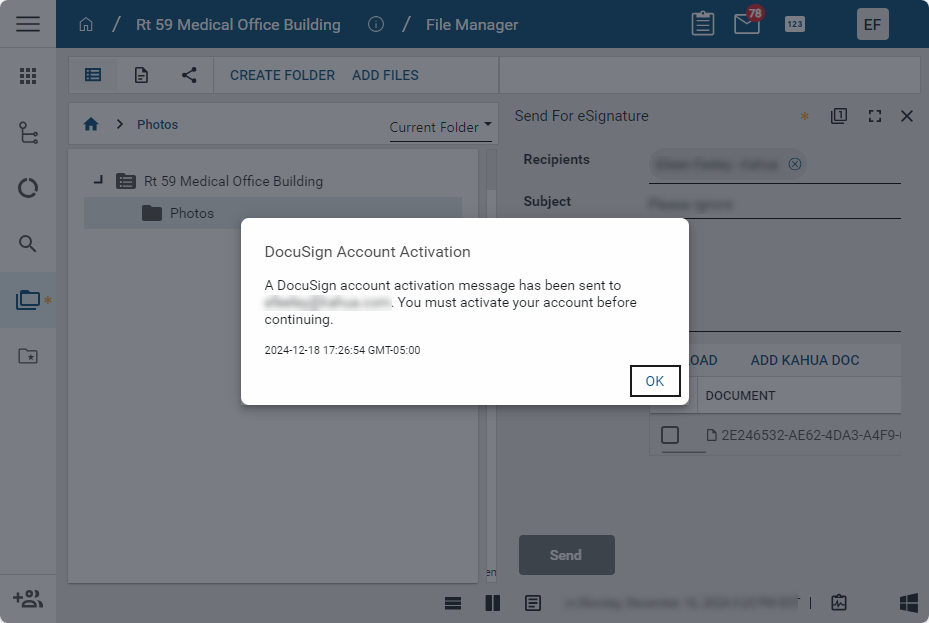
The first time you send an item for signature, the Docusign Account Activation message will appear, alerting you that an account activation message has been send to the email address associated with your Kahua account. Click OK to close the message.
-
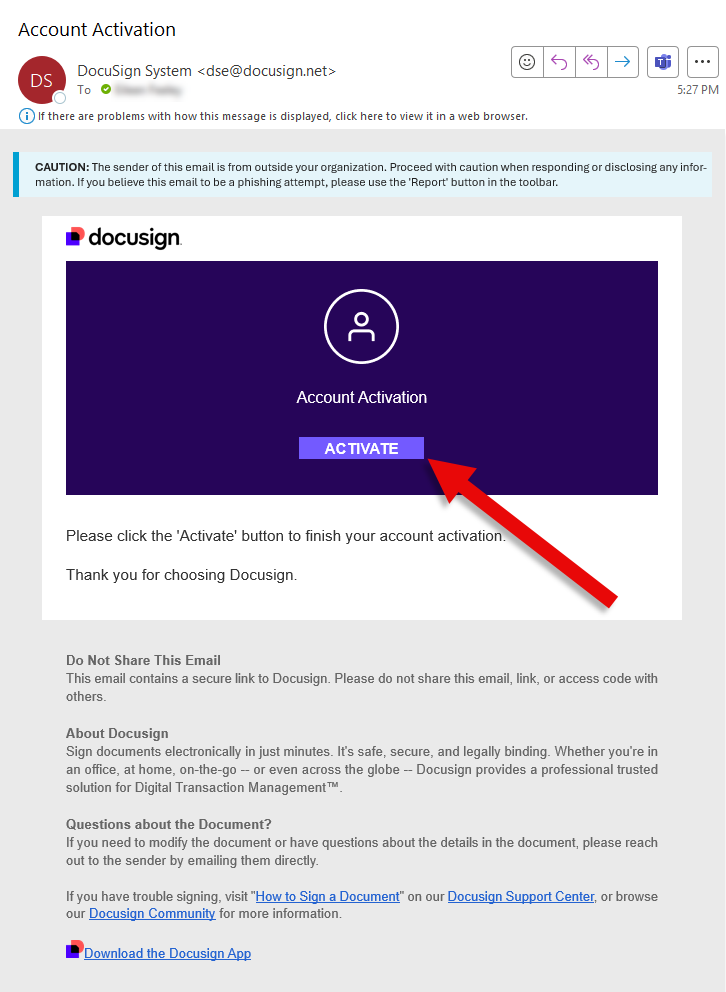
Open your email account and locate the message. In the email, click on Activate.
-
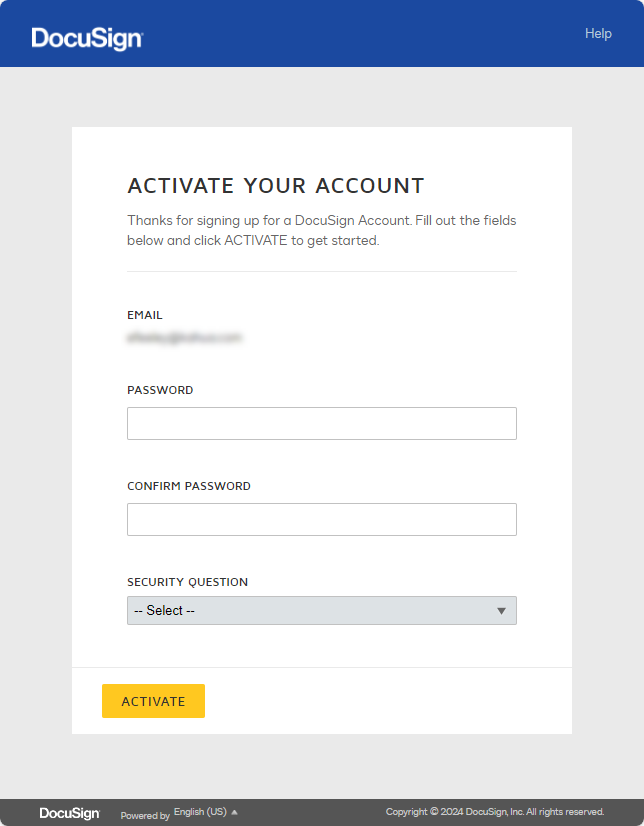
A Docusign browser window will open. Enter a password for your Docusign account and, if requested, select a security question. Click Activate when you are done.
-
A Docusign account page will open. You can explore your new Docusign account or close this page.
-
Return to the action in Kahua that you were working on and repeat the original action.
-
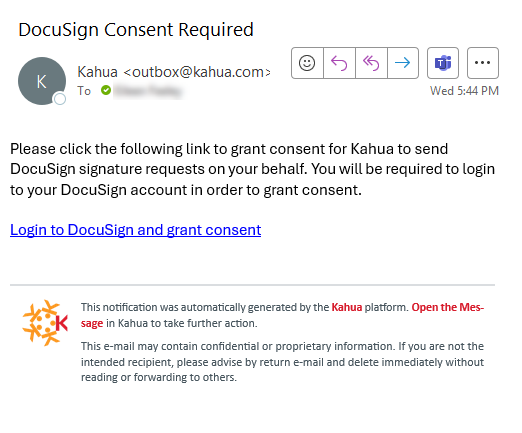
A Docusign Consent Required message appears, alerting you that an email has been sent to the account associated with your Kahua account. This email will provide a link to a page where you will provide consent to Kahua to send Docusign signature requests on your behalf.

-
Open your email account and locate the message. In the email, click on the link.
-
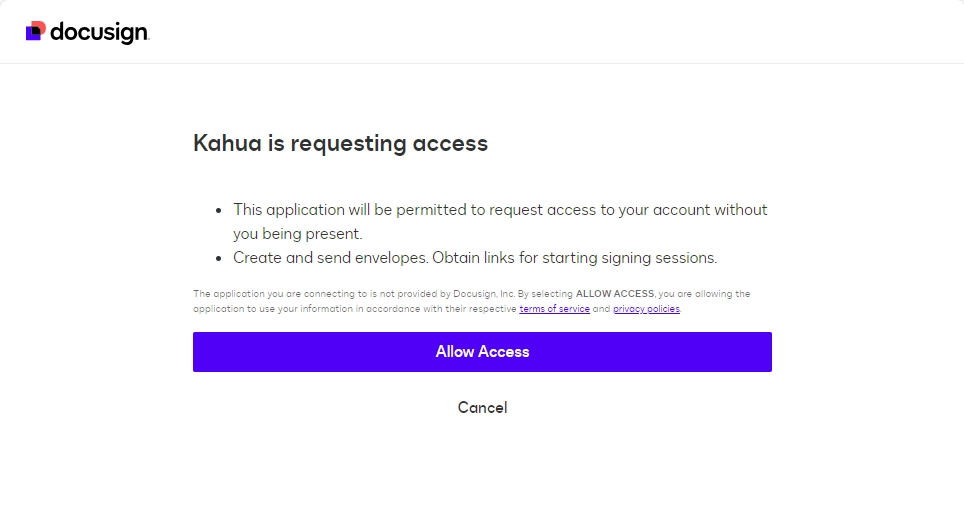
Enter your email address and password for your Docusign account as created earlier. The Kahua is requesting access page opens. Select Allow Access.
-
You have completed the steps required to activate your Docusign account and consent to Kahua sending Docusign signature requests on your behalf. You can now return to the original send for signature request in Kahua and send the document.
Documents can be sent for eSignature from multiple locations, including the File Manager app or automatically as part of an approval process.
For information on configuring an approval process to include a Docusign signature, refer to Approval configuration.
Note For information on the file types that are supported for signature in Docusign, review this link on the Docusign support site.
To send a file for eSignature from the File Manager app, you must have the eSignature permission in the File Manager folder that contains the file, or for the File Manager app itself. If you have the appropriate permissions, complete the following steps:
-
In the File Manager app, select the file. Right-click and select Send for eSignature, or select Send for eSignature from the action bar.
-
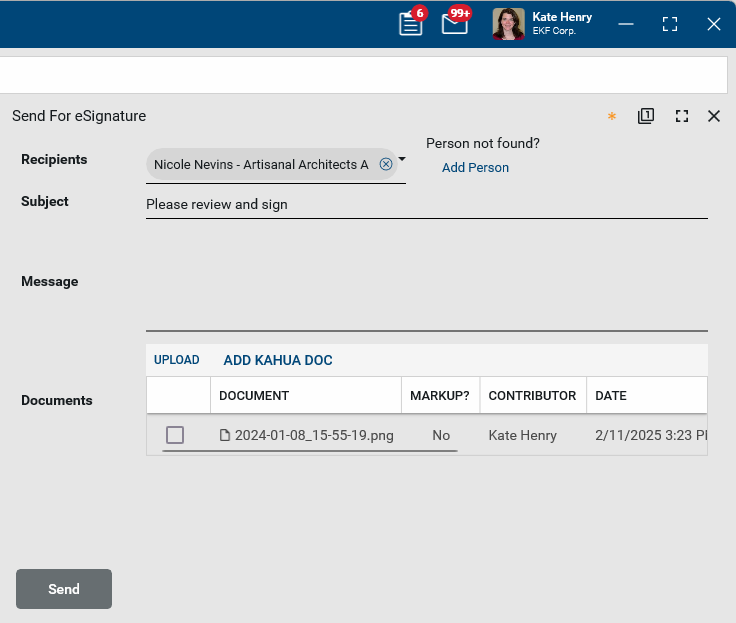
The Send for eSignature window will open. Select the recipient(s). If there is more than one recipient, all recipients receive the document at the same time.
-
The subject defaults to “Please review and sign”. This can be modified.
-
Enter a message if desired.
-
The selected file appears in the Documents section. Select Upload or Add Kahua Doc to add additional reference files.
-
Click Send when you are done.
When all signatures have been received, the signed document is distributed to the signers and the sender. The signers receive an email from Docusign with a link to download the signed document. The sender receives an email from Docusign with a link to download the signed document and also receives a Kahua message with the signed document attached.
The sender can access the fully executed document from the message in their Messages app and optionally save it to the same File Manager folder as the original document.
When you are the recipient of a Docusign signature request, you will receive an email with a link to the document for review. You do not have to have a Docusign account to sign the document.
To complete the signature process, complete the following steps:
-
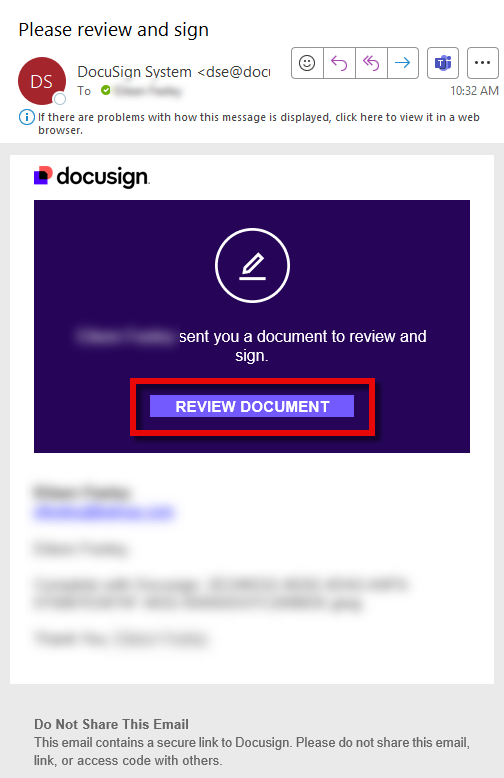
In the account associated with your Kahua account, locate the email that contains the Docusign signature request.
-
Click on Review Document.
-
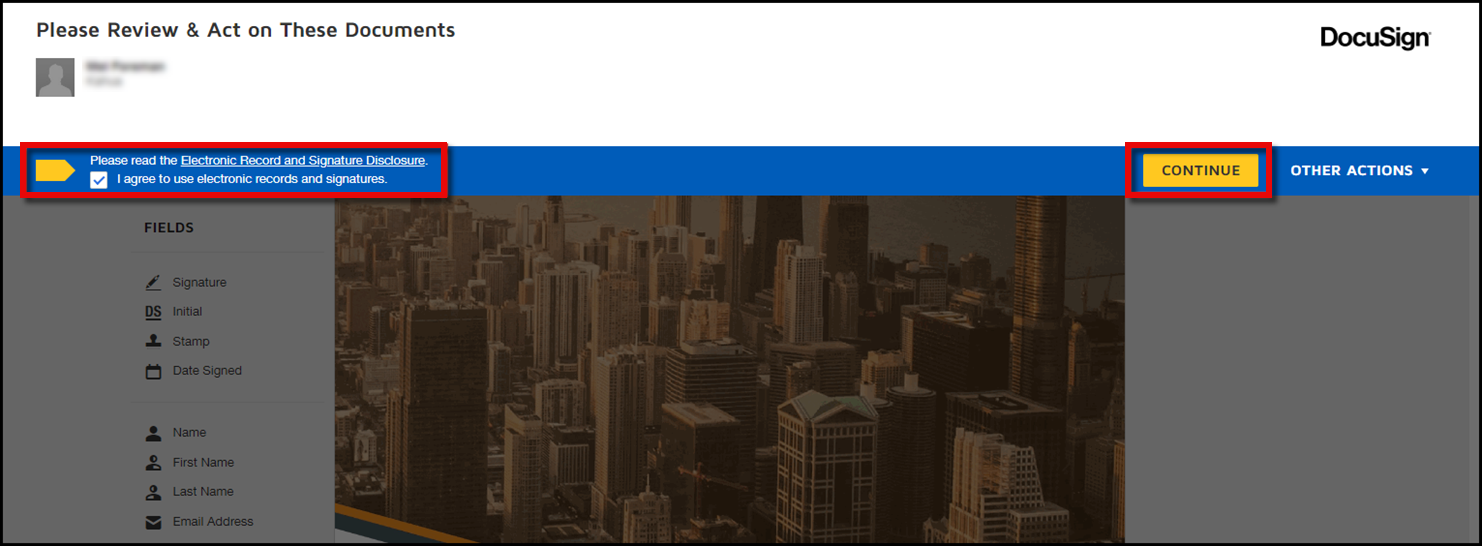
If this is your first time using Docusign, you may be required to agree to using electronic records and signatures. Select the option and click Continue.
-
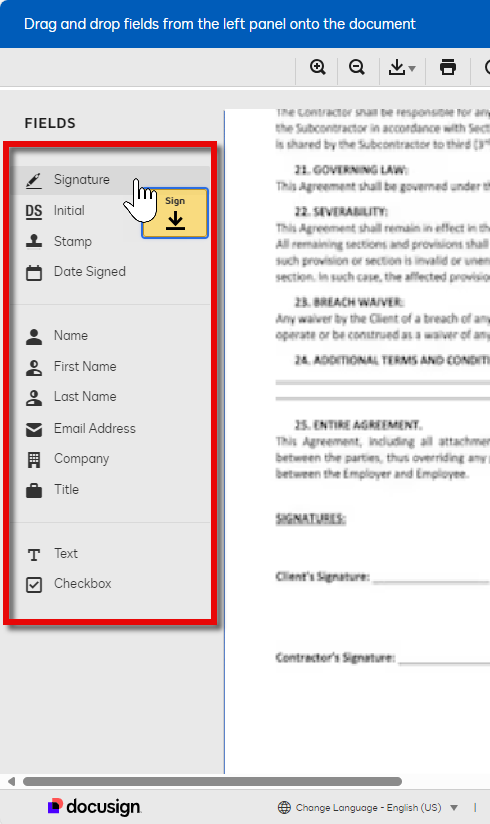
You can drag and drop fields from the left panel onto the document requiring your signature. To sign the document, click on Signature and drag it to the appropriate location on the document.
-
If this is your first time signing a Docusign document, you will be asked to adopt a style for your signature. Confirm that your Full Name and Initials are correct. You can accept the default style, change to a different style, draw your own signature, or upload an image of your signature. For more information on this process, refer to Docusign's online help article.
-
When you are done, select Adopt and Sign.
-
Click Finish in the action bar.
If your organization uses Docusign outside of Kahua, you may have multiple eSignature accounts associated with the same email address. In order to properly receive documents from Kahua, you may need to designate Kahua as your default account.
Instructions on setting up the default account can be found on Docusign's Support site.
Your domain administrator can enable a setting which will send a Kahua message to Docusign signature request recipients. The Kahua message will alert signature request recipients to check their email to access the document that is ready for signature with Docusign.
For more information, refer to Send Kahua Message for DocuSign.
When all signatures have been received, the signed document is distributed to the sender of the request and all the signers.
-
The sender receives a Kahua message with the signed document attached and an email from Docusign with a link to the download the signed document.
-
The signers of the document are sent an email from DocuSign with a link to the download the signed document.
When used as part of an approval workflow, the fully executed document is added to the References section of the original record and the related date, workflow status, and item status fields are updated.
When a file is sent for signature from File Manager, the sender can access the fully executed document from the message in their Messages app and optionally save it to the same File Manager folder as the original document.