Architect's Supplemental Instructions (ASIs) app
Notice Kahua is a very flexible and customizable platform. In your domain, this application may have been modified to meet your company's needs. The online help uses default field labels for field names and describes standard workflows. Please check with your domain administrator for specific information about working in your organization's domain.
Architect's Supplemental Instructions (ASIs) contain information from a project architect that provides additional information to the contractor or updates construction documents. These are updates that have no impact to the project cost or schedule.
The Architect’s Supplemental Instructions (ASI) app allows you to create and distribute architect supplemental instructions and, if desired, collaborate directly with project contractors on the document.
Important things to know about this app include the following:
-
You can use the Docusign workflow to send the ASI to the selected architect contact for signature via Docusign.
-
You can use the Contractor workflow to send the ASI to the selected contractor contact for acknowledgment through a Kahua task.
-
If you don't want to use the workflows, you can clear one or both of those selections in Configuration. You can enter in the information for the ASI, generate a PDF of it with supporting documents, process it outside of Kahua, and log the information manually.
-
You can use the Mark as Issued action to set the ASI to the end of the workflow with a status of "Issued". This is useful when logging ASIs that have already been issued.
-
You can use the Reset to New action to return an ASI to a "Draft" status and re-start the workflow. This is useful when the original ASI requires modification.
How to . . .
To create a new ASI, complete the following steps:
-
Review the header to ensure that you are in the correct project or partition.
-
Navigate to the Architect’s Supplemental Instructions app (Apps > All Apps > Architect’s Supplemental Instructions)
-
Click New in the action bar.
-
Complete the following fields as appropriate:
Note Depending on how this app is configured for your domain, there may be fields or sections listed here that do not appear for you, fields and sections that appear for you which are not listed here, or fields and sections which appear in a different order. If you have any questions, check with your domain administrator.
Field Description Details Number Allow Kahua to auto-number the record, or enter a different value.
Note The number format can be configured by your domain administrator. Refer to Number.
Date Enter the appropriate date. Subject Enter the subject of the ASI. Status Select the appropriate status.
Note This lookup list is managed in the Configuration app. Refer to Lookups.
Contract Select the appropriate funding contract from the list to automatically complete the Contract For and Contract Date fields. Contract For / Contract Date If a funding contract is selected in the Contract field, these values are completed automatically and appear on the ASI form.
If the funding contract is not available and you want this information to appear on the ASI form, manually enter the information.
Owner Contact / Owner Company Select the owner contact. The company name will appear automatically. Architect Contact / Architect Company Select the architect contact. The company name will appear automatically.
Note If you are using the Docusign workflow, the Docusign signature request will be sent to this contact.
Contractor Contact / Contractor Company Select the contractor contact. The company name will appear automatically.
Note If you are using the Contractor workflow, the ASI will be sent to this contact for acknowledgment as a Kahua task.
Instructions Detail Enter the supplemental instruction detail information. Tracking If you are using workflow in the app, these fields will be updated automatically. If not, the information can be entered manually. Date Sent Enter the date the ASI was sent to the contractor. Receipt Acknowledged Enter the date the contractor acknowledged the ASI. Contractor Status Select the appropriate status. Contractor Notes Enter the notes from the contractor. Comments New Comment Enter a comment as desired.
Comments are recorded with the name of the author and the date and time saved.
References Upload or select any relevant files or documents. You can use drag and drop to add a file to this section. For more information on using this section, refer to References section.
-
Click Save to save your work.
-
To send the ASI to the selected architect contact, select Sign via Docusign in the action bar.
Note For technical reasons, you must first save the record for the Sign via Docusign option to be available.
-
To send the ASI to the selected contractor contact, select Send to Contractor in the action bar.
-
To not use the workflow and instead simply log the ASI as issued, select Mark Issued in the action bar. This action updates the status to "Issued" and sets the ASI to the end of the workflow. Reset to New appears in the action bar and the Sign via Docusign and Send to Contractor actions are no longer available.
The Use Docusign Workflow setting is enabled in configuration by default. When enabled, the Sign via Docusign option appears on the action bar when the ASI record is saved.
Select this option to send the ASI record to the selected architect contact for a Docusign signature. For more information on using Docusign in Kahua, refer to Docusign in Kahua.
Note For technical reasons, you must first save the record for the Sign via Docusign option to be available.
If you have been designated as the contractor contact on an ASI and it has been sent to you, it will appear as a task in your instance of Kahua.
To respond to the ASI, complete the following steps:
-
Navigate to the tasks app by clicking the tasks icon
 in the header or by selecting the task from the Open Tasks section of the Kahua home page. For more information, refer to Open the Tasks app.
 -
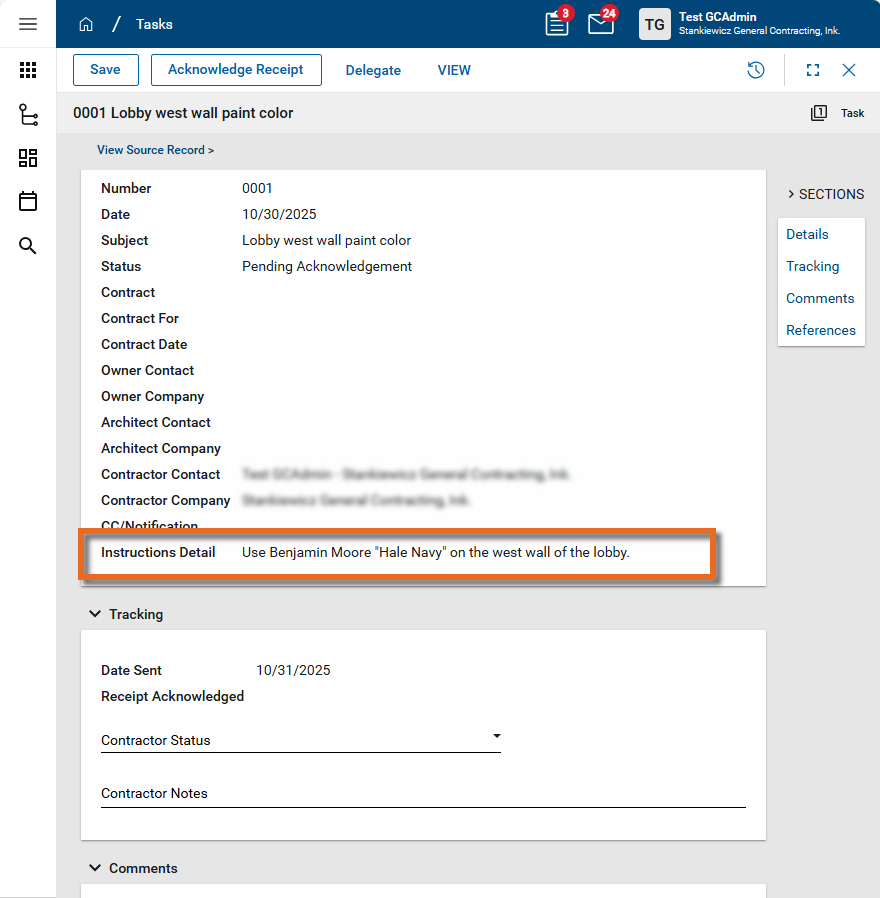
Select the task to open the detail pane. For information on navigating the detail pane, refer to Log view/Split View/Detail View.
-
Information in the ASI appears in the Details section. Review the Instructions Detail field for the Supplemental Instructions.
-
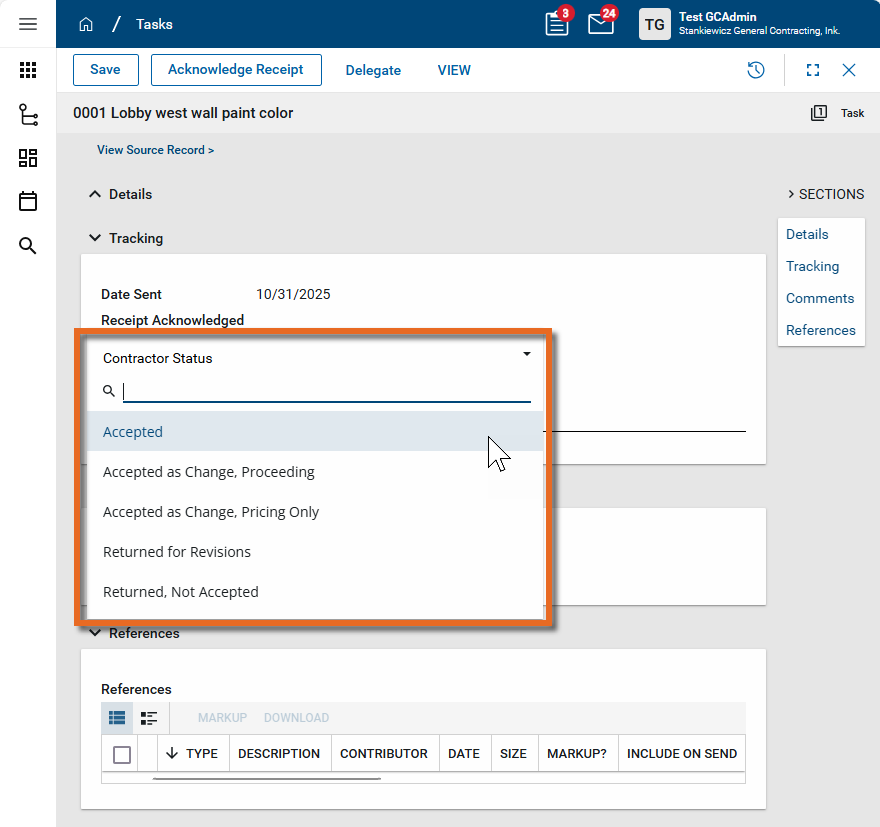
If the Contractor Status and Contractor Notes fields are available in the Tracking section, select the appropriate status from the list and enter any notes as appropriate.
-
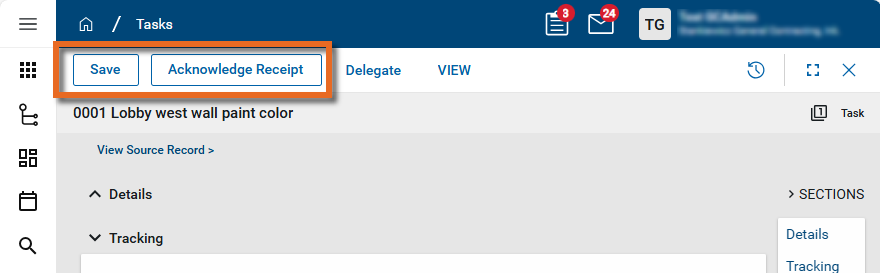
Click Save to save your work.
-
Select Acknowledge Receipt in the action bar to acknowledge receipt of the ASI and return your response to the originator.
If the ASI needs to be amended and re-sent after the architect's signature has been obtained or it has been received by the contractor, you can select Reset to New in the action bar.
This action returns the ASI status to "Draft" and allows you to repeat the Sign via Docusign workflow and the Send to Contractor workflow. This action can be repeated as many times as necessary.
If you are not using workflow, you may want to generate a PDF version of an ASI for printing or routing electronically.
To generate a PDF version of an ASI, complete the following steps:
-
Open the detail view of the ASI.
-
Select View from the action bar. Select View w/References to include any files from the References section in the PDF file.
-
The file viewer opens. Click the Open PDF icon
 to access the PDF file for saving or printing. For more information on using the file viewer, refer to Introducing Kahua's new File Viewer.
Your domain administrator or another user with the appropriate permissions can configure the app in the Configuration application.
Important When working in the Configuration app, it is important to review the header and ensure that you are working at the correct level in the hierarchy, either the root domain or at a partition or project level.
Settings that you establish at the root domain or lower levels will inherit down the hierarchy until they are overridden. For more information on the hierarchical structure of Kahua, refer to Understanding the hierarchical structure of Kahua.
The Configuration app can be accessed directly through the apps list (Apps > Administration > Configuration), or by right-clicking on an application in the launch bar and selecting Configure. When you select Configure for an app from the launch bar, the detail view of the configuration page for that application opens automatically.
For general information on configuring this app in Configuration, refer to Application configuration.
The following items are specific to this application: