Barcodes
Notice Kahua is a very flexible and customizable platform. In your domain, this application may have been modified to meet your company's needs. The online help uses default field labels for field names and describes standard workflows. Please check with your domain administrator for specific information about working in your organization's domain.
The Barcode app is where you can manage the relationship of the barcodes used to identify a physical asset or location to the record of that asset or location in Kahua.
In the field, you can use the Kahua mobile app to scan barcodes and associate those barcodes with the appropriate asset or location records.
From the asset or location apps in Kahua mobile, you can scan barcodes previously associated with assets or locations and access the appropriate records.
Note If you are interested in this app and it is not available in your domain, reach out to Support or your account representative for more information.
Key elements of the app include the following:
-
The system reads existing barcodes. It does not generate barcode values or barcode images.
-
The Barcodes app is available on both desktop and mobile devices.
-
You can create the association of a barcode record to an asset or location by scanning a barcode, uploading or selecting an image that contains the barcode, or manually entering a barcode value.
-
Barcode values must be unique for the domain and alphanumeric.
-
Each barcode record can be linked to a single record, either an asset record or a location record. Each asset and location can be associated with multiple barcodes.
-
When you scan a barcode from the Assets or Locations app, Kahua can open the linked record or filter records based on the linked location.
How to . . .
 Associate a barcode with an asset or location record
To create a new barcode record and associate it with an asset or location using either the mobile app or the desktop or webhost, complete the following steps:
-
Ensure that you are in the correct project or partition.
-
Navigate to the Barcode application (Apps > All Apps > Barcode).
-
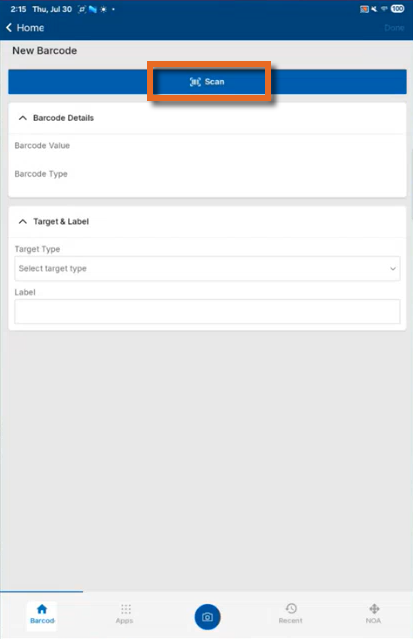
In the mobile app, click the Add icon
 to open the New Barcode page. In the desktop or web hosts, select New Barcode or Scan.
 -
Complete the following fields as appropriate:
Field Description Details Barcode Value Enter the Barcode Value in one of the following ways:
-
Scan Barcode - Select Scan and scan the barcode. If the barcode is successfully detected, the Barcode Value field is automatically populated.
-
Use an image - Click Select File to upload an image on desktop or select a photo on mobile. If a barcode is detected, the Barcode Value field is automatically populated.
-
Enter a value manually - Enter the barcode value directly in the Barcode Value field.
Important Barcode values must be unique. Duplicate barcode values cannot be saved.
Barcode Type When possible, the Barcode Type is automatically detected. If not automatically detected, you can select a value from the dropdown list.
Target Type Select the type of record to associate with the barcode.
The available target types include Asset and Location.
Note The Asset option is only available to Asset Centric Project Management (ACPM) customers.
Target Record Select the record to link to the barcode.
If you select Asset as the Target Type, only asset records are available. If you select Location, only location records are available.
The Target Record field is not available until a Target Type has been selected.
Label By default, the name of the selected asset or location appears here. Modify if appropriate.
-
-
Click Done (in the mobile app) or Save (on the desktop or web) when you are done to save the record.
Retrieve asset or location records by scanning a barcode
After the relationship between a barcode and an asset or location is created, you can access the asset or location record by scanning the barcode from the appropriate app.
To do so, complete the following steps:
-
Ensure that you are in the correct project or partition.
-
Navigate to the Assets or Locations application.
-
Select Scan and scan the barcode. In the mobile app, click the More actions icon
 in the upper right corner to open the actions list and select Scan.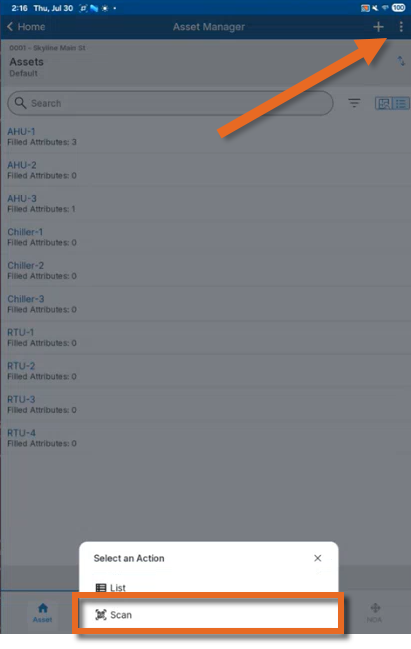
-
If you are in the Locations app when the barcode is scanned, the appropriate location appears.
-
If you are in the Assets app when the barcode is scanned, the following occurs:
-
If the barcode is associated with an asset in that project, the asset appears.
-
If the barcode is associated with a location in that project, the list of assets will be filtered to only show assets associated with that location in the project.
-
If the barcode is associated with an asset or location in a different project, the app offers to open the correct project.
-
-
If barcode scanning or image processing cannot read the barcode, you are prompted to try again. If the second attempt is unsuccessful, an error message appears.
View history or delete a record
To view the history of a barcode record or delete it, complete the following steps:
-
Review the header to ensure that you are in the correct project or partition.
-
Navigate to the Barcode application (Apps > All Apps > Barcode).
-
Locate the barcode record you want to delete and click on it to open the detail view. You can click the search icon
 in the log view header to search for a specific record.
 -
To view the history of the record, click the history icon
 in the detail header.
 -
To delete the record, click the delete icon
 in the detail header. Click OK on the confirmation message.
After the barcode is deleted, it is removed from the barcode list and any linked relationships are updated automatically.
Note If a record was deleted in error, it can be recovered from the Recycle Bin application by an administrator. Deleted records are available for restoration for a set number of days as configured in domain settings. For more information, refer to Using the Recycle Bin.
Generate a log report or other reports
You can generate a report from a selected log view, or use one of the built-in reports available by default in each application. For more information on creating your own reports, including how to set up scheduled reports, refer to Creating ad hoc reports.
Note For information on modifying the logo that appears on reports in your project, refer to Managing report logos.
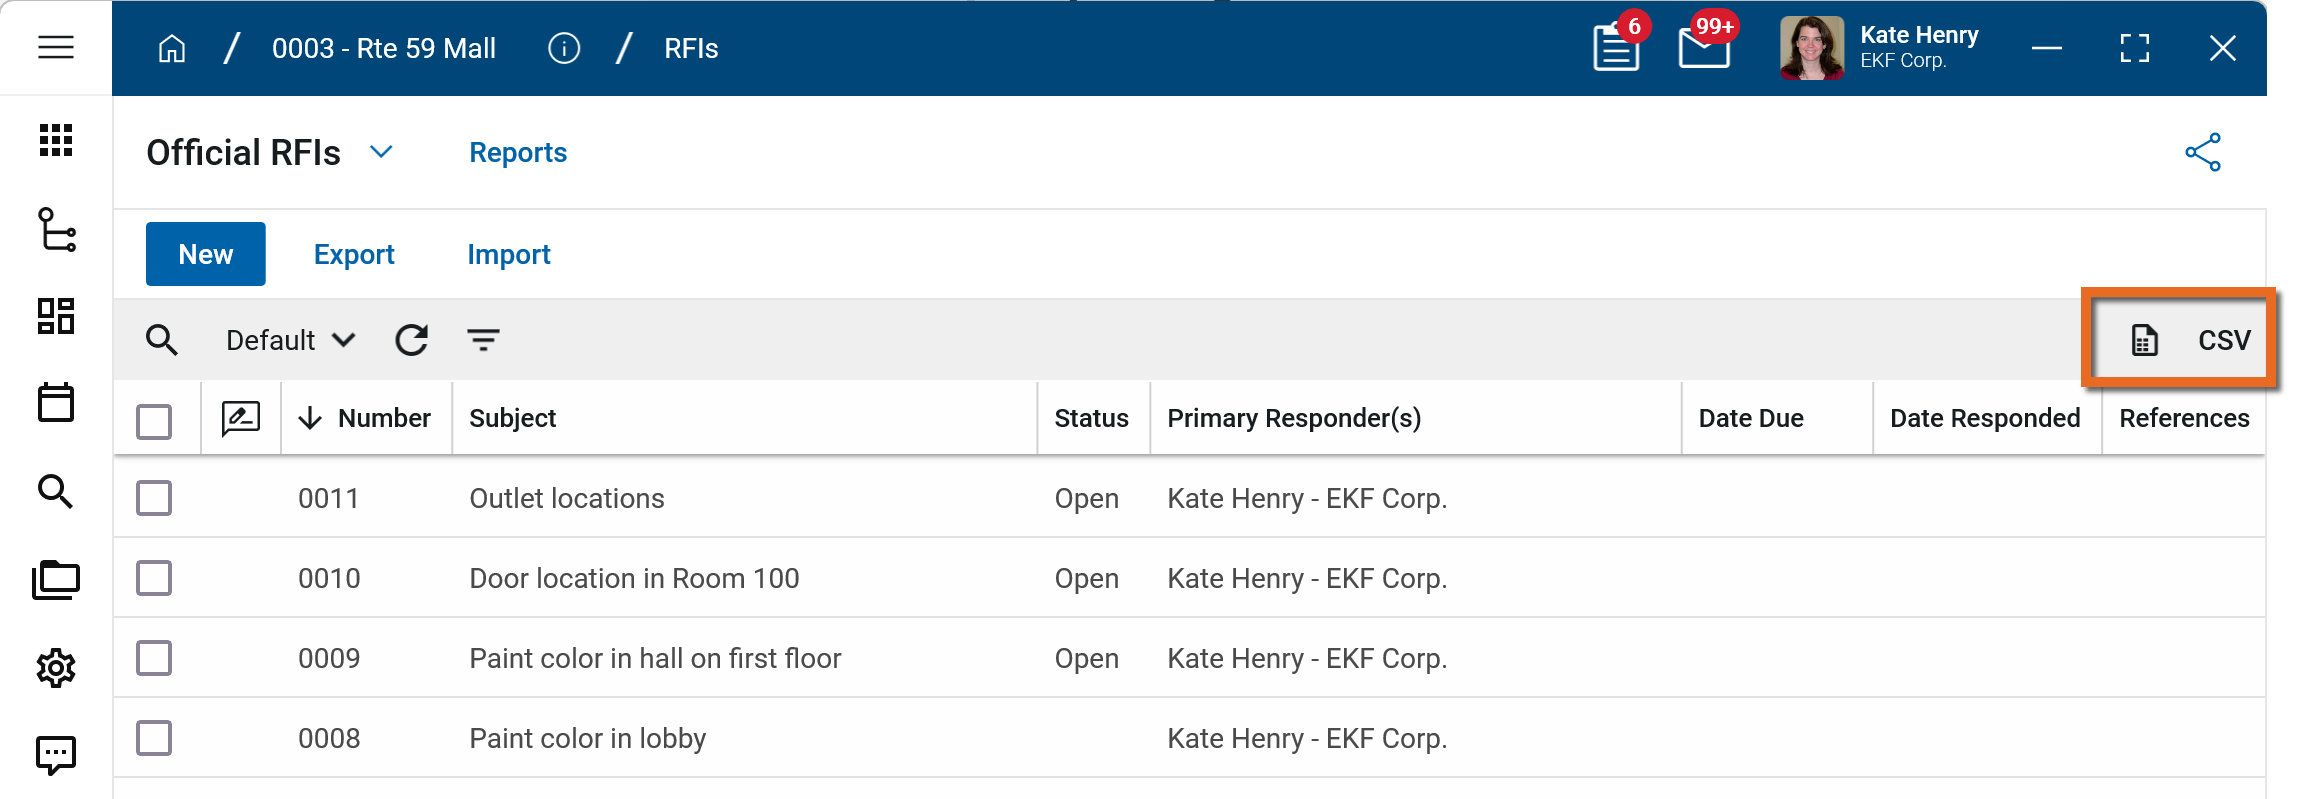
To generate a report from a log view with up to 10,000 records, click the More icon  and select Print. If your log view contains more than 10,000 records, the Print option will be disabled and you can select
  to download the records to a CSV file instead.
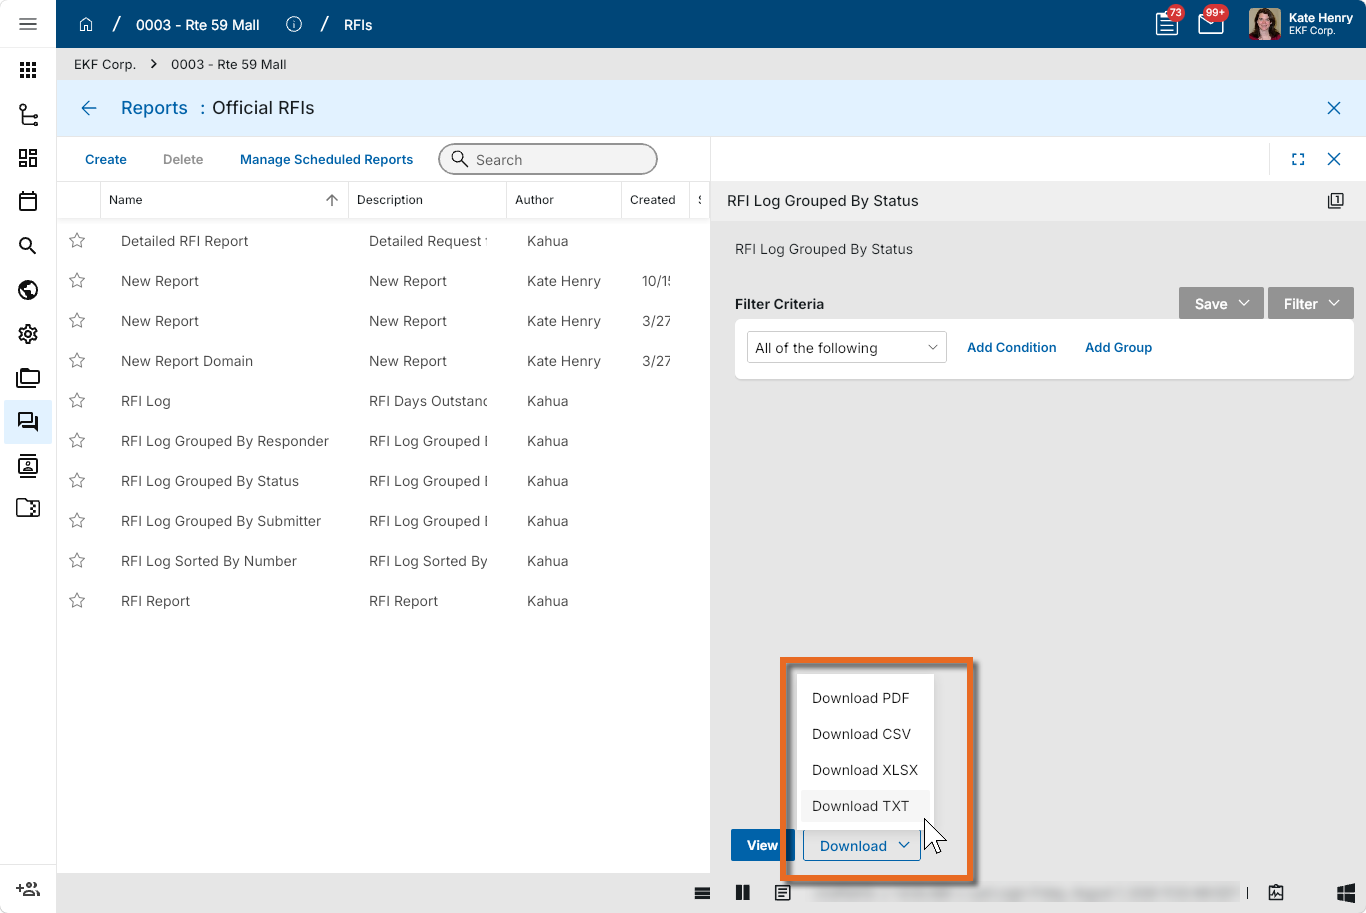
To generate an application report, complete the following steps:
-
Navigate to the application.
-
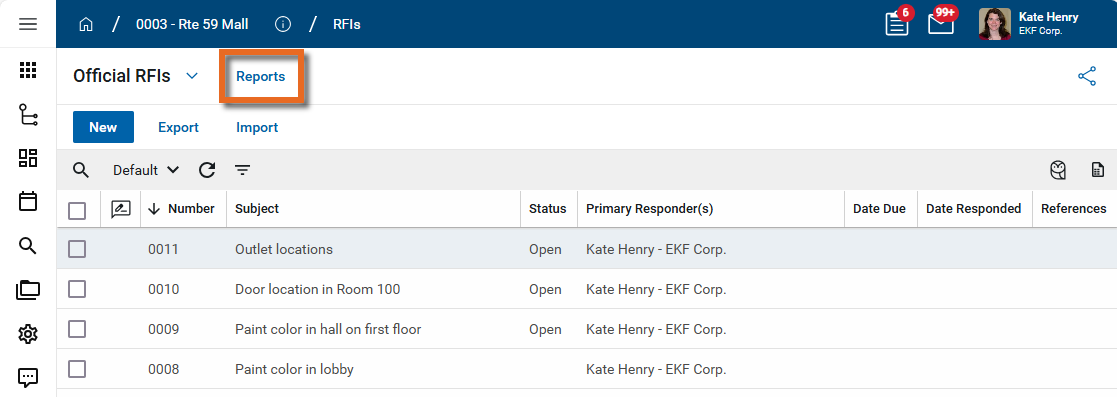
Select Reports in the application title bar.
-
Select the report you want to run.
-
Apply any desired filters.
-
Select View or Download as appropriate. For more information, refer to Viewing Reports.
-
Click the Close icon
 when you are done.
Configure the app
Your domain administrator or another user with the appropriate permissions can configure access to the app and manage user permissions.
Important When working in the Configuration app, it is important to review the header and ensure that you are working at the correct level in the hierarchy, either the root domain or at a partition or project level.
Settings that you establish at the root domain or lower levels will inherit down the hierarchy until they are overridden. For more information on the hierarchical structure of Kahua, refer to Understanding the hierarchical structure of Kahua.
The Configuration app can be accessed directly through the apps list (Apps > Administration > Configuration), or, in some applications, by right-clicking on an application in the launch bar and selecting Configure. When you select Configure for an app from the launch bar, the detail view of the configuration page for that application opens automatically.
For general information on configuring apps in Configuration, refer to Application configuration.
Available application roles
Application roles determine which actions users can perform in the app. Roles are assigned to groups in the Groups app > Permissions tab. Members of the group then have the permissions associated with the roles assigned to the group.
The following roles are available for this application:
| Role | Details |
|---|---|
| Administrator |
Full administration, including add, configure, create lists, edit, import, export, share, view, send, process, remove, and edit view templates. |
| Contributor |
Can add, edit, open, view, send, and process records. |
| Moderator |
Can add, edit, import, export, remove, share, open, view, send, and process records. |
| Observer |
Can open, view, send, and process records. |
| Referencer |
View-only access to records. |
Note To manage these permissions, open the Groups app and assign the appropriate application role to the group. Only users with the appropriate permissions can manage application roles. For more information, refer to Managing Permissions.