CSI MasterFormat Codes
CSI codes are a standardized classification system used in the construction industry to organize detailed information about construction materials, products, and activities on a project.
The CSI MasterFormat Codes app is a domain level app that allows you to upload CSI codes for use in other applications, primarily the Asset Management suite of apps. You can import the codes or add them manually.
Note The CSI MasterFormat Codes app is primarily used with the Asset Management suite of apps. To add CSI codes to use on the project level for cost activity codes and with document management apps such as Submittals and RFIs, refer to CSI Codes.
Key elements to know about this application include the following:
-
The CSI MasterFormat Codes app is a domain level app. The values entered here are available for use in all projects in your domain, regardless of which project or partition is open when records are added.
-
You can import the codes or enter them manually.
How to . . .
 Create a record
To create a new record, complete the following steps:
-
Review the header to ensure that you are in the correct project or partition.
-
Navigate to the CSI MasterFormat Codes application (Apps > Index Management > CSI MasterFormat Codes).
-
Click New in the action bar.
-
Complete the following fields as appropriate:
Field Description Number Enter the CSI MasterFormat code number. This field is required. Title Enter the title for the CSI MasterFormat code. This field is required. Description Enter an optional description for the code. -
Click Save when you are done.
Import existing records
If you have existing data that you want to import into this app, you can do so through the import process.
You will first generate an export of an existing record to access the correctly formatted spreadsheet file for the import. Once the exported file is available, add the appropriate values for the records you want to import to the exported spreadsheet. You can then import those records. For more detailed information on the importing process, refer to Importing records.
Generate a log report or other reports
You can generate a report from a selected log view, or use one of the built-in reports available by default in each application. For more information on creating your own reports, including how to set up scheduled reports, refer to Creating ad hoc reports.
Note For information on modifying the logo that appears on reports in your project, refer to Managing report logos.
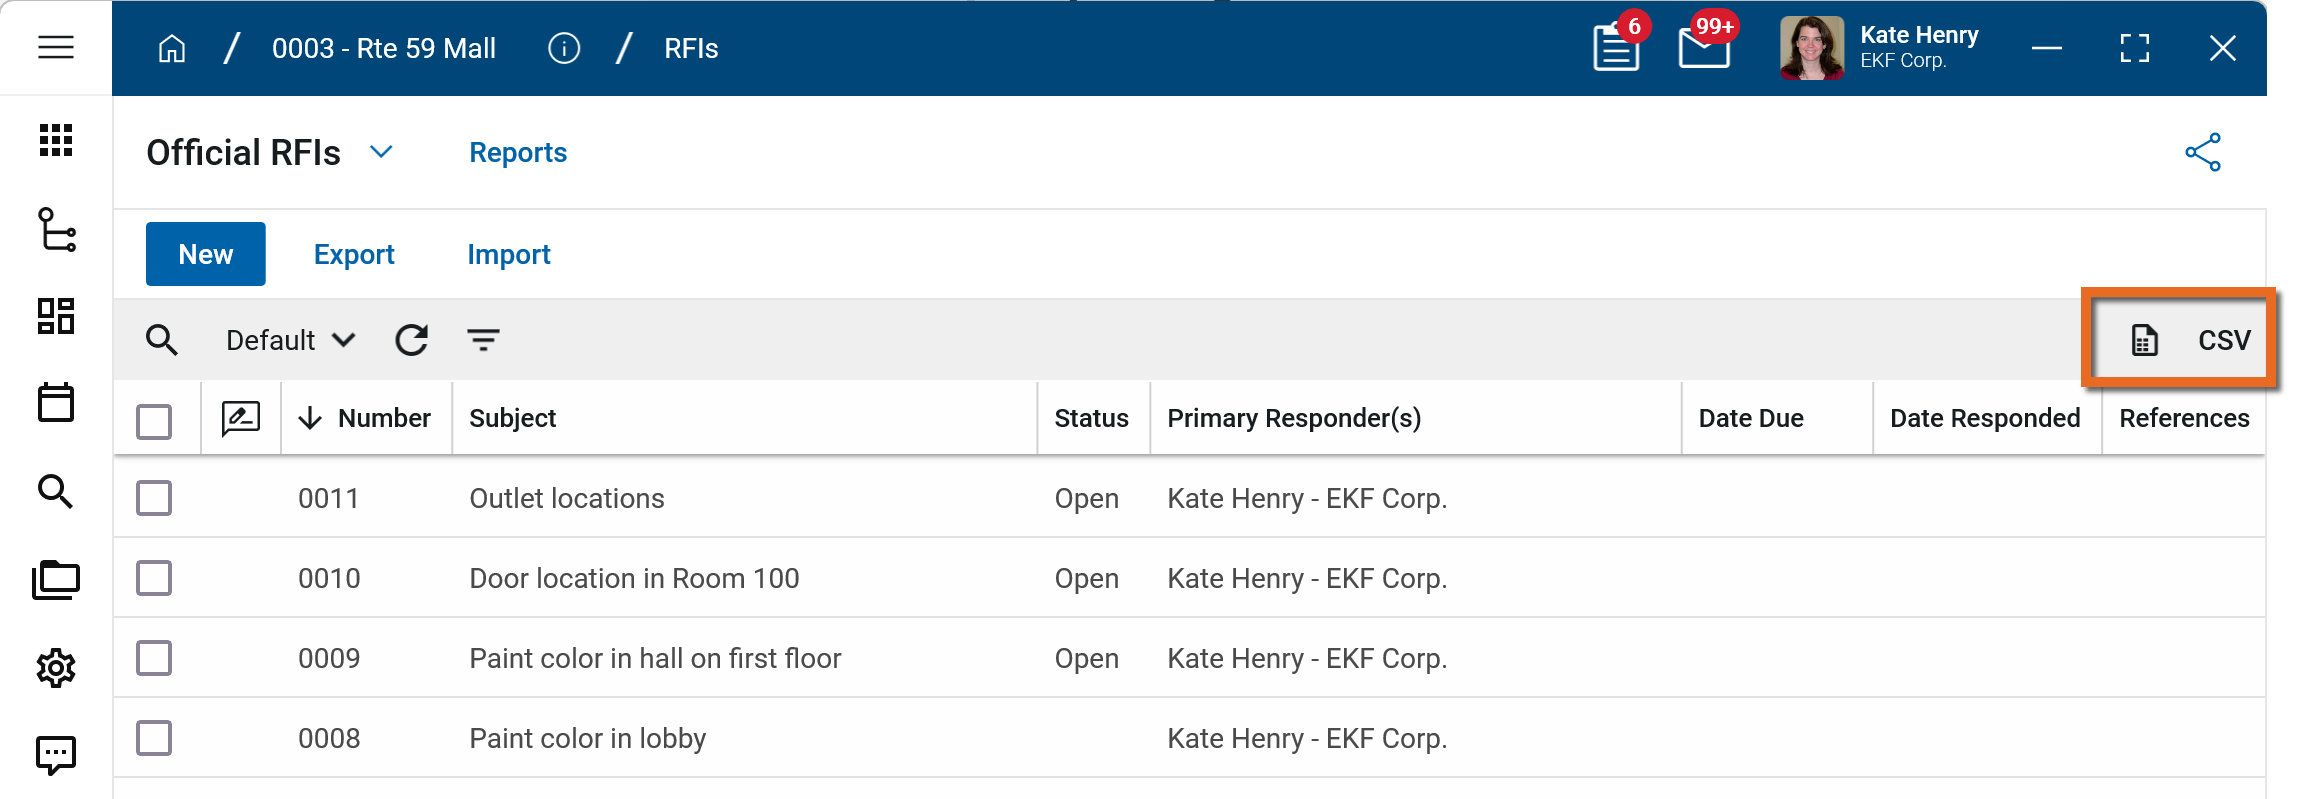
To generate a report from a log view with up to 10,000 records, click the More icon  and select Print. If your log view contains more than 10,000 records, the Print option will be disabled and you can select
  to download the records to a CSV file instead.
To generate an application report, complete the following steps:
-
Navigate to the application.
-
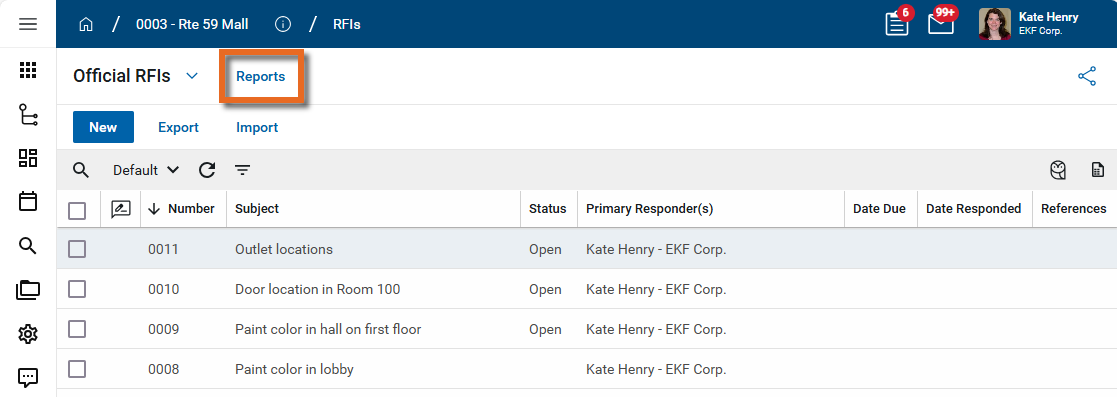
Select Reports in the application title bar.
-
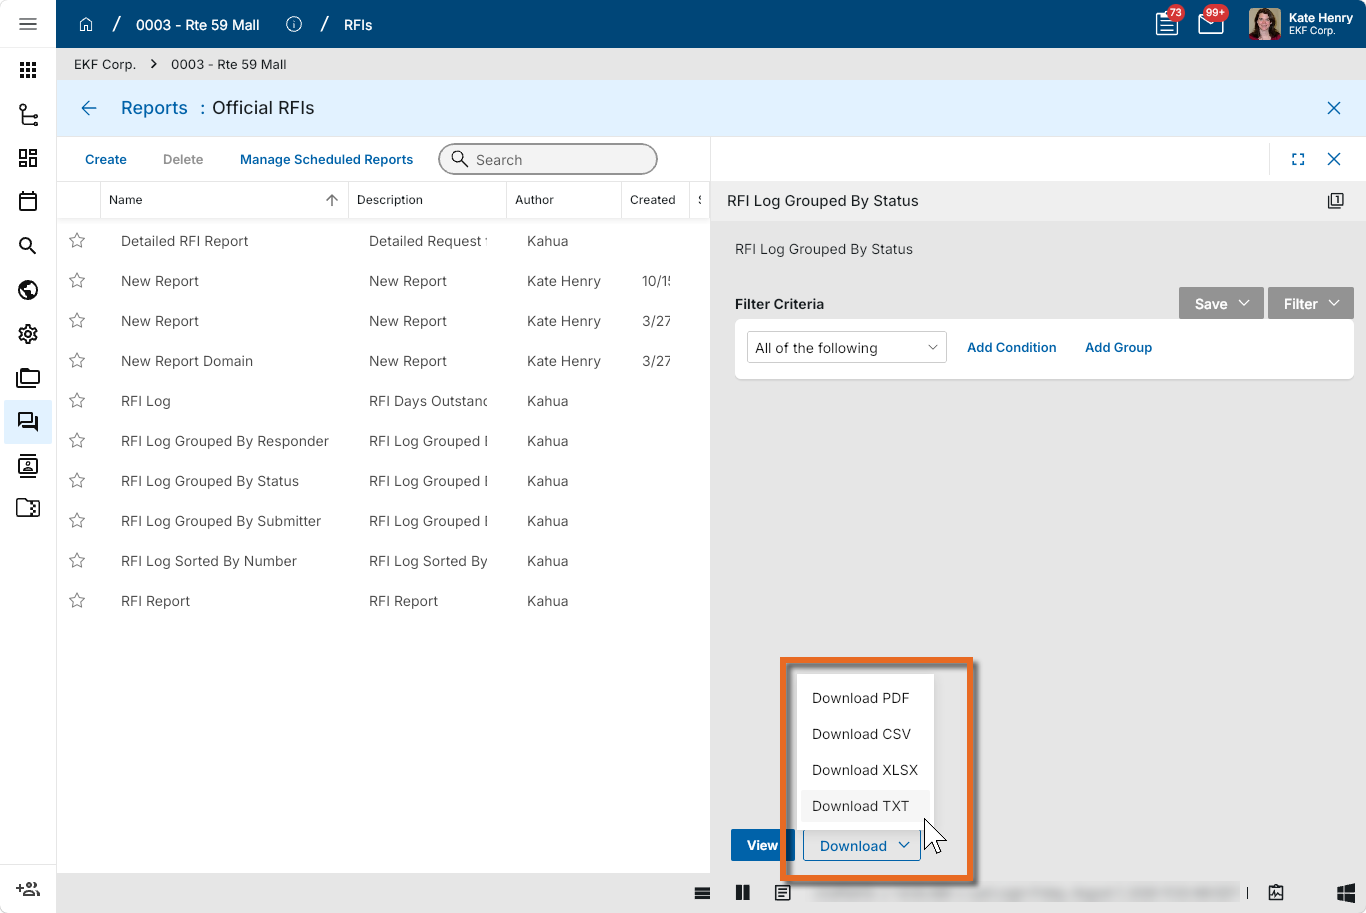
Select the report you want to run.
-
Apply any desired filters.
-
Select View or Download as appropriate. For more information, refer to Viewing Reports.
-
Click the Close icon
 when you are done.
Perform standard actions on a single record (print, send, view history, delete, etc.)
From the detail view of a record, there are several standard actions you can take. Depending on your permissions, some or all of the following options may be available to you:
-
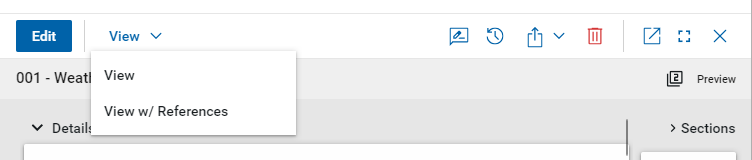
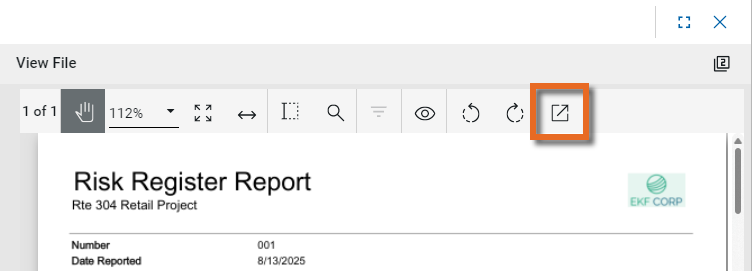
View and View w/References - Select View or View w/References to open a PDF view of the current record. The PDF file can be printed or shared from the viewer by clicking on the Open PDF icon
 .
.
Note Only references where the Include on Send value is set to "Yes" are included in the View w/References.
Additionally, if Include Markup on Send is set to "Yes", any markups on the file are included. -
Discussions
 - Select this icon to open the Discussions panel. If enabled in your domain, the discussions feature allows you to participate in public or private conversations associated with specific records. For more information, refer to Discussions.
 -
View History
 - Select this icon to open the History page for the record. The history page provides details regarding all activity (creation, edits, saves, etc.) performed on the record. Click view edit to drill down into more detail on a specific action. Click hide edit to close the action detail. Click the Close icon
  to close the history page.
 -
Send actions
 - Click this icon to select an appropriate Send action for the record. The following options may be available to you:
-
Copy Link and Copy Portable View Link - Select this option to copy a URL link for the record or record's portable view to your clipboard. This link can be sent outside of Kahua. Users with the appropriate permissions will be able to open Kahua directly to that record or portable view by using the link.
-
Copy QR Code and Copy Portable View QR Code - Select this option to generate a QR code for the currently open record or record's portable view. The QR code can be shared directly from your screen, or copied to your clipboard to be shared as appropriate. This QR code can be shared outside of Kahua. Users with the appropriate permissions will be able to open Kahua directly to that record or portable view by using the link.
-
Send - Select this option to open a new Kahua message with the open record included as an attachment. References with the Include on Send value set to "Yes" are also included. For more information, refer to Messages app.
-
-
Delete
 - Select this option to delete the open record. You must agree to the confirmation message before the record is deleted.
Alternatively, right-click on the record in the log view and select Delete, or select multiple records from the log view and select Delete.
Note If a record is deleted in error, your domain administrator may be able to recover it through the Recycle Bin app. For more information, refer to Using the Recycle Bin.
-
Open in a new window
 - Select this option to open the current record as read-only in a new window (desktop host) or browser tab (web host). This allows you to navigate to other records in the original Kahua instance while keeping the read-only window or tab open for reference. To re-open the record on the read-only window or tab in Kahua, select Open in the header.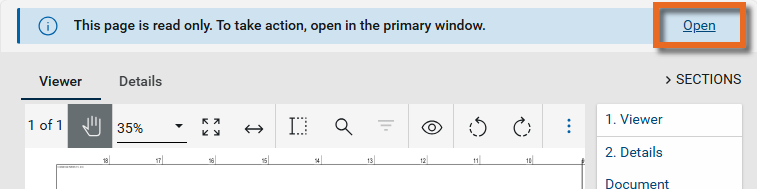
-
Maximize
 and Minimize
  - Select Maximize to open the record to a full screen view. From the full screen view, select Minimize
  to return to the original view.
 -
Close
- Select the close icon to close the currently open item.