Funding SOV Breakdown
Applicable Packages This article applies to the Kahua for K-12 Education, Kahua for Owners, Kahua for General Contractors, and Kahua for Subcontractors packages. If you are not sure if this is relevant to you, please contact your domain administrator.
The Funding SOV Breakdown app allows you to approve funding contracts at a higher level, then break the contract into smaller funding items through an SOV Breakdown record.
The SOV Breakdown process is optional and is used between funding commitment documents, such as funding contracts and funding change orders, and the pay request process.
Key elements to know about this app include the following:
-
SOV Breakdown is optional. Funding contracts use the standard non-SOV process unless SOV Breakdown is enabled for the contract.
-
If SOV Breakdown is enabled, a pay request cannot be created for the contract until the SOV Breakdown record has been created and saved.
-
You can break down contract line items into as much detail as needed, approve some or all line items for inclusion on the pay request, and control line-item numbering as it appears on the pay request.
-
You can control which approved funding change orders are included on the SOV Breakdown and therefore on the pay request.
-
SOV item status controls whether an SOV item appears on the pay request and therefore whether it can be billed or progressed.
How to . . .
 Create and manage an SOV Breakdown
Unlike many cost apps, SOV Breakdowns are not created directly from the SOV Breakdown application tab. To create a new SOV Breakdown record, complete the following steps:
-
Review the header to ensure that you are in the correct project or partition.
-
Navigate to the Funding Contracts application (Apps > Cost Management > Funding > Contracts) and open the appropriate funding contract record.
-
Select the Use SOV Breakdown check box.
Important SOV Breakdown can be enabled only if there are no existing pay requests for the contract. If pay requests already exist, the Use SOV Breakdown setting cannot be changed.
-
Route the contract for approval, if it is not already approved.
-
After approval, select Process to SOV from the available workflow actions. The Funding SOV Breakdown app opens with a newly created, editable SOV Breakdown record for the associated contract.
-
In the SOV Breakdown record, review the Commitment Items section. This section displays the activity codes and amounts from the source contract.
-
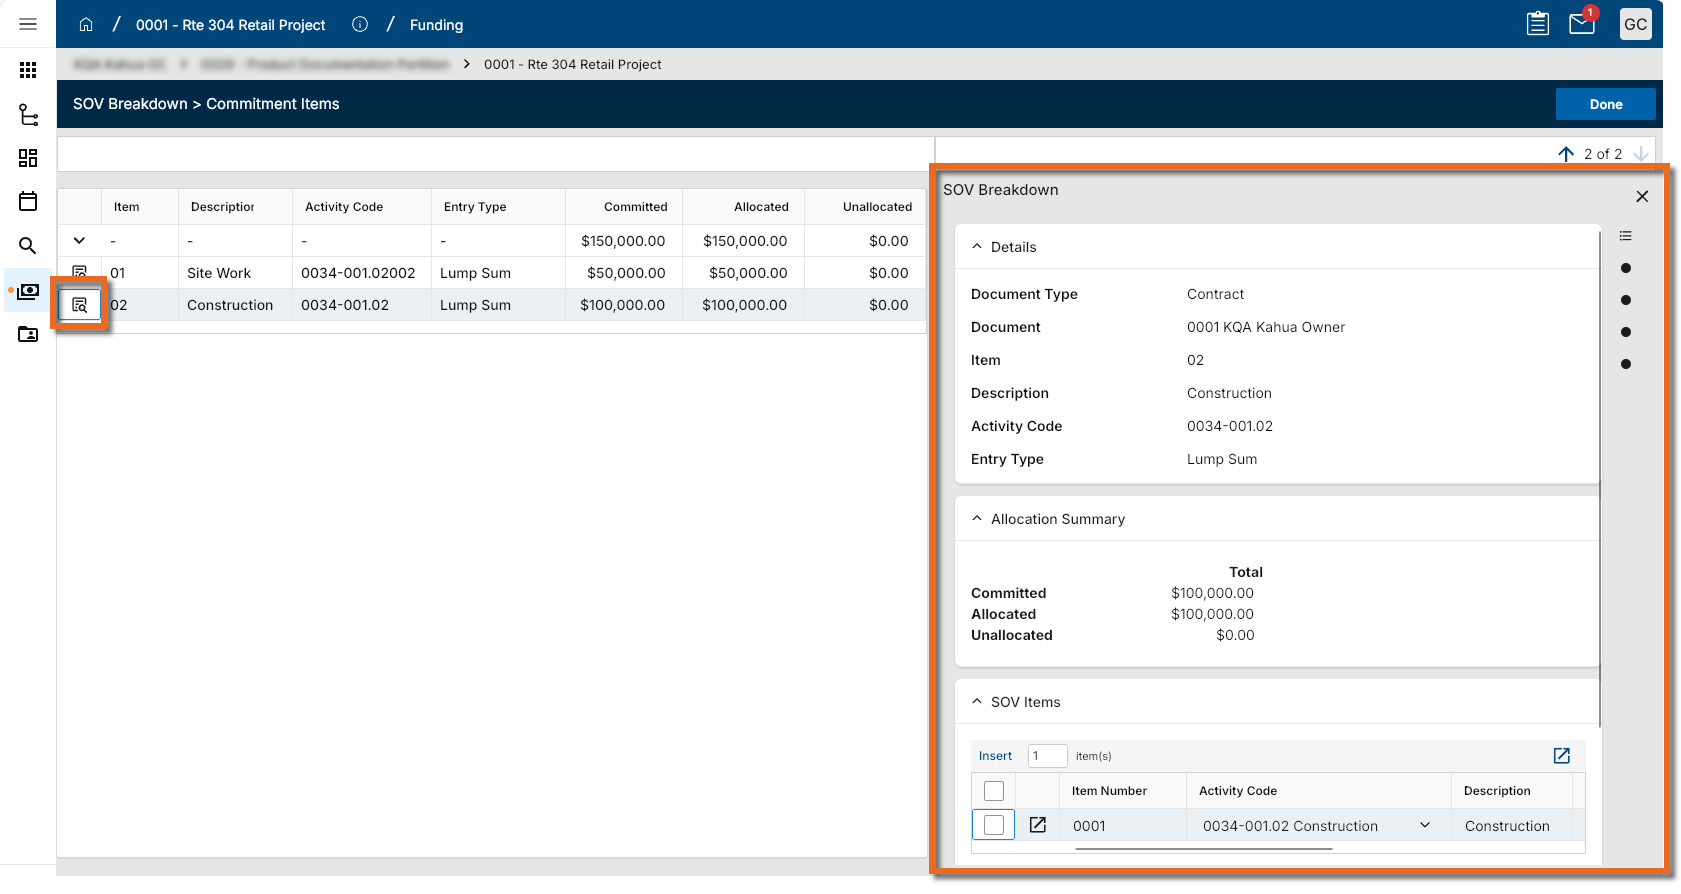
Select the View Details icon
 to open the detailed commitment items window.
 -
Select the contract line item to break down. The detail view displays the SOV Breakdown record for the selected contract or change order line item.
-
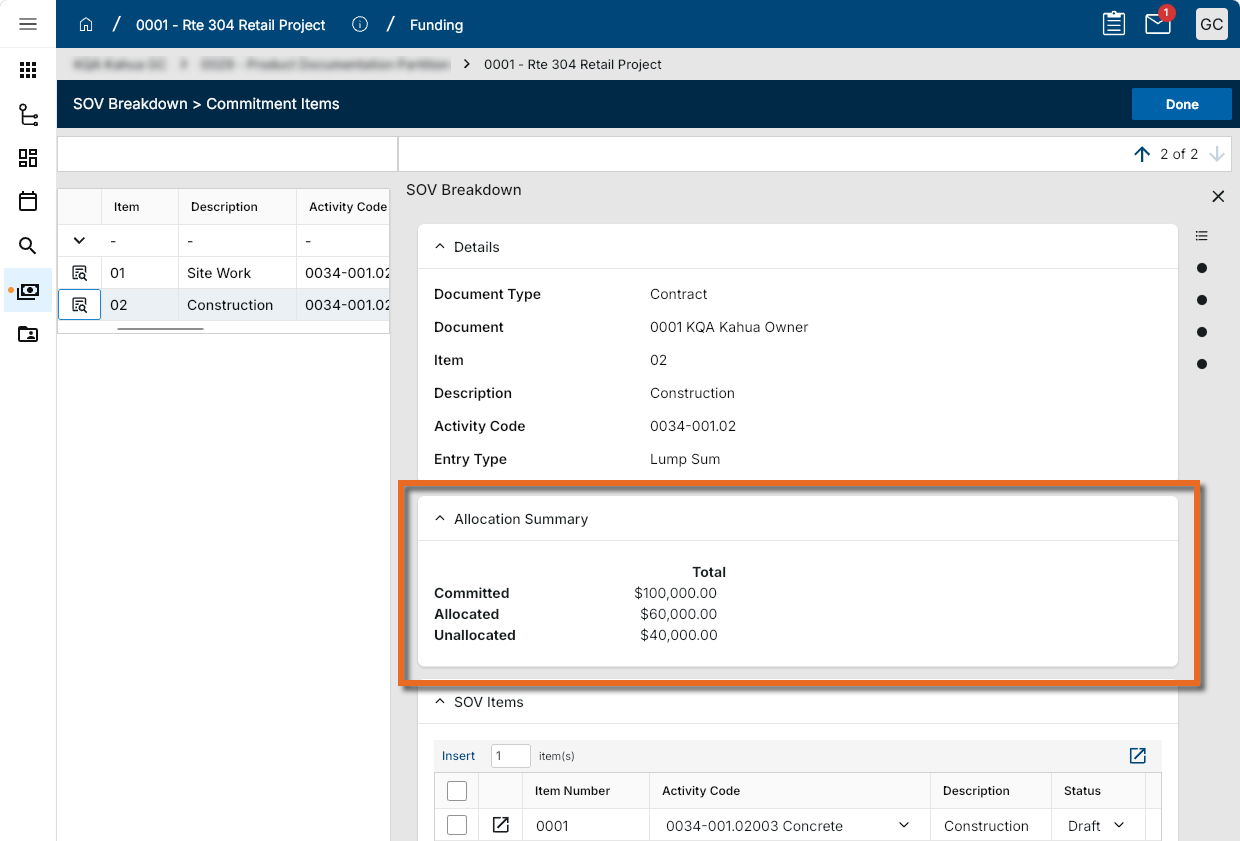
Review the Allocation Summary section to understand the committed, allocated, and unallocated amounts for the selected line item.
-
In the SOV Items section, select Insert to add one or more SOV line items. Optionally, select Auto Allocate to adjust totals so allocated funds equal the committed amount.
-
Complete the record fields as appropriate:
Note Depending on how this app is configured for your domain, there may be fields or sections listed here that do not appear for you, fields and sections that appear for you which are not listed here, or fields and sections which appear in a different order. If you have any questions, check with your domain administrator.
Field Description SOV Breakdown record Document Type Identifies the source type of the record, such as a contract or change order. Document Identifies the associated source document, such as the funding contract number. Item Identifies the selected source contract or change order line item that is being broken down. Description The description of the selected source line item. If allowed by your process, some edited values from the source line item may update on the SOV Breakdown. Activity Code Defines the cost structure for the item. Related SOV items must use the same activity code as the source line item or a child of that activity code. Allocated The total amount allocated to SOV line items for the selected source line item. Unallocated The remaining amount not allocated to SOV line items. SOV Items Item Number Controls how the item is numbered for readability and how it appears on the pay request. Activity Code Select the appropriate activity code. For a given source line item, all related SOV items must use the same activity code or a child of that activity code. Description Enter or modify the description of the SOV line item. Status Controls whether the SOV item appears on the pay request and therefore whether it can be billed or progressed. Amount Enter the allocated amount for the SOV line item. The sum of allocated amounts for all related SOV items must be between zero and the source line item amount. Used on Pay App Indicates whether the item is available for inclusion on a pay request. Progress Tracks progress or billing status as the pay request is prepared and submitted. References Upload or select any relevant files or documents. You can use drag and drop to add a file to this section. For more information on using this section, refer to References section.
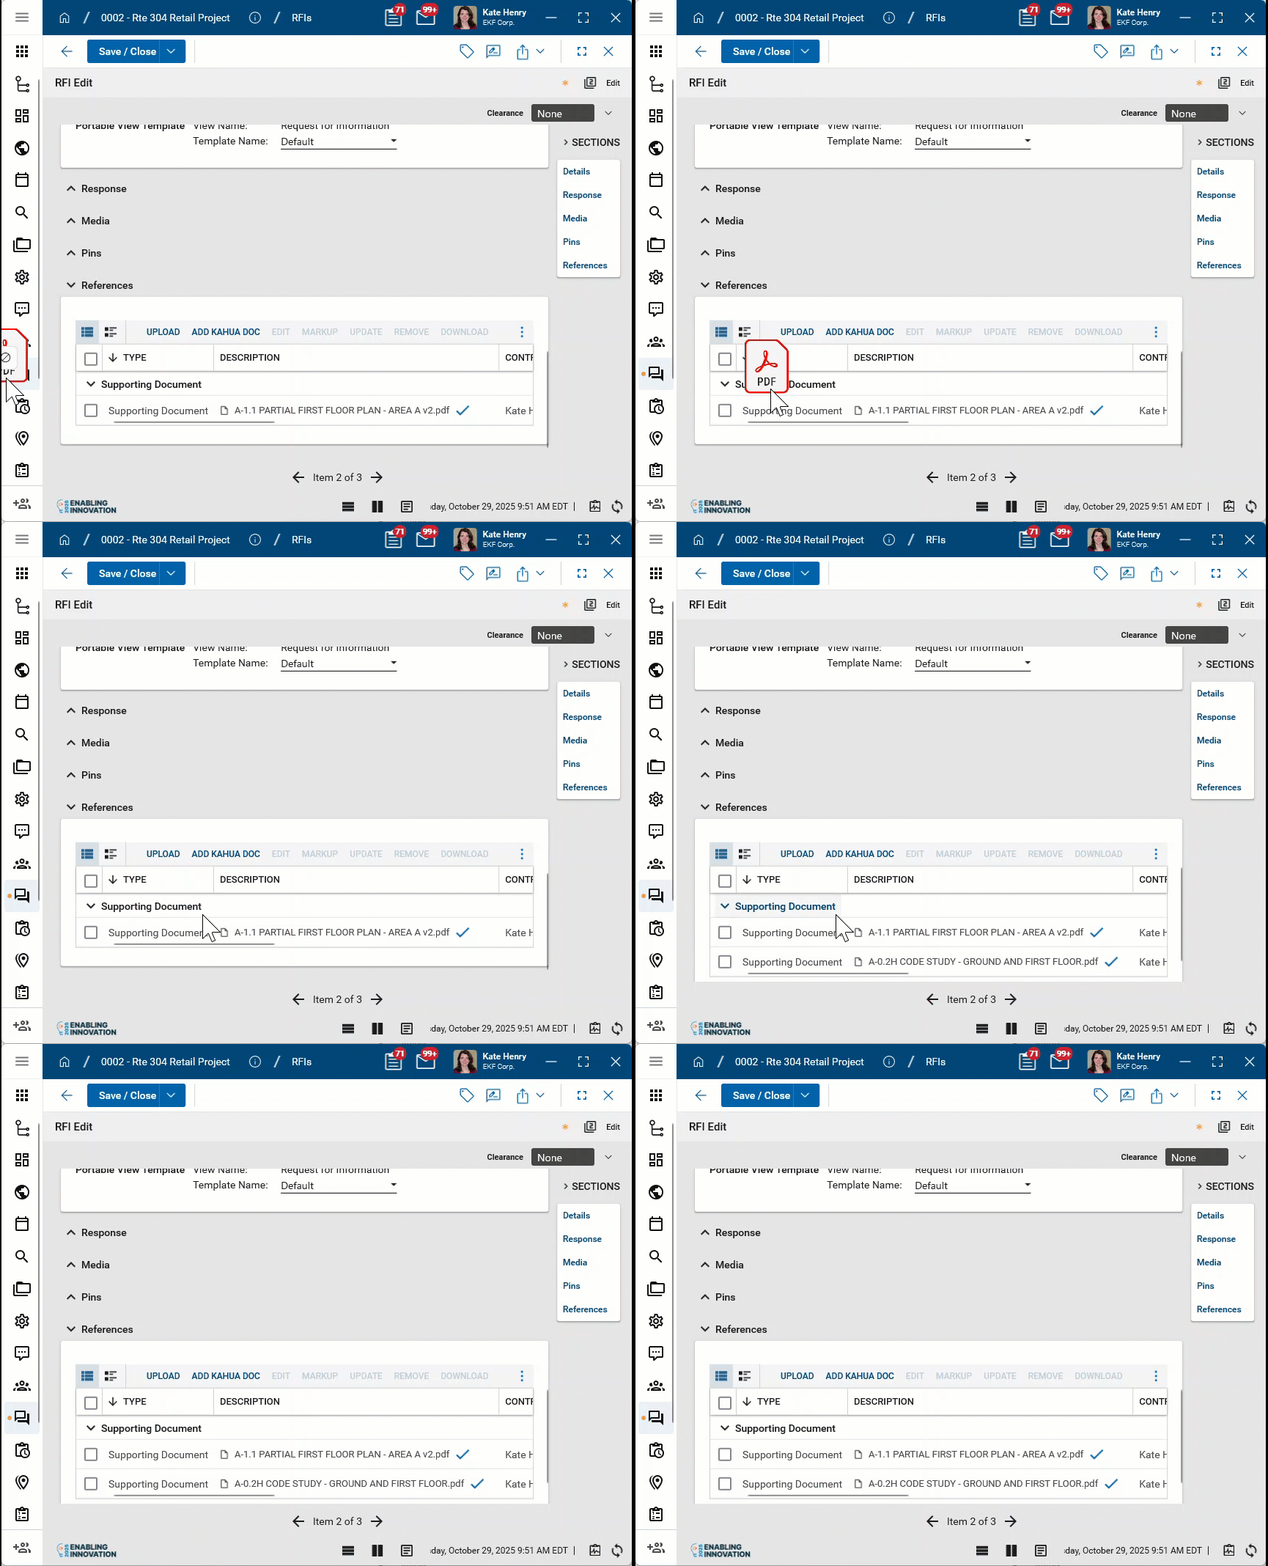
Note Initially, the line item from the approved contract has the full amount allocated to itself. To reallocate amounts to new SOV line items, subtract the amount being reallocated from the contract line item.
Note If different branches of the WBS need to be segregated inside the contract, use different contract line items with different activity codes.
-
Click Save/Close when you are done. After saving, select Approve All Items, as appropriate, so SOV line items are available for the pay request.
Note If Kahua detects that a change order item has been added to the SOV more than once, you will not be able to save the SOV. You can instead close the SOV Breakdown record, reopen it, and then review the listed change order items before trying again.
Process a funding contract to SOV Breakdown
You can use the Process to SOV action to create an SOV Breakdown record from an approved funding contract. To process a funding contract to SOV Breakdown, complete the following steps:
-
Review the header to ensure that you are in the correct project or partition.
-
Navigate to the Funding Contracts application (Apps > Cost Management > Funding > Contracts).
-
Open the appropriate funding contract and confirm that Use SOV Breakdown is selected.
-
Confirm that the contract is approved.
-
Select Process to SOV from the workflow actions at the bottom of the record view.
-
The Funding SOV Breakdown app opens with a new SOV Breakdown record for the associated contract. Complete the SOV Breakdown record and click Save/Close.
Select change orders for an SOV Breakdown
Use Select Change Orders to add approved funding change orders to the SOV Breakdown. The change order must be approved before it can be added to the related SOV Breakdown.
To select change orders for an SOV Breakdown, complete the following steps:
-
Review the header to ensure that you are in the correct project or partition.
-
Navigate to the Funding SOV Breakdown application (Apps > Cost Management > Funding > SOV Breakdown).
-
Open the SOV Breakdown record for the funding contract associated with the approved change order.
-
Select Select Change Orders from the action bar.
-
Select the change orders to include in the SOV Breakdown and click Save.
-
The selected change order and its line items are added to the SOV Breakdown.
Note For change order SOV items, the amount and activity code are not editable because they must match the approved change process. You can edit the description for readability on the pay request and edit the status to control whether the item appears on the pay request.
Refresh an SOV Breakdown
Use Refresh to update the SOV Breakdown with certain modifications to related funding contract line items and included funding change orders.
Note If edits to the contract line items are allowed and made, some edited values, such as item number and description, automatically update on the SOV Breakdown. Other edited values, such as activity code and total amount, may be refreshed on the SOV Breakdown.
Note The activity code of a contract line item can be changed only to another value where all sub activity codes on the related SOV Breakdown line item are still child items of the revised activity code. Otherwise, the SOV Breakdown data cannot be refreshed.
Approve all SOV items
Use Approve All Items to approve all line items within the SOV Breakdown record. The approval status of SOV items controls whether the items appear on the pay request and therefore whether they can be billed or progressed.
To approve all SOV items, open the SOV Breakdown record and select Approve All Items from the action bar.
Import existing records
If you need to enter many SOV items against multiple contract items, it may be easier to use the import and export tools in the SOV Breakdown app.
-
Review the header to ensure that you are in the correct project or partition.
-
Navigate to the Funding SOV Breakdown application (Apps > Cost Management > Funding > SOV Breakdown) and open the appropriate record.
-
Add one SOV line item to each contract line item so the Excel template is easier to follow and understand.
-
Select Export Items to generate an Excel file in the correct format for import.
-
Complete the Excel file. Ensure the formatting in the import file matches the exported template, including cells formatted as text.
-
Return to Kahua and select Import Items.
-
Select the completed file and complete the import.
Example When entering an activity code, ensure the correct number of zeroes is used for each level. For source item type values, ensure CONTRACTITEM remains capitalized.
You will first generate an export of an existing record to access the correctly formatted spreadsheet file for the import. Once the exported file is available, add the appropriate values for the records you want to import to the exported spreadsheet. You can then import those records. For more detailed information on the importing process, refer to Importing records.
Use action buttons
After completing and saving an SOV Breakdown record, you can use the action buttons to manage the record:
-
Send - Send record details to others using Kahua messaging. Do not confuse Send with workflow routing.
-
Edit - Update and maintain the record. If the record is out for review or signature, Edit may be unavailable.
-
View - Open the portable view for printing or sharing.
-
History - Review record activity, including creation, updates, and saves. Use View Edit to see details on specific updates.
-
Import - Import SOV item data using a standard Excel template.
-
Export - Export record data as an Excel spreadsheet with the same formatting as the import template.
-
URL - Copy a URL link to the record.
Note Sending a record via Send is not the same as routing a record through workflow for review or signature.
Generate a log report or other reports
You can generate a report from a selected log view, or use one of the built-in reports available by default in each application. For more information on creating your own reports, including how to set up scheduled reports, refer to Creating ad hoc reports.
Note For information on modifying the logo that appears on reports in your project, refer to Managing report logos.
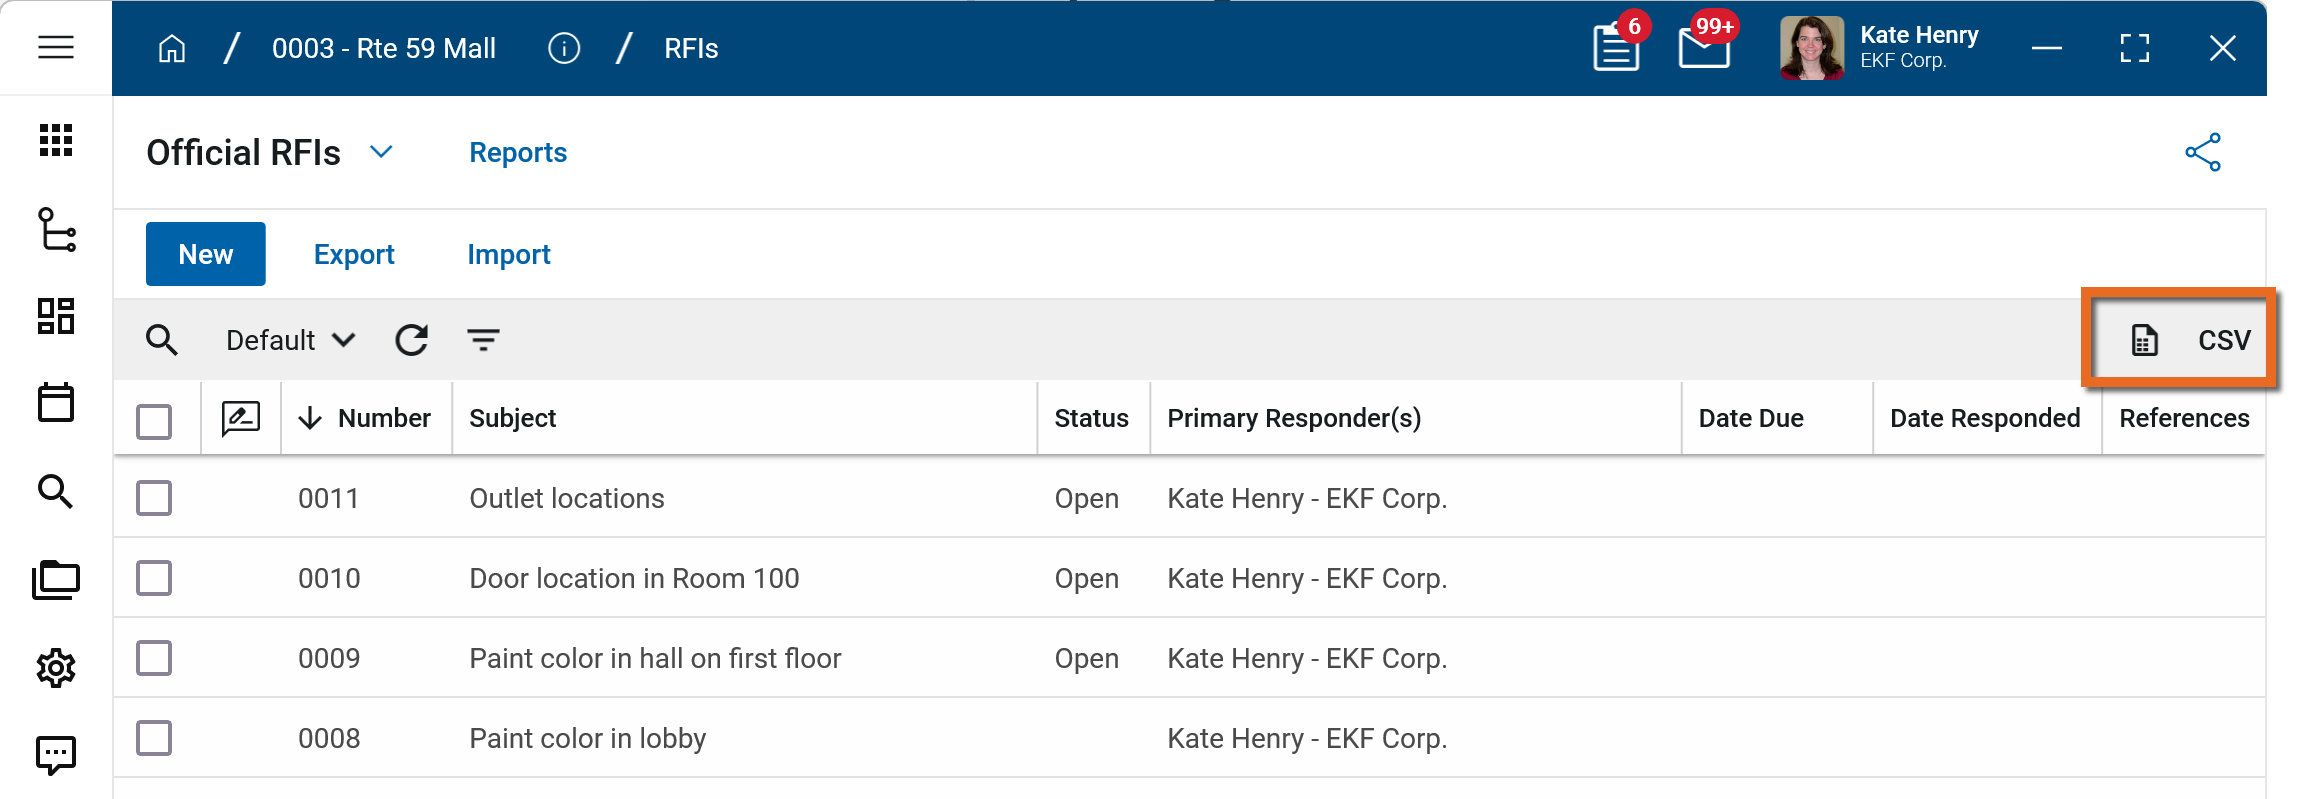
To generate a report from a log view with up to 10,000 records, click the More icon  and select Print. If your log view contains more than 10,000 records, the Print option will be disabled and you can select
  to download the records to a CSV file instead.
To generate an application report, complete the following steps:
-
Navigate to the application.
-
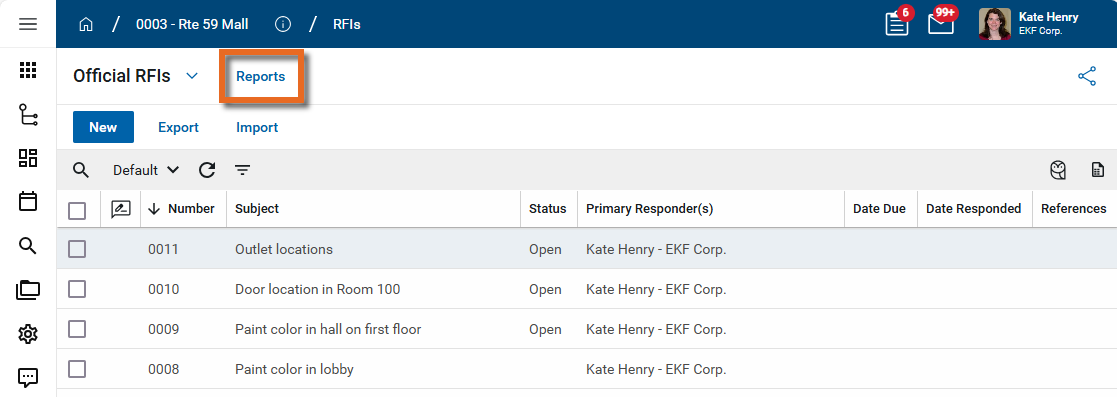
Select Reports in the application title bar.
-
Select the report you want to run.
-
Apply any desired filters.
-
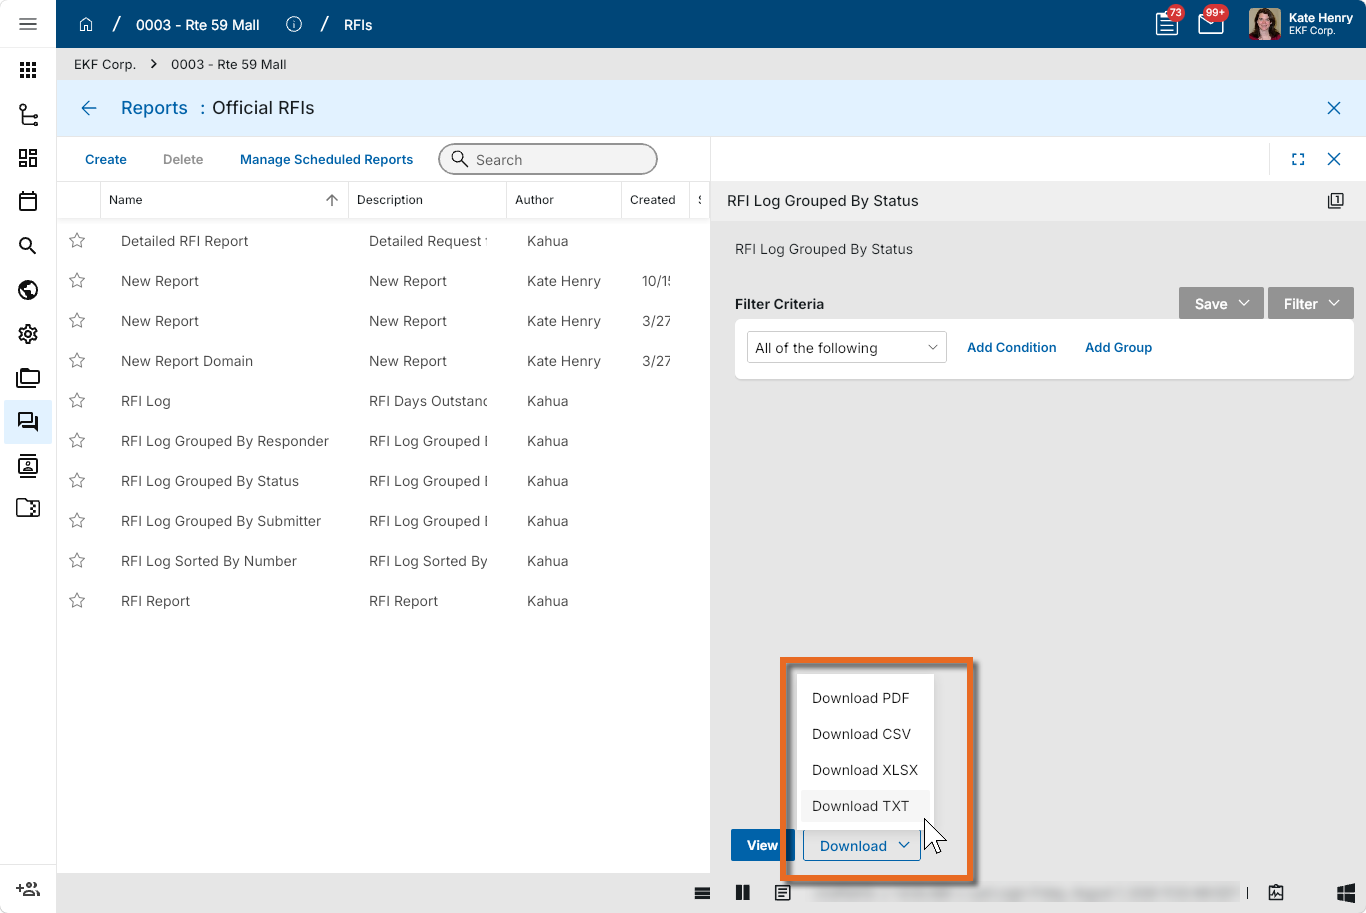
Select View or Download as appropriate. For more information, refer to Viewing Reports.
-
Click the Close icon
 when you are done.
Configure the app
Your domain administrator or another user with the appropriate permissions can configure the app in the Configuration application.
Important When working in the Configuration app, it is important to review the header and ensure that you are working at the correct level in the hierarchy, either the root domain or at a partition or project level.
Settings that you establish at the root domain or lower levels will inherit down the hierarchy until they are overridden. For more information on the hierarchical structure of Kahua, refer to Understanding the hierarchical structure of Kahua.
The Configuration app can be accessed directly through the apps list (Apps > Administration > Configuration), or, in some applications, by right-clicking on an application in the launch bar and selecting Configure. When you select Configure for an app from the launch bar, the detail view of the configuration page for that application opens automatically.
For general information about the Configuration app, including how to set up an approval workflow, refer to Configuration app.
For general information on configuring this app in Configuration, refer to Application configuration.
The following items are part of application configuration and are specific to this application:
Available application roles
Application roles determine which actions users can perform in the app. Roles are assigned to groups in the Groups app > Permissions tab. Members of the group then have the permissions associated with the roles assigned to the group.
The following roles are available for this application:
| Role | Details |
|---|---|
| Administrator |
Full administration, including add, configure, create lists, edit, import, export, share, view, send, process, remove, and edit view templates. |
| Contributor |
Can add, edit, open, view, send, and process records. |
| Moderator |
Can add, edit, import, export, remove, share, open, view, send, and process records. |
| Observer |
Can open, view, send, and process records. |
| Referencer |
View-only access to records. |
Note To manage these permissions, open the Groups app and assign the appropriate application role to the group. Only users with the appropriate permissions can manage application roles. For more information, refer to Managing Permissions.