Project Information
The project information page is where you can view basic information about the project. Users with the appropriate permissions can edit project information. This page is also where basic information about a project is entered when the project is first created.
To open the project information page, select the information icon, ![]() or
or ![]() . This icon is available from several locations, including the following:
. This icon is available from several locations, including the following:
-
Kahua header
-
Project widgets on the Kahua home page
-
Project Finder app
Note The same information can be viewed and edited in the Projects or Portfolio Manager app (Apps > All Apps > Projects or Portfolio Manager). For more information, refer to Projects app or Portfolio Manager.
How to . . .
To edit basic project information, open the project information page and select Edit.
Complete the following steps:
-
Open the Project Information page from one of the following locations:
-
If you have the project open, in the header select the information icon
 next to the project name.
 -
If you do not currently have the project open, navigate to the Project Finder app and select the information icon
 from the project list. For more information, refer to Project Finder.
 -
You can also open the Project Information page from the Projects app or the Portfolio Manager app. Refer to Projects app or Portfolio Manager.
-
-
Select Edit from the action bar. The page opens in edit mode.
Note Depending on how this app is configured for your domain, there may be fields or sections listed here that do not appear for you, fields and sections that appear for you which are not listed here, or fields and sections which appear in a different order. If you have any questions, check with your domain administrator.
-
Click Save when you are done.
| Field | Description |
|---|---|
| Details | |
| Logo |
Select Change to add or update a logo for the project. You may select a logo file or picture from the project. Select Remove to remove the image file and not associate any image with the project. The image selected here will appear in the header of reports when the Reporting Logo Source for the project is set to "Project" in the Configuration app. Refer to Managing report logos. It will appear on portable views where "Project" is selected as the logo source. Refer to Setting the Portable View logo. It will also appear in the project widget on the home page where this project appears for users using the card view. For more information, refer to Kahua Home Page. |
| Partition Type |
If present, select the appropriate partition type. Note Select "Navigation" to indicate this project is for hierarchy navigation only. This option removes all project information fields other than Name and Number. |
| Number | Enter the project number. |
| Name | Enter the project name. By default, this field is required. |
| Type |
Select the type of project. Note This lookup list is managed in the application configuration of the app used to manage projects in your domain, either the Projects app or the Portfolio Manager app. |
| Status |
Select the project status. Note This lookup list is managed in the application configuration of the app used to manage projects in your domain, either the Projects app or the Portfolio Manager app. |
| Description | Enter a project description. |
| Address | |
|
Address fields |
Enter the project address. |
| Shipping Address | |
|
Address fields |
Enter the shipping address for the project. This address can be used in purchase orders. Note If these fields do not appear when the page is in edit mode, review the configuration page for the Projects app. Refer to Fields |
| Dates | |
| Start Date/ End Date | Enter the start and end dates of the project. Note Projects must have an End Date value for weather data to be saved. For information on configuring and using project weather data, refer to Configuring weather data for a project. |
| Roster | |
| Project Roles |
For each role, select the appropriate Kahua user from the lookup list. These project roles can be selected as "Actors" when configuring approvals. Refer to Approval configuration. Note If you have added users to the Project Directory for this project, you will have the option to choose from that list. If not, all users in your domain will appear on the lookup list. For more information, refer to Project Directory. |
| Project Manager |
The user selected as the Project Manager here will appear on the home page where this project appears for users. For more information on the home page, refer to Kahua Home Page. |
| References | |
| Reference Files |
Upload or select any relevant files or documents. You can use drag and drop to add a file to this section. For more information on using this section, refer to References section.
|
To modify where in the hierarchy the project or partition resides, complete the following steps:
-
Open the Project Information page from one of the following locations:
-
If you have the project open, in the header select the information icon
next to the project name. -
If you do not currently have the project open, navigate to the Project Finder app and select the information icon
from the project list. For more information, refer to Project Finder. -
You can also open the Project Information page from the Projects app or the Portfolio Manager app. Refer to Projects app or Portfolio Manager.
-
-
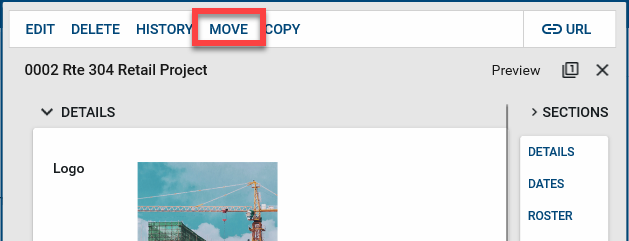
Select Move from the action bar.
-
The domain hierarchy appears. Click on the chevron icon
 to open partition levels. Select the appropriate location for the project and click Move.
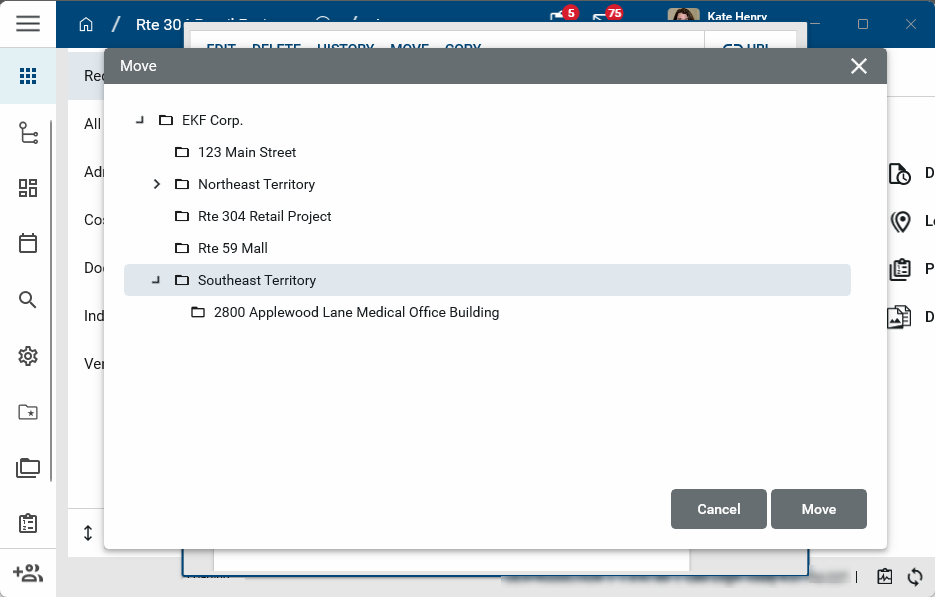
-
The project is moved to the selected location.
To create a copy of this project, complete the following steps:
-
Open the project you want to copy.
-
Open the Project Information page.
-
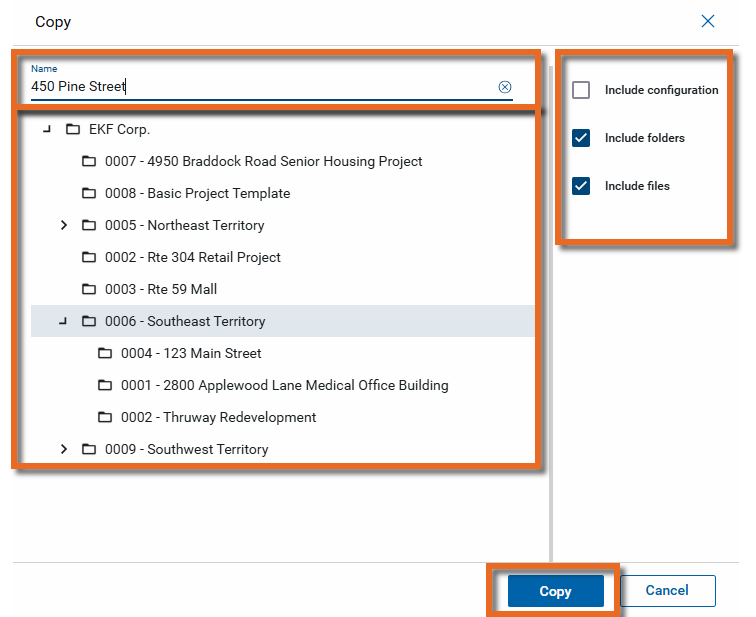
Select Copy from the action bar. The Copy dialog appears.
-
Enter the new project name.
-
Select the appropriate location for the project in the hierarchy.
-
Select Include folders to include the File Manager folder structure in the new project.
-
Select Include files with Include folders to copy both the folder structure from File Manager and the files into the new project.
-
Select Include Configuration to copy the Defaults, Lookups, and Number tabs in Configuration for each app according to the following rules:
-
If the tab is set to Inherit in the source project, the tab in the destination project will be set to inherit.
-
If a tab is set to Override in the source project, the tab in the destination project will be set to Override and will use the values from the source project.
-
-
When you are satisfied with your selections, click Copy.
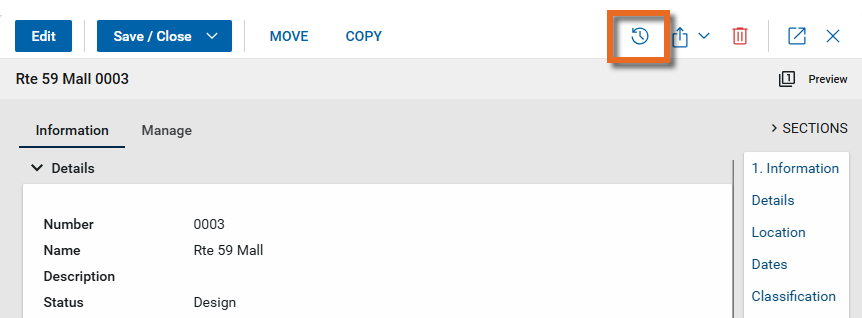
To see the history of changes to this page, including who made each change and when, select the History icon ![]() in the action bar.
in the action bar.
Users with the appropriate permissions are able to delete a project from this page. Typically you would only delete a project if it were created in error and did not contain any data that you wanted to preserve.
Important Deleting a project is a permanent step. Deleted projects cannot be recovered. Completed projects can be archived. Archived projects become read-only and cannot be modified. Refer to Archiving.
To delete a project, complete the following steps:
-
Open the Project Information page from one of the following locations:
-
If you have the project open, in the header select the information icon
next to the project name. -
If you do not currently have the project open, navigate to the Project Finder app and select the information icon
from the project list. For more information, refer to Project Finder. -
You can also open the Project Information page from the Projects app or the Portfolio Manager app. Refer to Projects app or Portfolio Manager.
-
-
Click the Delete icon
 from the action bar.
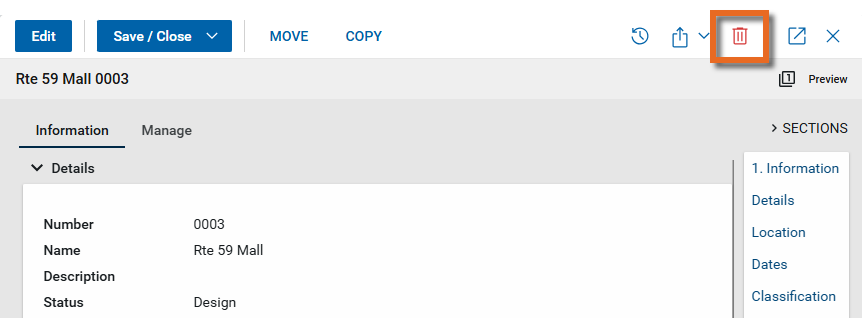
-
A warning message appears. To delete the project, complete the steps in the warning message and confirm the deletion.
Important Deleting a project is a permanent step. Deleted projects cannot be recovered.
-
The project is now deleted and cannot be recovered.