Exhibits
Notice Kahua is a very flexible and customizable platform. In your domain, this application may have been modified to meet your company's needs. The online help uses default field labels for field names and describes standard workflows. Please check with your domain administrator for specific information about working in your organization's domain.
The Exhibits app allows you to manage exhibits to be used on contracts in your domain, partition, or project. When creating a contract, you can select the appropriate exhibits in the Exhibits section.
Key elements of the app include the following:
-
You can upload documents to be used as exhibits on contracts, then apply them as needed.
-
The Exhibits app follows the Kahua inheritance model. The exhibit must be created at a level in the hierarchy that is accessible to all the projects where you want to apply it. To have the exhibits available to all projects in your domain, it must be placed in the root domain.
-
You can use the Projects Disabled section to prevent the exhibit from being available to selected projects. When excluded from a project, the exhibit is also excluded from all projects below it in the hierarchy.
-
You can review what documents use the exhibit in the Included On Documents section.
-
You can manage the exhibits on a contract in the Exhibits section. Refer to Exhibits section.
How to . . .
To create a new exhibit record, complete the following steps:
-
Review the header to ensure that you are in the correct project or partition.
Important The Exhibits app follows the Kahua inheritance model. The exhibit must be created at a level in the hierarchy that is accessible to all the projects where you want to apply it. To have an exhibit available to all projects in your domain, it must be placed in the root domain.
-
Navigate to the Exhibits application (Apps > Cost Management > Exhibits).
-
Click New in the action bar.
-
Complete the following fields as appropriate:
Note Depending on how this app is configured for your domain, there may be fields or sections listed here that do not appear for you, fields and sections that appear for you which are not listed here, or fields and sections which appear in a different order. If you have any questions, check with your domain administrator.
Field Description Details Number Allow Kahua to auto-number the record, or enter a different value.
Note The number format can be configured by your domain administrator. Refer to Number.
Exhibit Type Select the appropriate value.
Note This lookup list is managed in the Configuration app. Refer to Lookups.
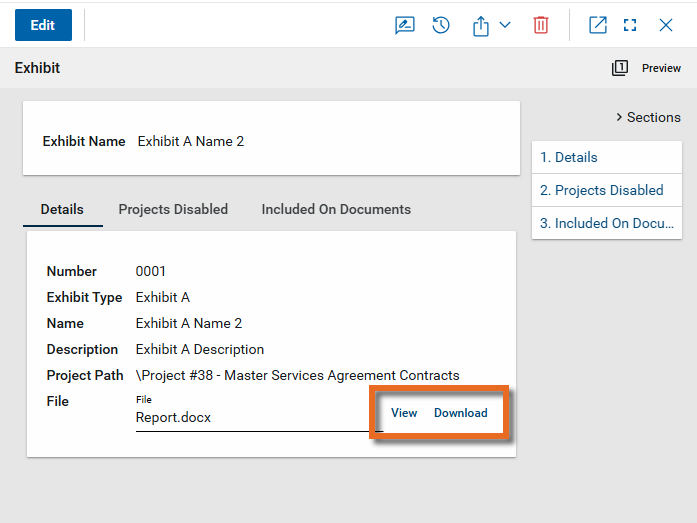
Name Enter a name for the exhibit. Description Enter a description. Project Path The domain, partition, and project where the exhibit record resides appears in this read-only field.
File Click Select File to select the exhibit document. -
Click Save when you are done.
-
Once an Exhibit record is saved, you can View or Download the uploaded file.
You can use the Projects Disabled section to prevent the exhibit from being available to selected projects.
Important When an exhibit is excluded from a project, it is also excluded from all projects below it in the hierarchy.
To prevent an exhibit from being used on a project and all projects below it in the hierarchy, complete the following steps:
-
Review the header to ensure that you are in the correct project or partition.
-
Navigate to the Exhibits application (Apps > Cost Management > Exhibits).
-
Select the appropriate exhibit from the log view to open the detail page. Click Edit to open it in edit mode.
-
Click on the Projects Disabled tab.
-
Click Insert to insert the number of lines into the grid.
-
Click Select to open the Select Project dialog.
-
Navigate to the appropriate project in the project selector tree. Select it and click Ok.
-
Click Save when you are done.
You can review what documents use the exhibit in the Included On Documents section.
To do so, complete the following steps:
-
Review the header to ensure that you are in the correct project or partition.
-
Navigate to the Exhibits application (Apps > Cost Management > Exhibits).
-
Select the appropriate exhibit from the log view to open the detail page.
-
Click on the Included On Documents tab.
-
The records that use the exhibit appear on the list.
You can generate a report from a selected log view, or use one of the built-in reports available by default in each application. For more information on creating your own reports, including how to set up scheduled reports, refer to Creating ad hoc reports.
Note For information on modifying the logo that appears on reports in your project, refer to Managing report logos.
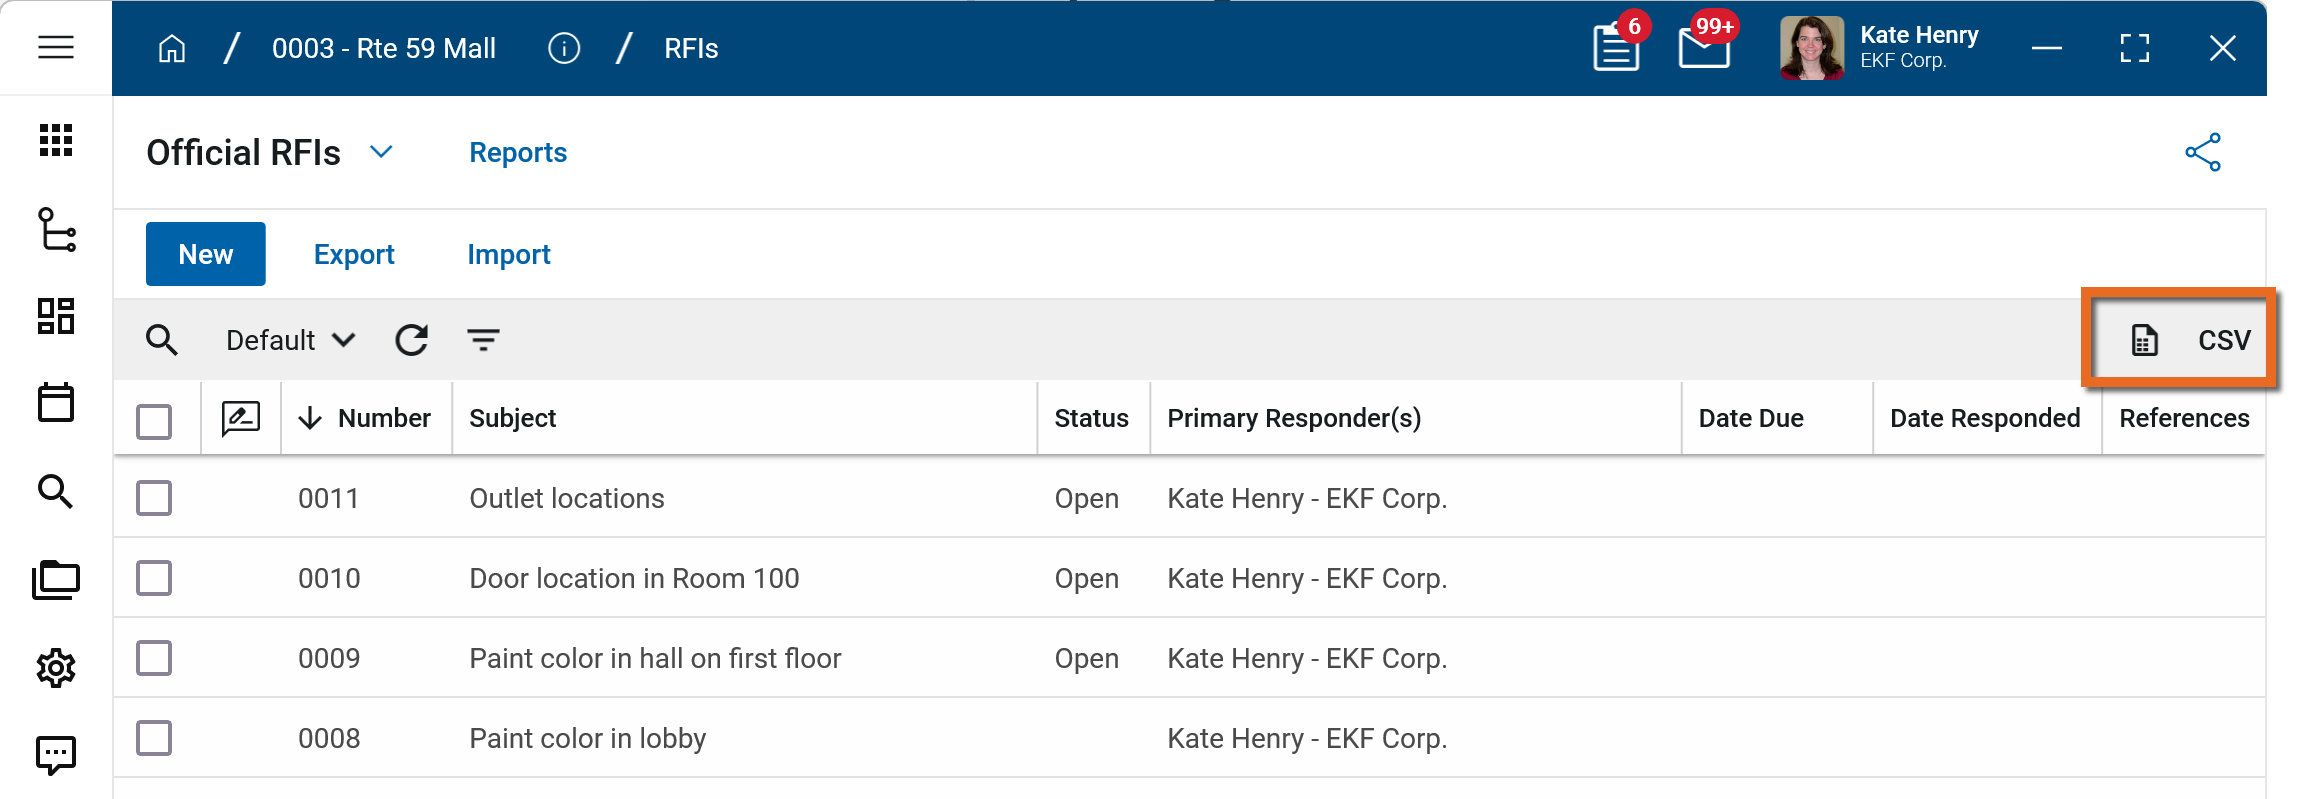
To generate a report from a log view with up to 10,000 records, select the report icon ![]() . If your log view contains more than 10,000 records, the report icon will be disabled and you can select to download the records to a CSV file instead. For more information, refer to Generate a report from a log view.
. If your log view contains more than 10,000 records, the report icon will be disabled and you can select to download the records to a CSV file instead. For more information, refer to Generate a report from a log view.
To generate an application report, complete the following steps:
-
Navigate to the application.
-
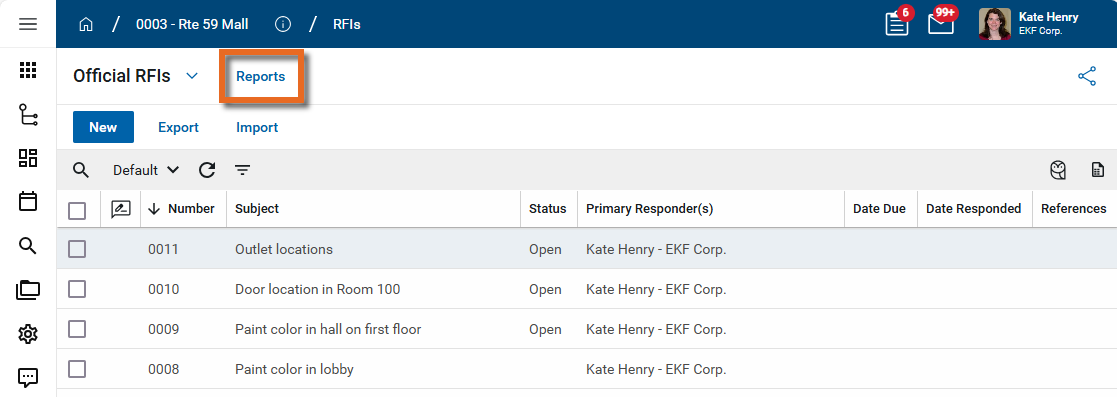
Select Reports in the application title bar.
-
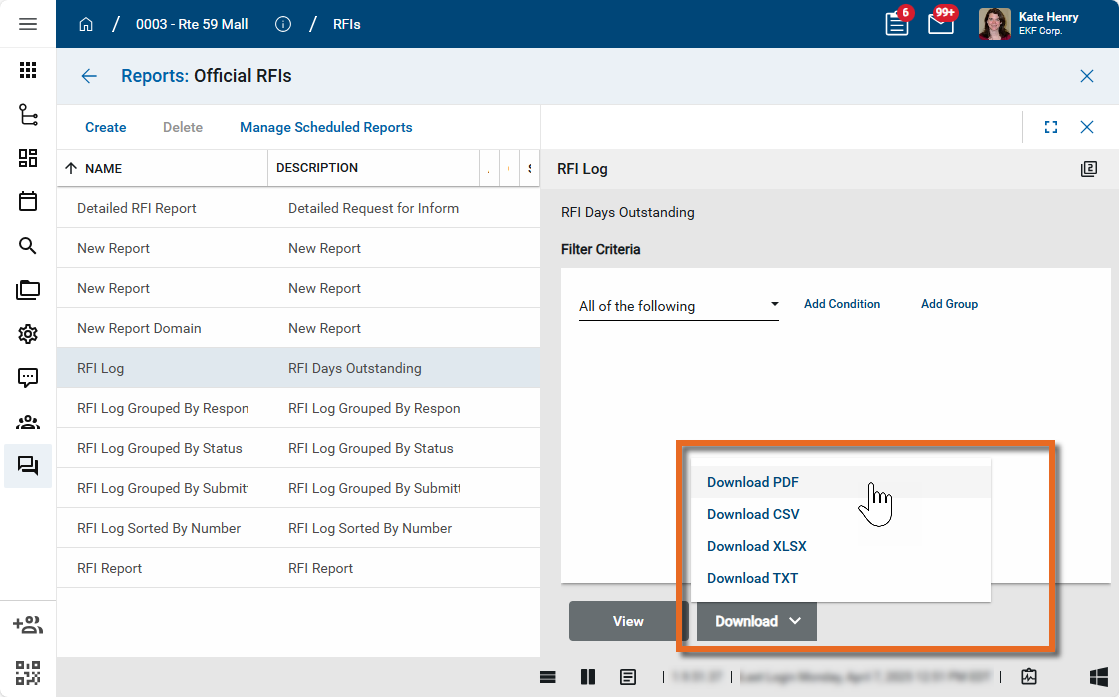
Select the report you want to run.
-
Apply any desired filters.
-
Select View or Download as appropriate. For more information, refer to Viewing Reports.
-
Click the Close icon
 when you are done.
(print, send, view history, delete, etc.)
From the detail view of a record, there are several standard actions you can take. Depending on your permissions, some or all of the following options may be available to you:
-
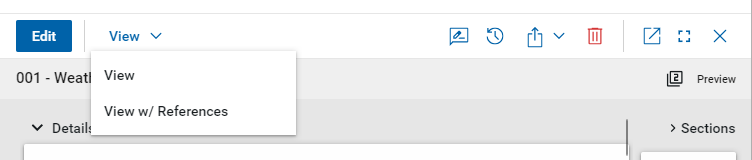
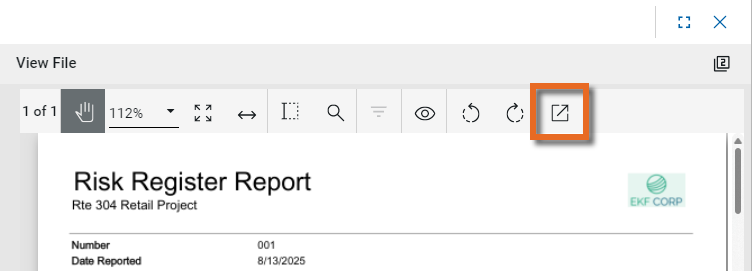
View and View w/References - Select View or View w/References to open a PDF view of the current record. The PDF file can be printed or shared from the viewer by clicking on the Open PDF icon
 .
.
Note Only references where the Include on Send value is set to "Yes" are included in the View w/References.
Additionally, if Include Markup on Send is set to "Yes", any markups on the file are included. -
Discussions
 - Select this icon to open the Discussions panel. If enabled in your domain, the discussions feature allows you to participate in public or private conversations associated with specific records. For more information, refer to Discussions.
 -
View History
 - Select this icon to open the History page for the record. The history page provides details regarding all activity (creation, edits, saves, etc.) performed on the record. Click view edit to drill down into more detail on a specific action. Click hide edit to close the action detail. Click the Close icon
  to close the history page.
 -
Send actions
 - Click this icon to select an appropriate Send action for the record. The following options may be available to you:
-
Copy Link and Copy Portable View Link - Select this option to copy a URL link for the record or record's portable view to your clipboard. This link can be sent outside of Kahua. Users with the appropriate permissions will be able to open Kahua directly to that record or portable view by using the link.
-
Copy QR Code and Copy Portable View QR Code - Select this option to generate a QR code for the currently open record or record's portable view. The QR code can be shared directly from your screen, or copied to your clipboard to be shared as appropriate. This QR code can be shared outside of Kahua. Users with the appropriate permissions will be able to open Kahua directly to that record or portable view by using the link.
-
Send - Select this option to open a new Kahua message with the open record included as an attachment. References with the Include on Send value set to "Yes" are also included. For more information, refer to Messages app.
-
-
Delete
 - Select this option to delete the open record. You must agree to the confirmation message before the record is deleted.
Alternatively, right-click on the record in the log view and select Delete, or select multiple records from the log view and select Delete.
Note If a record is deleted in error, your domain administrator may be able to recover it through the Recycle Bin app. For more information, refer to Using the Recycle Bin.
-
Open in a new window
 - Select this option to open the current record as read-only in a new window (desktop host) or browser tab (web host). This allows you to navigate to other records in the original Kahua instance while keeping the read-only window or tab open for reference. To re-open the record on the read-only window or tab in Kahua, select Open in the header.
-
Maximize
 and Minimize
  - Select Maximize to open the record to a full screen view. From the full screen view, select Minimize
  to return to the original view.
 -
Close
- Select the close icon to close the currently open item.
Your domain administrator or another user with the appropriate permissions can configure the app in the Configuration application.
Important When working in the Configuration app, it is important to review the header and ensure that you are working at the correct level in the hierarchy, either the root domain or at a partition or project level.
Settings that you establish at the root domain or lower levels will inherit down the hierarchy until they are overridden. For more information on the hierarchical structure of Kahua, refer to Understanding the hierarchical structure of Kahua.
The Configuration app can be accessed directly through the apps list (Apps > Administration > Configuration), or by right-clicking on an application in the launch bar and selecting Configure. When you select Configure for an app from the launch bar, the detail view of the configuration page for that application opens automatically.
For general information on configuring this app in Configuration, refer to Application configuration.