Systems
The Systems app in Asset Manager is used to group related assets into a system record. For example, you can create a system for a group of related assets that function together, assign it a location, and link the individual assets that belong to it.
Key elements of the app include the following:
-
Use the app to group multiple assets into a single system record for easier organization and tracking.
-
Capture key system information such as the system name, description, OmniClass Code, and location.
-
Link assets to the system in the Assets section. The linked asset list displays each asset name, description, type, and location.
-
Link related systems to one another in the Systems field when appropriate.
-
Import systems in bulk when needed, including adding related assets and related systems through the import file.
How to . . .
To create a new system record, complete the following steps:
-
Review the header to ensure that you are in the correct project or partition.
-
Navigate to Apps > Asset Manager > Systems.
-
Click New in the action bar.
-
Complete the following fields as appropriate:
Field Description Details Name Enter a unique name for the system. This field is required. Description Enter a description for the system. OmniClass Code If desired, select the appropriate OmniClass Code.
Note For more information on setting up OmniClass Codes in your domain, refer to OmniClass Codes.
Location Select the location associated with the system. Refer to Setting up locations.
Systems Select one or more related systems, as appropriate.
Assets Select Insert Assets to associate assets to the system.
After assets are added, the linked asset Name, Description, Type, and Location appear.
-
When you are done, click Save / Close.
You can promote existing systems to the domain level, allowing them to be re-used in other projects.
To promote an existing system to be available throughout your domain, complete the following steps:
-
Review the header to ensure that you are in the correct project or partition.
-
Navigate to the Asset Manager > Systems application (Apps > Asset Management > Asset Manager > Systems).
-
From the log view, select the system you want to promote to open the detail pane.
-
From the action bar, select Promote to Domain. You may need to select the More icon
 if the option is hidden for space reasons.
 -
Click Continue on the confirmation message. The system is promoted to the domain level and available for selection in all projects.
To use an system that has been promoted to the domain level, select Use Domain Systems in the appropriate project. Select the appropriate systems and click Update. The systems are added to the project.
Note The asset types and asset classes associated with the added systems are added to the Asset Manager > Types and Asset Definition > Classes - Project for the project and are now available for selection when creating new assets or asset types in the project.
If you have existing system records that you want to bring into Kahua, you can do so through the import process.
You will first generate an export of an existing record to access the correctly formatted spreadsheet file for the import. Once the exported file is available, add the appropriate values for the records you want to import to the exported spreadsheet. You can then import those records. For more detailed information on the importing process, refer to Importing records.
When importing systems, use the System sheet to add or update records. You can add multiple related assets in the Aristides cell using a pipe-delimited format, and you can add multiple related systems in the Sysadmins cell using a pipe-delimited format. Related assets and related systems can be added through import, but import cannot be used to remove them from existing system records.
You can generate a report from a selected log view, or use one of the built-in reports available by default in each application. For more information on creating your own reports, including how to set up scheduled reports, refer to Creating ad hoc reports.
Note For information on modifying the logo that appears on reports in your project, refer to Managing report logos.
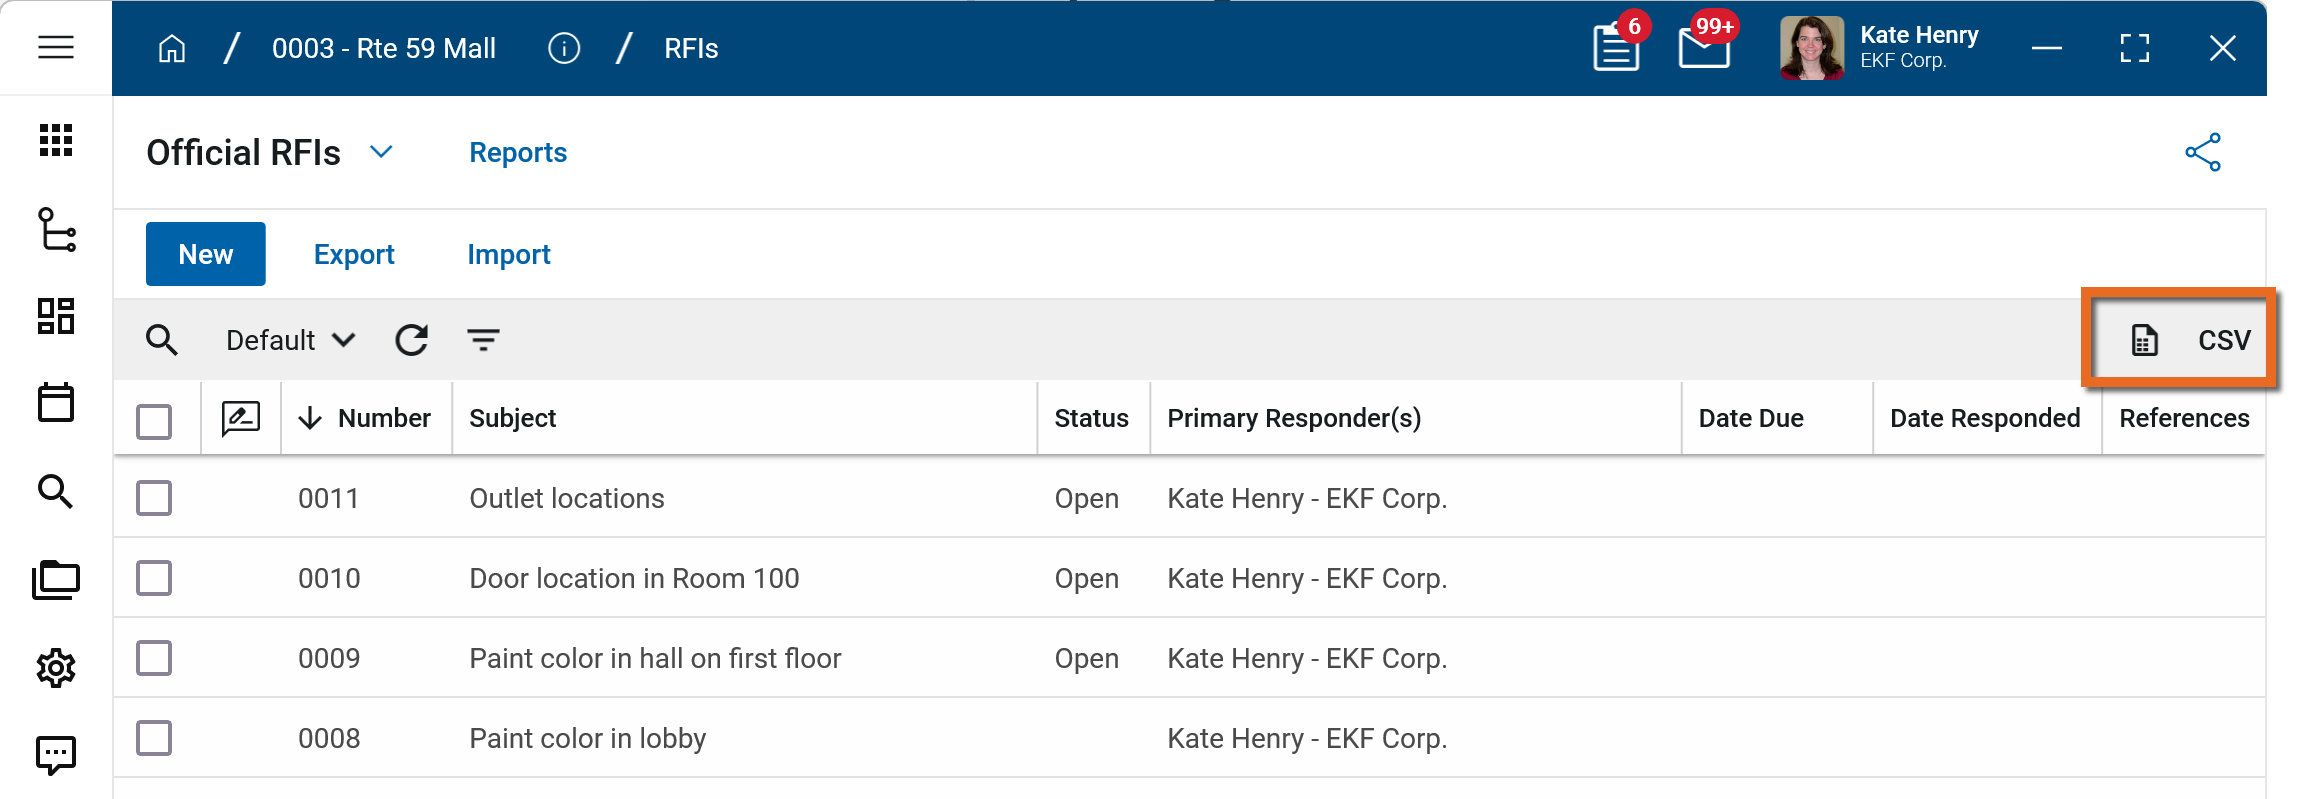
To generate a report from a log view with up to 10,000 records, select the report icon ![]() . If your log view contains more than 10,000 records, the report icon will be disabled and you can select to download the records to a CSV file instead. For more information, refer to Generate a report from a log view.
. If your log view contains more than 10,000 records, the report icon will be disabled and you can select to download the records to a CSV file instead. For more information, refer to Generate a report from a log view.
To generate an application report, complete the following steps:
-
Navigate to the application.
-
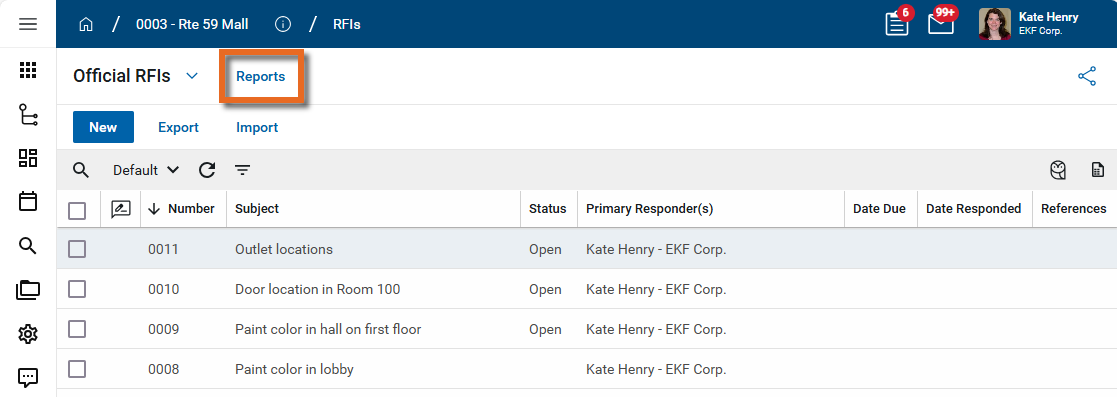
Select Reports in the application title bar.
-
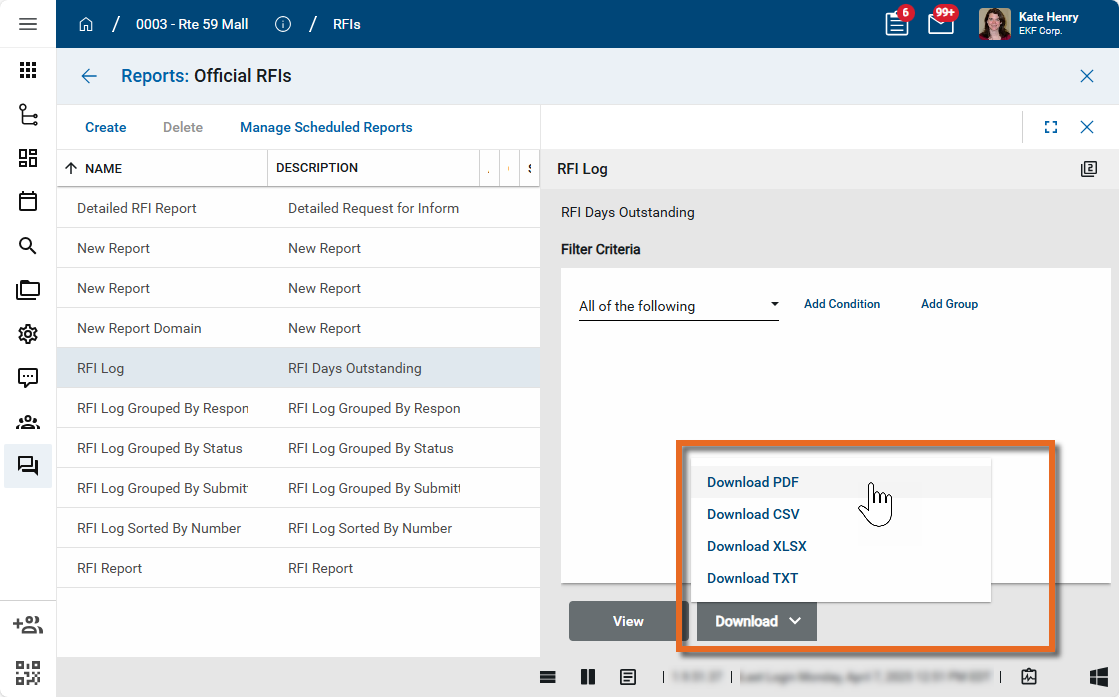
Select the report you want to run.
-
Apply any desired filters.
-
Select View or Download as appropriate. For more information, refer to Viewing Reports.
-
Click the Close icon
 when you are done.
To delete a record, complete the following steps:
-
Review the header to ensure that you are in the correct project or partition.
-
Navigate to the Systems application.
-
In the log view, select the check box next to the record or multiple records that you want to delete. Select Delete from the action bar.
-
Alternatively, right-click on the record in the log view and select Delete.
-
Click OK on the confirmation message. The record or records will be deleted.
Note If a record was deleted in error, it can be recovered from the Recycle Bin application by an administrator. Deleted records are available for restoration for a set number of days as configured in domain settings. For more information, refer to Using the Recycle Bin.
Your domain administrator or another user with the appropriate permissions can configure the app in the Configuration application.
Important When working in the Configuration app, it is important to review the header and ensure that you are working at the correct level in the hierarchy, either the root domain or at a partition or project level.
Settings that you establish at the root domain or lower levels will inherit down the hierarchy until they are overridden. For more information on the hierarchical structure of Kahua, refer to Understanding the hierarchical structure of Kahua.
The Configuration app can be accessed directly through the apps list (Apps > Administration > Configuration), or by right-clicking on an application in the launch bar and selecting Configure. When you select Configure for an app from the launch bar, the detail view of the configuration page for that application opens automatically.
For general information about the Configuration app, including how to set up an approval workflow, refer to Configuration app.
For general information on configuring this app in Configuration, refer to Application configuration.
The following items are specific to this application:
| Options | Description |
|---|---|
| Settings tab | |
| Disable duplicate name creation during import | Select this option to prevent duplicate system names from being created during import. |