Types
The Asset Manager > Types app is used in a project to create and manage asset types. Asset types are a more specific category within asset classes and represent a specific product in that asset class. You must set up asset types in your project in order to be able to add individual assets.
Example The asset class of "Security Systems" may include asset types such as "Security cameras", "Motion detectors", and "Control Panels".
Important things to know about this application include the following:
-
Types are based on asset classes. Asset classes are set up in the Asset Definition > Classes - Master app and made available to your project in the Asset Definition > Classes - Project app. For more information, refer to Classes - Master and Classes - Project.
-
Asset types can be promoted to the domain level for use in other projects.
-
Each type includes basic details such as Name, Description, Class, and optionally Responsible Company, plus any dynamic attributes configured for that class.
-
You can import type records through the standard import process.
How to . . .
To create a new type, complete the following steps:
-
Review the header to ensure that you are in the correct project or partition.
-
Navigate to the Asset Manager > Types application (Apps > Asset Management > Asset Manager > Types).
-
Click New in the action bar.
-
Complete the following fields as appropriate:
Field Description Class / Classes-Project Select the appropriate asset class for the type you are creating.
Note The available list is based on the asset classes selected in the Asset Definition > Classes - Project app for this project. Refer to Classes - Project.
Name Enter the name of the asset type. Description Enter a brief description of the asset type. -
Click Next in the action bar.
-
Complete the following fields as appropriate:
Note Depending on how this app is configured for your domain, there may be fields or sections listed here that do not appear for you, fields and sections that appear for you which are not listed here, or fields and sections which appear in a different order. If you have any questions, check with your domain administrator.
Field Description Details Class / Discipline / OmniClass Code / Master Format Code These values appear, based on the asset class selection. Refer to Classes - Master.
Name / Description Modify these values if desired. Responsible Company If applicable, select the company responsible for this asset type. Attributes Complete the Type Attribute fields as appropriate.
These are determined by the selections made in the Asset Definition > Classes - Project app for this project. Refer to Classes - Project.
Files Any attributes with the type of "File" appear here. Select Upload to add a new file. Select Add Kahua Doc to select a file previously uploaded to Kahua. To remove a previously added file, select Delete.
Linked Documents Any linked records associated with the type appear here. Assets Any assets associated with the type appear here. References Upload or select any relevant files or documents. You can use drag and drop to add a file to this section. For more information on using this section, refer to References section.
-
Click Save when you are done.
You can promote existing asset types to the domain level, allowing them to be re-used in other projects.
To promote an existing asset type to be available throughout your domain, complete the following steps:
-
Review the header to ensure that you are in the correct project or partition.
-
Navigate to the Asset Manager > Types application (Apps > Asset Management > Asset Manager > Types).
-
From the log view, select the asset type you want to promote to open the detail pane.
-
From the action bar, select Promote to Domain. You may need to select the More icon
 if the option is hidden for space reasons.
 -
Click Continue on the confirmation message. The asset type is promoted to the domain level and available for selection in all projects.
To use an asset type that has been promoted to the domain level, select Use Domain Types in the appropriate project. Select the appropriate asset types and click Update. The asset types are added to the project.
Note The asset classes associated with the added asset types are added to the Asset Definition > Classes - Project for the project and are now available for selection when creating new asset types in the project.
If Required Submittals are enabled in the Classes-Master app, you can define what submittal items are required for any Types or Assets created based on those classes. Refer to Required Submittals.
The Required Submittals section appears at the bottom of the type page, listing the required submittals as set up in the appropriate class.
To generate the required submittal items in the Submittal Items app, select Generate Submittals from the action bar. New submittal item records are created and the corresponding Type is automatically tagged.
Note If the Generate Submittals action is initiated multiple times, only the submittal items that have not yet been generated will be created. Duplicate submittal item records are not created.
The number of Required Submittals and Approved Submittals appears in the Details section of the record detail view.
Note An approved submittal is defined as a required submittal item where the Count as Approved flag is set to true on the submittal item associated with the asset class. Only submittals marked as required are included in this calculation. For more information, refer to Responses to Count as "Approved".
If you already have type information prepared outside of Kahua, you can import it through the standard import process.
You will first generate an export of an existing record to access the correctly formatted spreadsheet file for the import. Once the exported file is available, add the appropriate values for the records you want to import to the exported spreadsheet. You can then import those records. For more detailed information on the importing process, refer to Importing records.
When preparing the import workbook, use the Asset Types tab. Types are treated as duplicates if there is no value in the ID column and the Name already exists in Kahua.
Attributes with unit values can be imported by entering the value and unit abbreviation separated by the | symbol. For example, a duration in months could be entered as 60 | m.
You can generate a report from a selected log view, or use one of the built-in reports available by default in each application. For more information on creating your own reports, including how to set up scheduled reports, refer to Creating ad hoc reports.
Note For information on modifying the logo that appears on reports in your project, refer to Managing report logos.
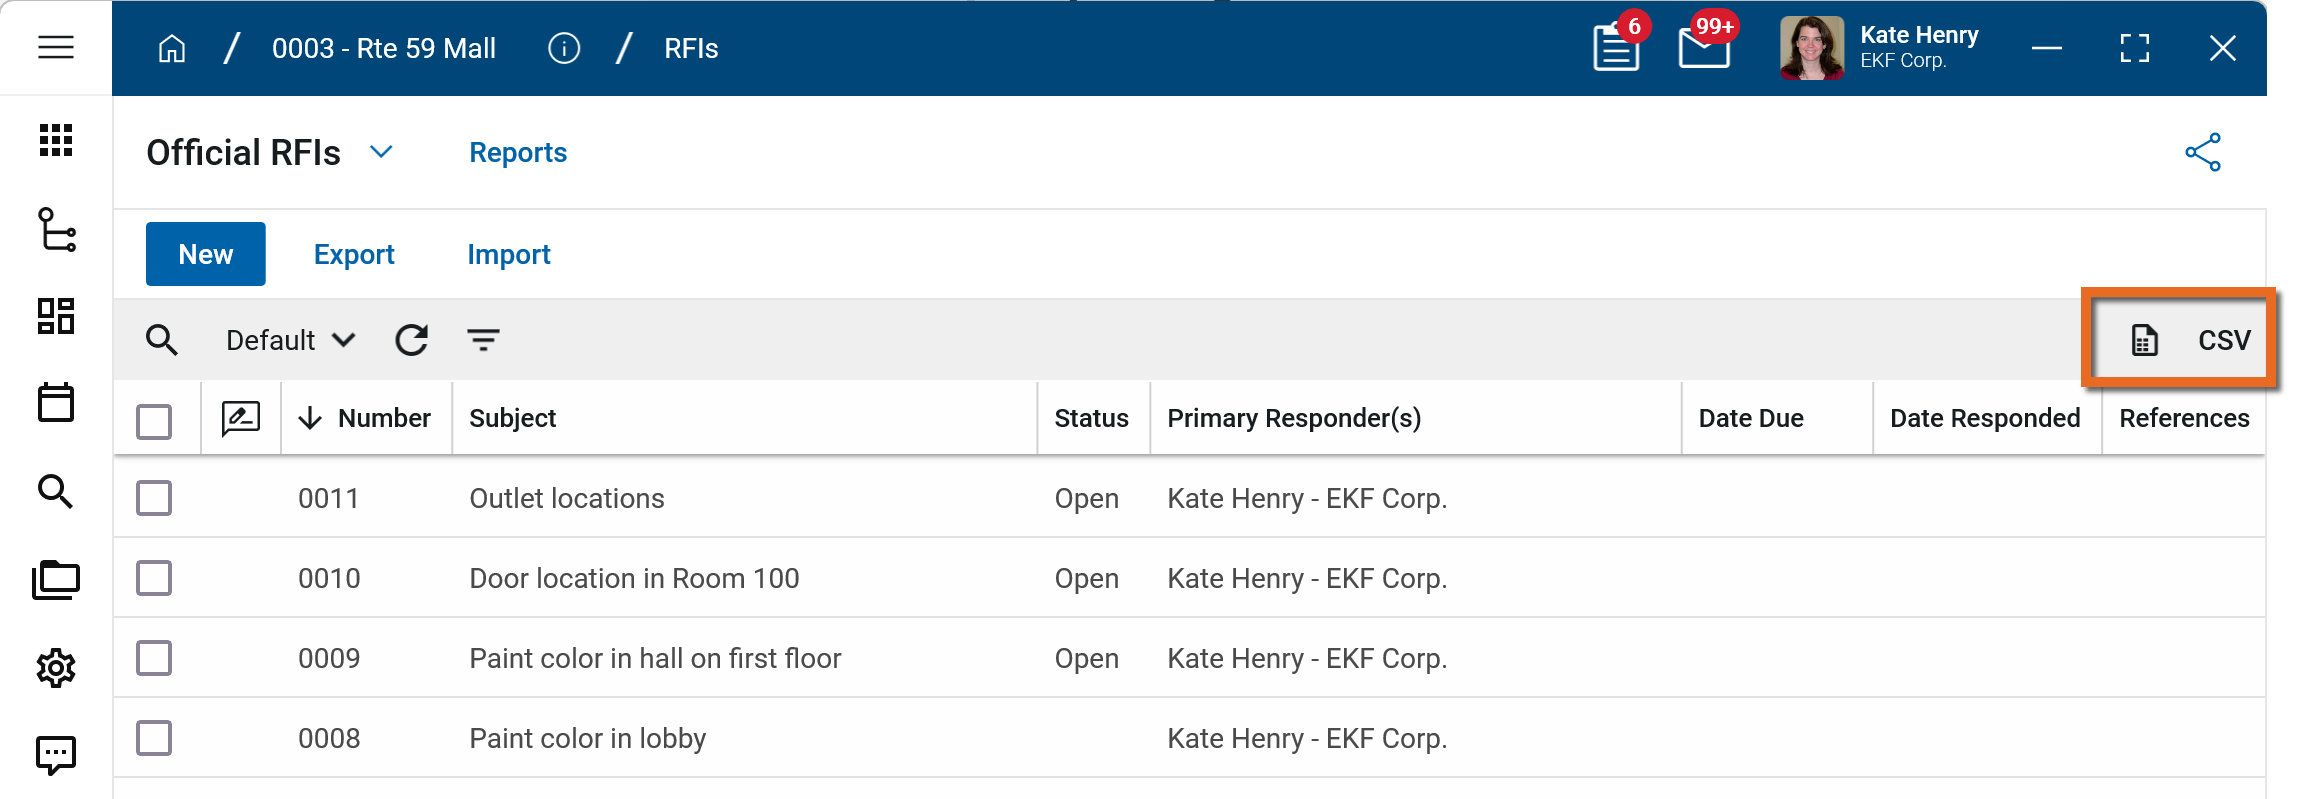
To generate a report from a log view with up to 10,000 records, select the report icon ![]() . If your log view contains more than 10,000 records, the report icon will be disabled and you can select to download the records to a CSV file instead. For more information, refer to Generate a report from a log view.
. If your log view contains more than 10,000 records, the report icon will be disabled and you can select to download the records to a CSV file instead. For more information, refer to Generate a report from a log view.
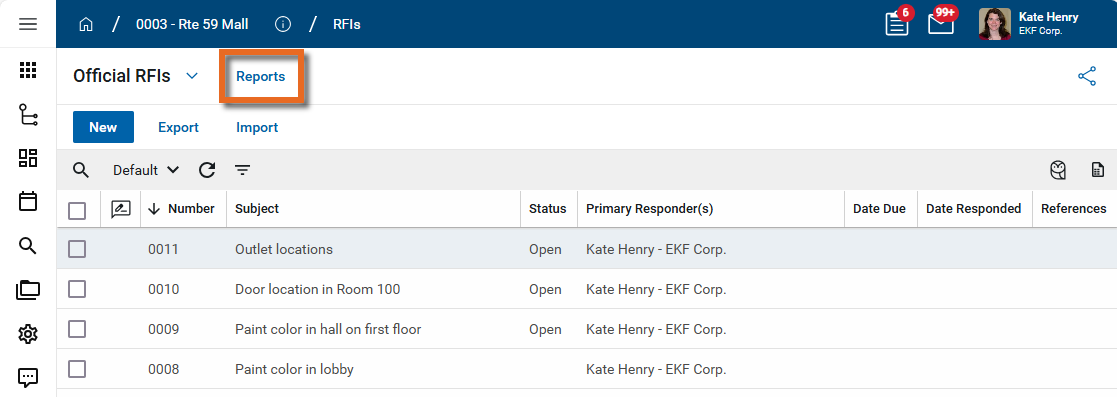
To generate an application report, complete the following steps:
-
Navigate to the application.
-
Select Reports in the application title bar.
-
Select the report you want to run.
-
Apply any desired filters.
-
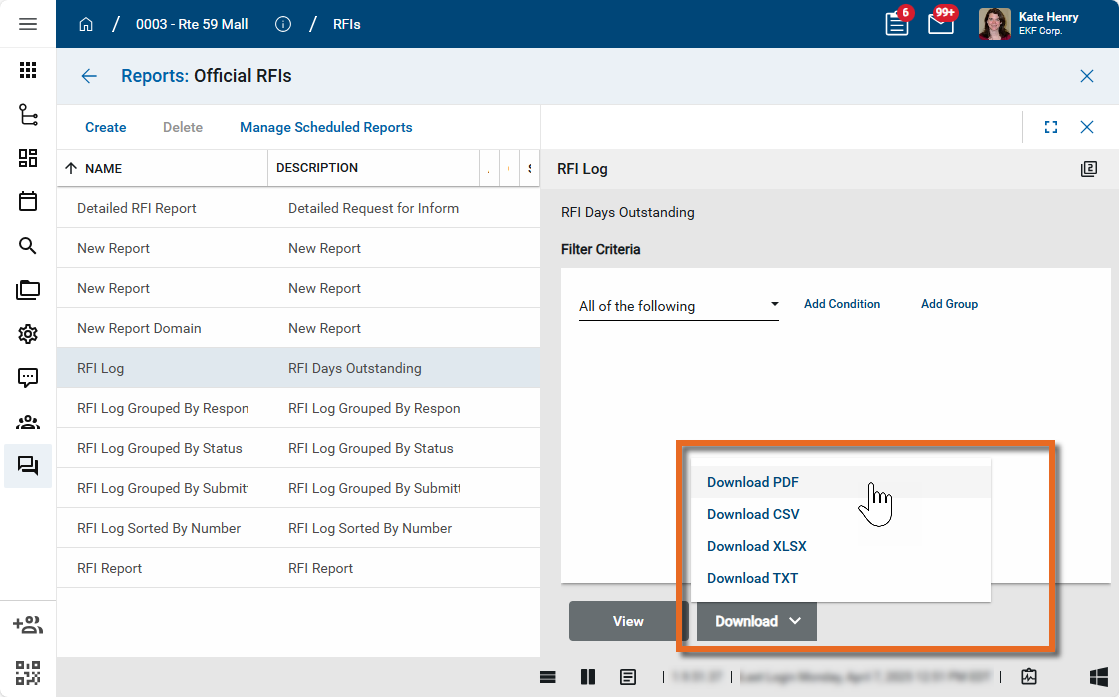
Select View or Download as appropriate. For more information, refer to Viewing Reports.
-
Click the Close icon
 when you are done.
Important A type cannot be deleted if an asset is assigned to it.
To delete a record, complete the following steps:
-
Review the header to ensure that you are in the correct project or partition.
-
Navigate to the Asset Manager Types application.
-
To delete a single record, right-click on the record in the log view and select Delete, or open it in the detail pane and select the Delete icon in the action bar.
-
To delete multiple records at once, open the log view and select the check box next to the record or records that you want to delete. Select Delete from the action bar.
-
Click OK on the confirmation message. The record or records will be deleted.
Note If a record was deleted in error, it can be recovered from the Recycle Bin application by an administrator. Deleted records are available for restoration for a set number of days as configured in domain settings. For more information, refer to Using the Recycle Bin.
Your domain administrator or another user with the appropriate permissions can configure the app in the Configuration application.
Important When working in the Configuration app, it is important to review the header and ensure that you are working at the correct level in the hierarchy, either the root domain or at a partition or project level.
Settings that you establish at the root domain or lower levels will inherit down the hierarchy until they are overridden. For more information on the hierarchical structure of Kahua, refer to Understanding the hierarchical structure of Kahua.
The Configuration app can be accessed directly through the apps list (Apps > Administration > Configuration), or by right-clicking on an application in the launch bar and selecting Configure. When you select Configure for an app from the launch bar, the detail view of the configuration page for that application opens automatically.
The following items are part of the application configuration and are specific to this application:
| Options | Description |
|---|---|
| Settings tab | |
| Disable duplicate name creation during import | Enable this setting to prevent duplicate named records from being created during import. |