Funding Pay Apps
Applicable Packages This article applies to the Kahua for K-12 Education, Kahua for Owners, Kahua for General Contractors, and Kahua for Subcontractors packages. If you are not sure if this is relevant to you, please contact your domain administrator.
The Funding Pay Apps application allows you to create a pay app for a specific funding contract, enter progress values against the schedule of values, include approved change orders, and track retainage and stored materials. Pay app cost amounts are tracked in Work Breakdown according to status.
Key elements of the Funding Pay Apps app include the following:
-
You can enter values against the schedule of values from the original funding contract.
-
You can include approved funding change orders on the pay app. Change orders that were included on a previous pay app are unavailable for selection.
-
The app tracks details such as total invoiced to date for each line item, retainage, and materials presently stored.
-
Pay app totals are calculated based on the previous pay app in the sequence.
-
If workflow is not configured, you can use the Set To action to manually update the status to Open, Requested, or Received & Lock.
Important Each pay app calculates totals based on the previous pay app. Do not edit a prior pay app in a sequence after a subsequent pay app has been created. It is recommended to enter a corrective record or back out the pay app as appropriate.
How to . . .
 Create a pay app
To create a new pay app, complete the following steps:
-
Review the header to ensure that you are in the correct project or partition.
-
Navigate to the Pay Apps app (Apps > Cost Management > Funding > Pay Apps).
-
Click New in the action bar.
-
In the contract selection window, select the appropriate funding contract and click Next.
-
If approved change orders are available, select the change orders to include on the pay app and click Next.
Note Change orders that are unavailable have already been included on a previous pay app.
-
Complete the following fields as appropriate:
Note Depending on how this app is configured for your domain, there may be fields or sections listed here that do not appear for you, fields and sections that appear for you which are not listed here, or fields and sections which appear in a different order. If you have any questions, check with your domain administrator.
Field Description Details Contract Select the funding contract for the pay app. Change Orders If approved change orders are available, select the change orders to include on the pay app. Change orders that were included on a previous pay app cannot be selected. Period From / Period To Enter the period covered by the pay app. Parties Select or review the parties involved with the pay app. Dates & Workflow If you are using workflow, workflow dates update as the pay app moves through the workflow. Otherwise, complete or update dates manually as appropriate.
Summary The fields in this section display summary information based on prior completed and approved pay apps. Some fields update when the pay app is saved. Items For more information on working with grids, refer to Item grids. Retain Rate The retain rate defaults from the values entered in the original contract. Modify it for this pay app if appropriate. Approved Scheduled Value Displays the approved scheduled value for the line item. Previous Work Completed Displays work completed on prior pay apps. Work Completed This Period Enter the work completed for the current pay app period. Materials Presently Stored Enter the amount for materials presently stored, if applicable. Total Completed & Stored to Date / % to Date / Balance to Finish / Total Retainage These fields update automatically based on the values entered for the line item and prior pay app values. Change Order line items Click the More icon next to the item number to open the pay app item window. Enter the applicable work completed this period and materials presently stored for each change order line item, then click Done. References Upload or select any relevant files or documents. You can use drag and drop to add a file to this section. For more information on using this section, refer to References section.
-
Click Save/Close when you are done.
Note Prior to submitting into workflow, your process may require an approval document.
Use action buttons
Once the pay app has been completed and saved, you can use the action buttons to manage the record:
-
Send - Use messaging to send record details to others. Do not confuse Send with workflow routing.
-
Edit - Update and maintain the record. If the record is out for review or signature, Edit may not be available.
-
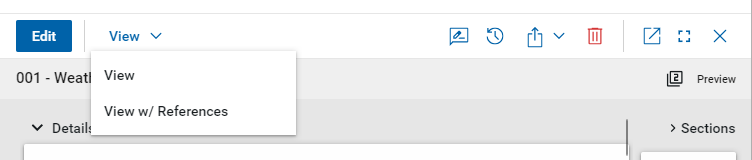
View - Display the portable view so a PDF version of the pay app can be viewed, printed, or shared.
-
Delete - Delete the record, if you have the appropriate permissions.
-
History - View activity performed on the record, including creation, updates, and saves. Select View Edit to see details for a specific update.
-
URL - Copy a URL link to the record to your clipboard.
Note Sending a record through Kahua messaging is not the same as routing the record through workflow for review or signature.
Set the workflow status manually
If approval workflow has not been configured for this app, you can update the status manually using the Set To action. The selected status determines how values appear in Work Breakdown.
To set the workflow status manually, complete the following steps:
-
Review the header to ensure that you are in the correct project or partition.
-
Navigate to the Pay Apps app (Apps > Cost Management > Funding > Pay Apps).
-
Select the appropriate pay app from the log view and open the detail view.
-
Select the appropriate Set To option, such as Open, Requested, or Received & Lock.
Create an approval document
Your project may be configured to require an approval document as part of the review or signature workflow for pay apps. An approval document is created in the References section of a record.
To create an approval document, select Add Approval Doc, name the document, and select the appropriate supporting files. These files are combined into a single PDF that can become part of the approval workflow.
For more detailed information on creating an approval document, refer to Create an approval document.
For information on setting up approvals, refer to Approval configuration.
Generate a log report or other reports
You can generate a report from a selected log view, or use one of the built-in reports available by default in each application. For more information on creating your own reports, including how to set up scheduled reports, refer to Creating ad hoc reports.
Note For information on modifying the logo that appears on reports in your project, refer to Managing report logos.
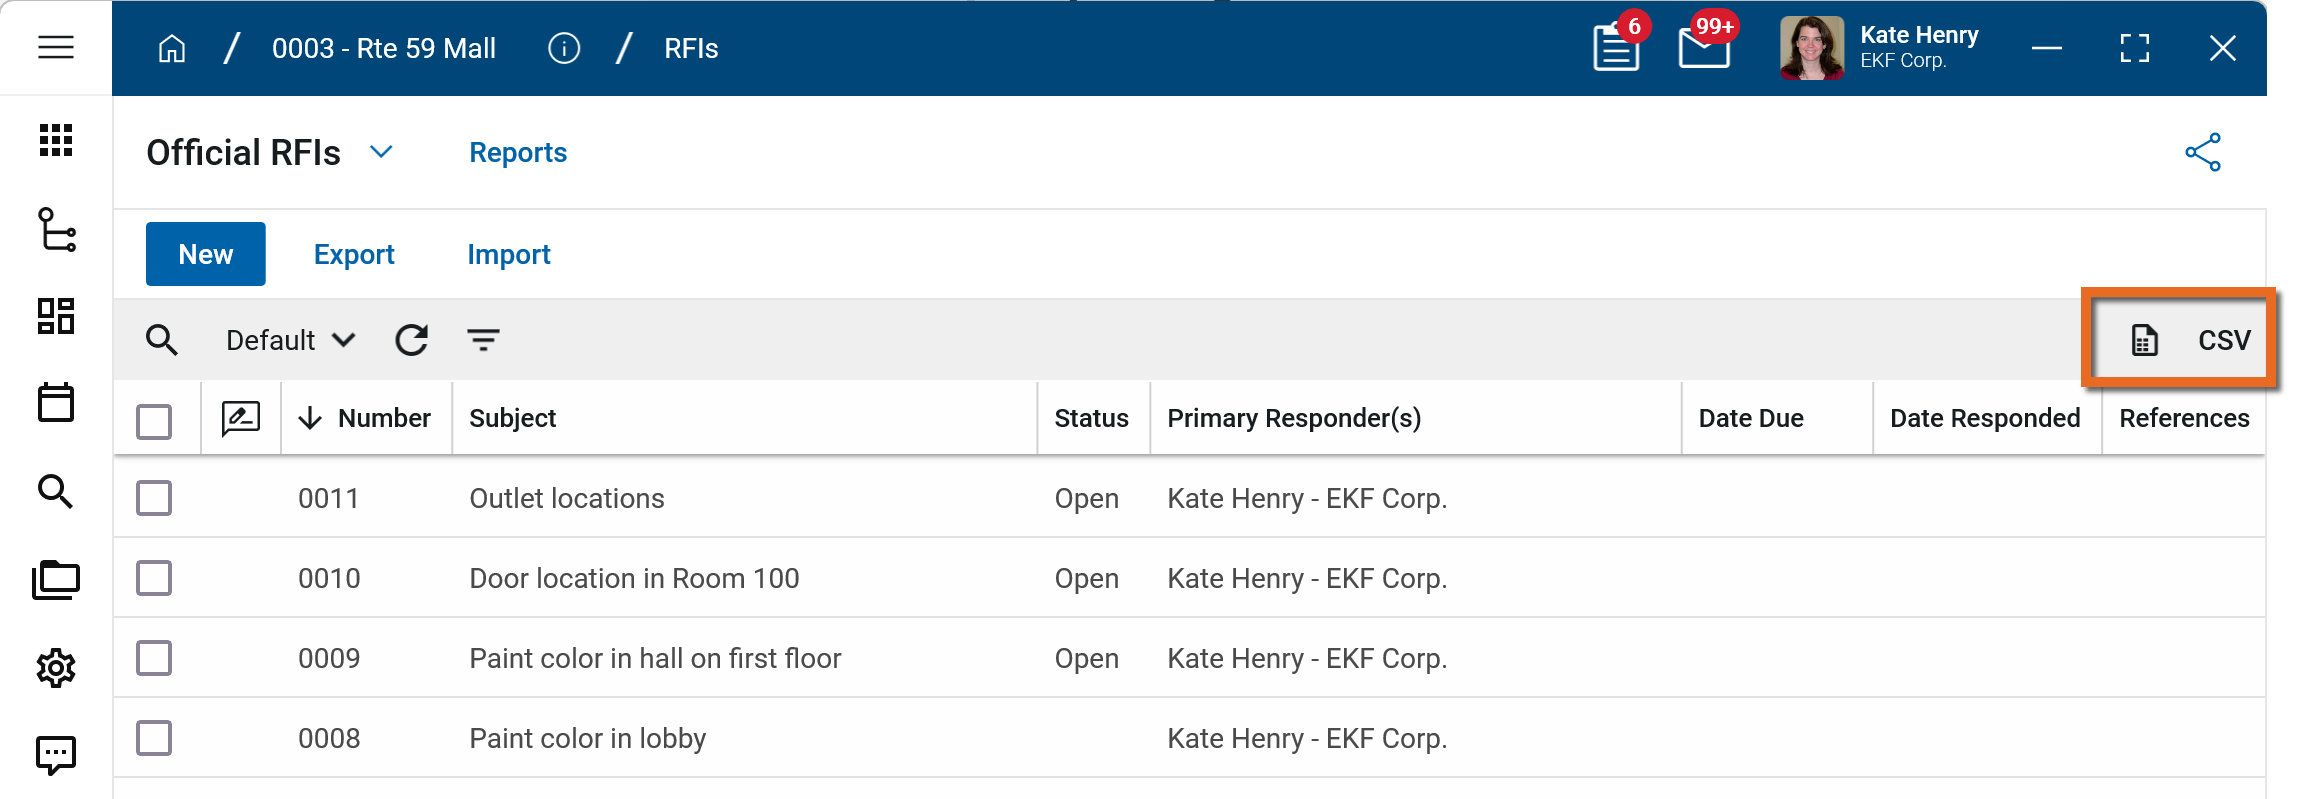
To generate a report from a log view with up to 10,000 records, click the More icon  and select Print. If your log view contains more than 10,000 records, the Print option will be disabled and you can select
  to download the records to a CSV file instead.
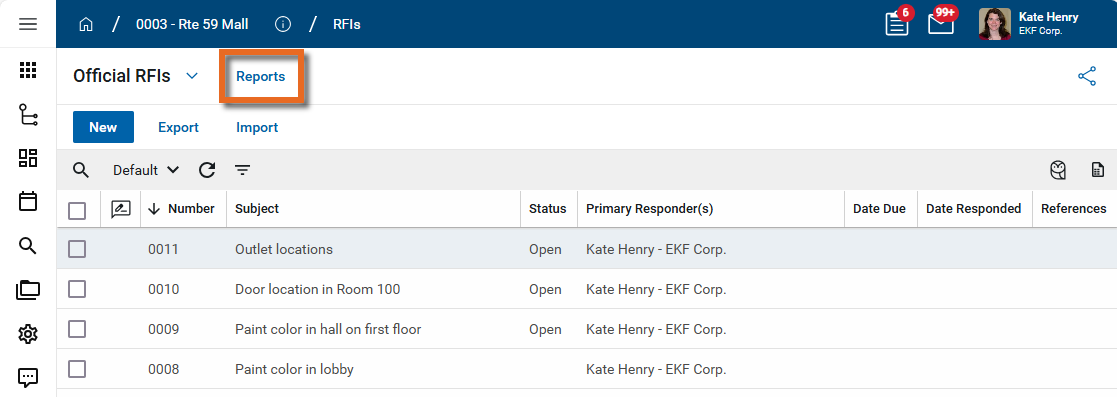
To generate an application report, complete the following steps:
-
Navigate to the application.
-
Select Reports in the application title bar.
-
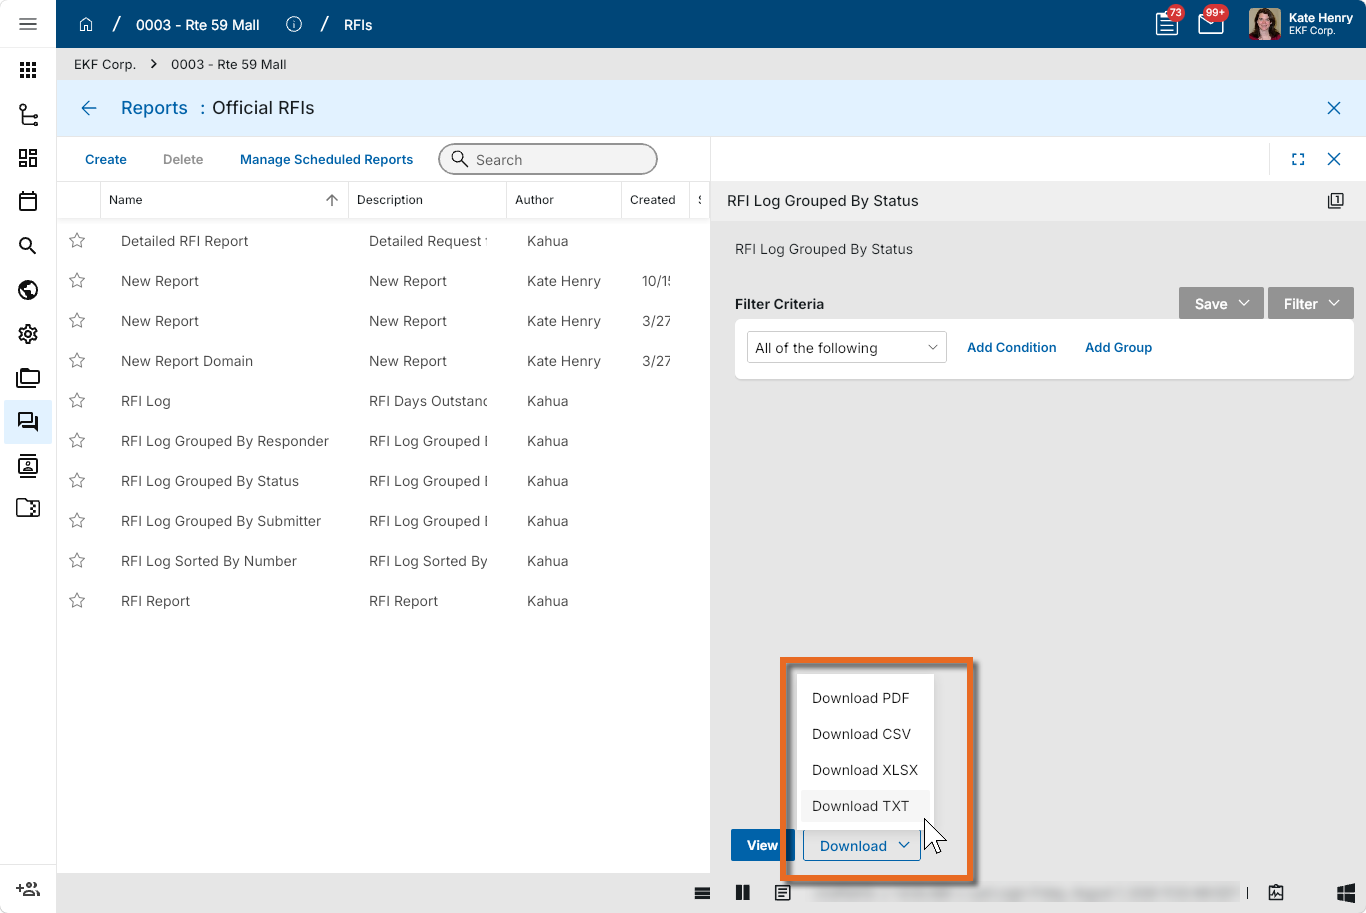
Select the report you want to run.
-
Apply any desired filters.
-
Select View or Download as appropriate. For more information, refer to Viewing Reports.
-
Click the Close icon
 when you are done.
Perform standard actions on a single record (print, send, view history, delete, etc.)
From the detail view of a record, there are several standard actions you can take. Depending on your permissions, some or all of the following options may be available to you:
-
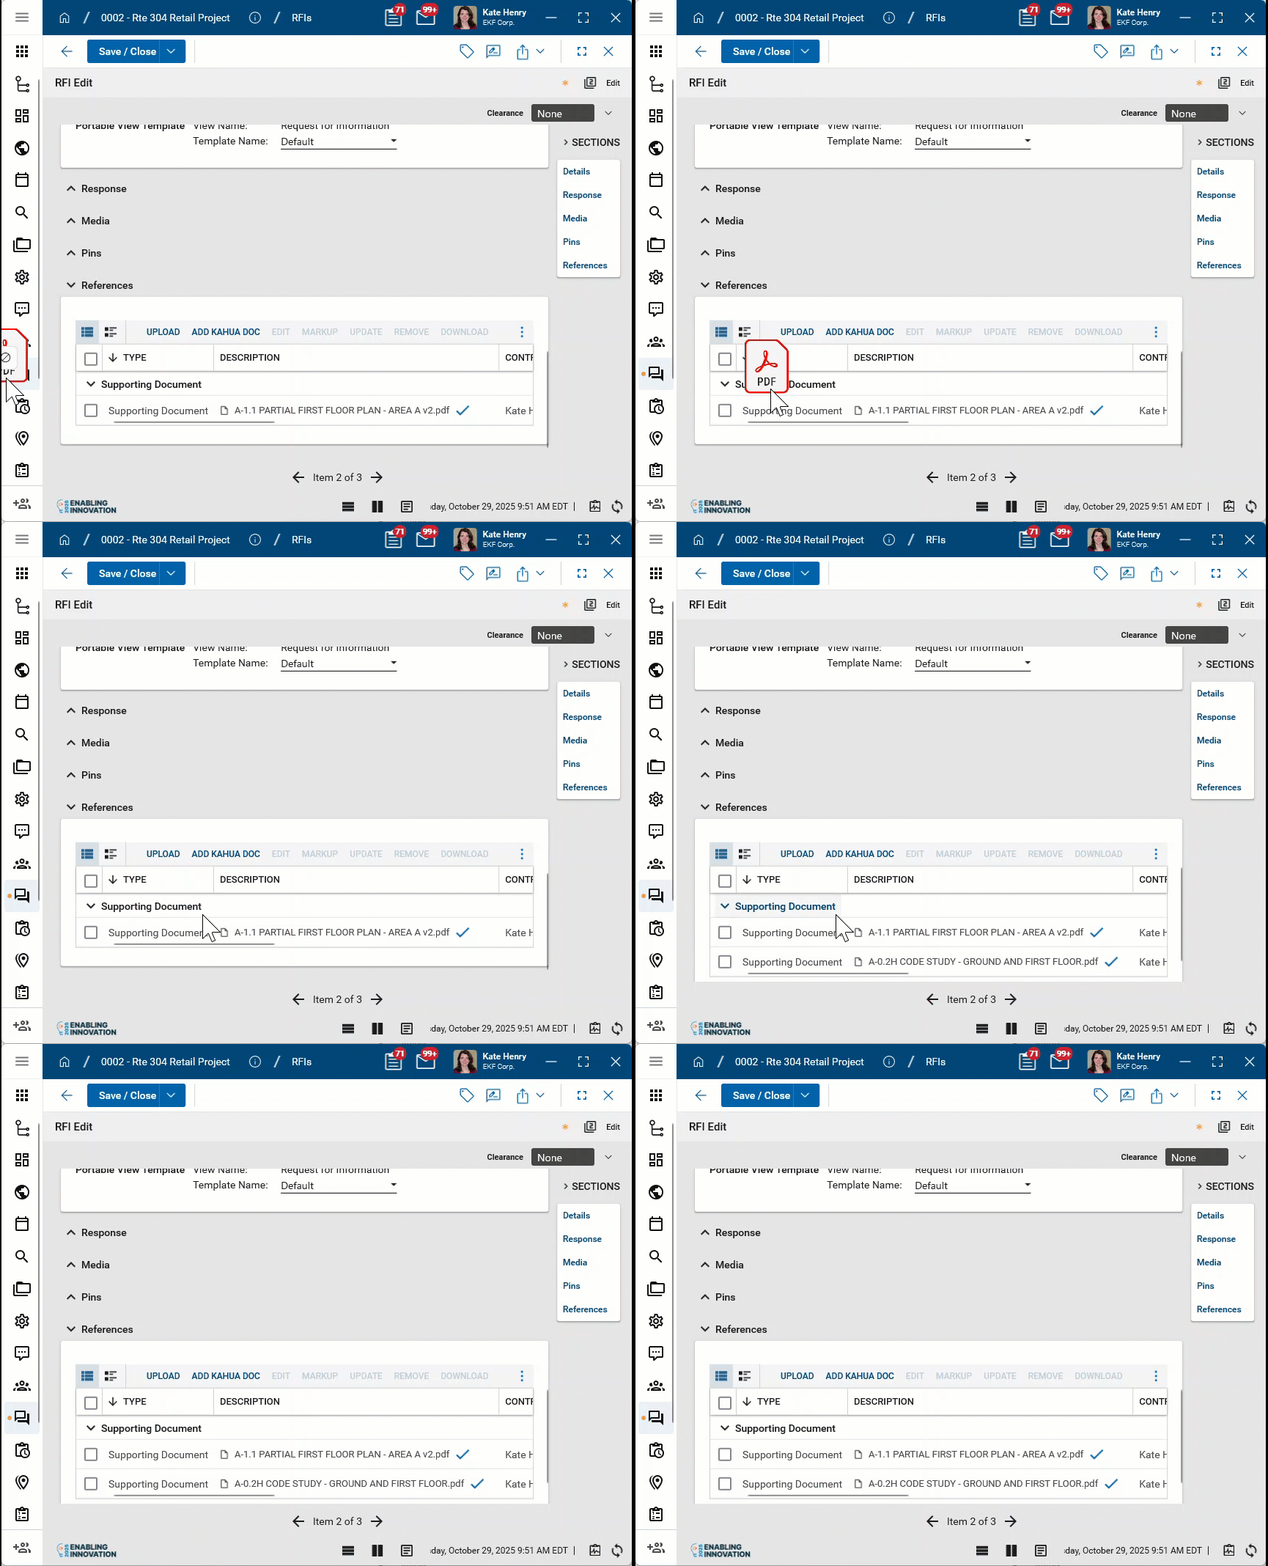
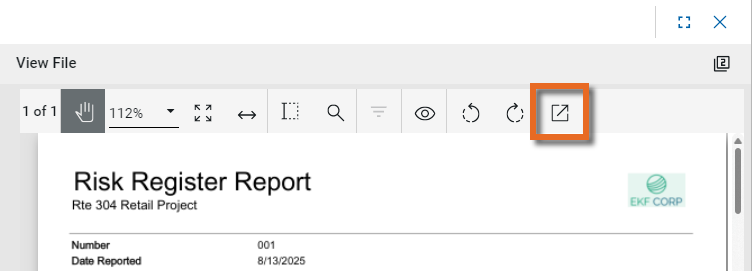
View and View w/References - Select View or View w/References to open a PDF view of the current record. The PDF file can be printed or shared from the viewer by clicking on the Open PDF icon
 .
.
Note Only references where the Include on Send value is set to "Yes" are included in the View w/References.
Additionally, if Include Markup on Send is set to "Yes", any markups on the file are included. -
Discussions
 - Select this icon to open the Discussions panel. If enabled in your domain, the discussions feature allows you to participate in public or private conversations associated with specific records. For more information, refer to Discussions.
 -
View History
 - Select this icon to open the History page for the record. The history page provides details regarding all activity (creation, edits, saves, etc.) performed on the record. Click view edit to drill down into more detail on a specific action. Click hide edit to close the action detail. Click the Close icon
  to close the history page.
 -
Send actions
 - Click this icon to select an appropriate Send action for the record. The following options may be available to you:
-
Copy Link and Copy Portable View Link - Select this option to copy a URL link for the record or record's portable view to your clipboard. This link can be sent outside of Kahua. Users with the appropriate permissions will be able to open Kahua directly to that record or portable view by using the link.
-
Copy QR Code and Copy Portable View QR Code - Select this option to generate a QR code for the currently open record or record's portable view. The QR code can be shared directly from your screen, or copied to your clipboard to be shared as appropriate. This QR code can be shared outside of Kahua. Users with the appropriate permissions will be able to open Kahua directly to that record or portable view by using the link.
-
Send - Select this option to open a new Kahua message with the open record included as an attachment. References with the Include on Send value set to "Yes" are also included. For more information, refer to Messages app.
-
-
Delete
 - Select this option to delete the open record. You must agree to the confirmation message before the record is deleted.
Alternatively, right-click on the record in the log view and select Delete, or select multiple records from the log view and select Delete.
Note If a record is deleted in error, your domain administrator may be able to recover it through the Recycle Bin app. For more information, refer to Using the Recycle Bin.
-
Open in a new window
 - Select this option to open the current record as read-only in a new window (desktop host) or browser tab (web host). This allows you to navigate to other records in the original Kahua instance while keeping the read-only window or tab open for reference. To re-open the record on the read-only window or tab in Kahua, select Open in the header.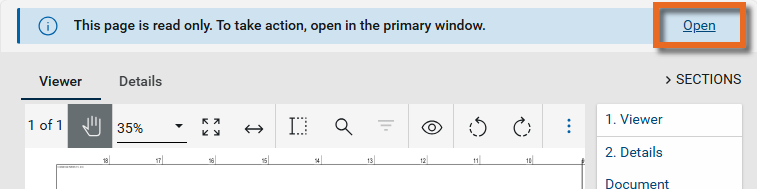
-
Maximize
 and Minimize
  - Select Maximize to open the record to a full screen view. From the full screen view, select Minimize
  to return to the original view.
 -
Close
- Select the close icon to close the currently open item.
Configure the app
Your domain administrator or another user with the appropriate permissions can configure the app in the Configuration application.
Important When working in the Configuration app, it is important to review the header and ensure that you are working at the correct level in the hierarchy, either the root domain or at a partition or project level.
Settings that you establish at the root domain or lower levels will inherit down the hierarchy until they are overridden. For more information on the hierarchical structure of Kahua, refer to Understanding the hierarchical structure of Kahua.
The Configuration app can be accessed directly through the apps list (Apps > Administration > Configuration), or, in some applications, by right-clicking on an application in the launch bar and selecting Configure. When you select Configure for an app from the launch bar, the detail view of the configuration page for that application opens automatically.
For general information about the Configuration app, including how to set up an approval workflow, refer to Configuration app.
For general information on configuring this app in Configuration, refer to Application configuration.
The following items are part of the application configuration and are specific to this application:
| Options | Description |
|---|---|
| Settings tab | |
| Use Review Workflow |
Select this option to make the Review workflow available. Note You must also configure the Review approval in Configuration > Approvals. Refer to Approval configuration. |
| Use Signature Workflow |
Select this option to make the Signature workflow available. Note You must also configure the Signature approval in Configuration > Approvals. Refer to Approval configuration. |
| Use Manual Status Override |
Select this option to allow users with the appropriate permissions to use workflow action buttons to increment the status of a record. This option is typically used when workflow is not enabled. |
| Cost Status Read Only |
Select this option to have the cost status appear as read-only. The fields cannot be manually edited. This requires the status field to be updated by workflow or by the appropriate action item. |
Available application roles
Application roles determine which actions users can perform in the app. Roles are assigned to groups in the Groups app > Permissions tab. Members of the group then have the permissions associated with the roles assigned to the group.
The following roles are available for this application:
| Role | Details |
|---|---|
| Administrator |
Full administration, including add, configure, create lists, edit, import, export, share, view, send, process, remove, and edit view templates. |
| Contributor |
Can add, edit, open, view, send, and process records. |
| Moderator |
Can add, edit, import, export, remove, share, open, view, send, and process records. |
| Observer |
Can open, view, send, and process records. |
| Referencer |
View-only access to records. |
| TemplateEditor |
Can edit view templates. |
Note To manage these permissions, open the Groups app and assign the appropriate application role to the group. Only users with the appropriate permissions can manage application roles. For more information, refer to Managing Permissions.